

Plug-n-Fire Instructions
REV: 7/17/2025
GETTING STARTED
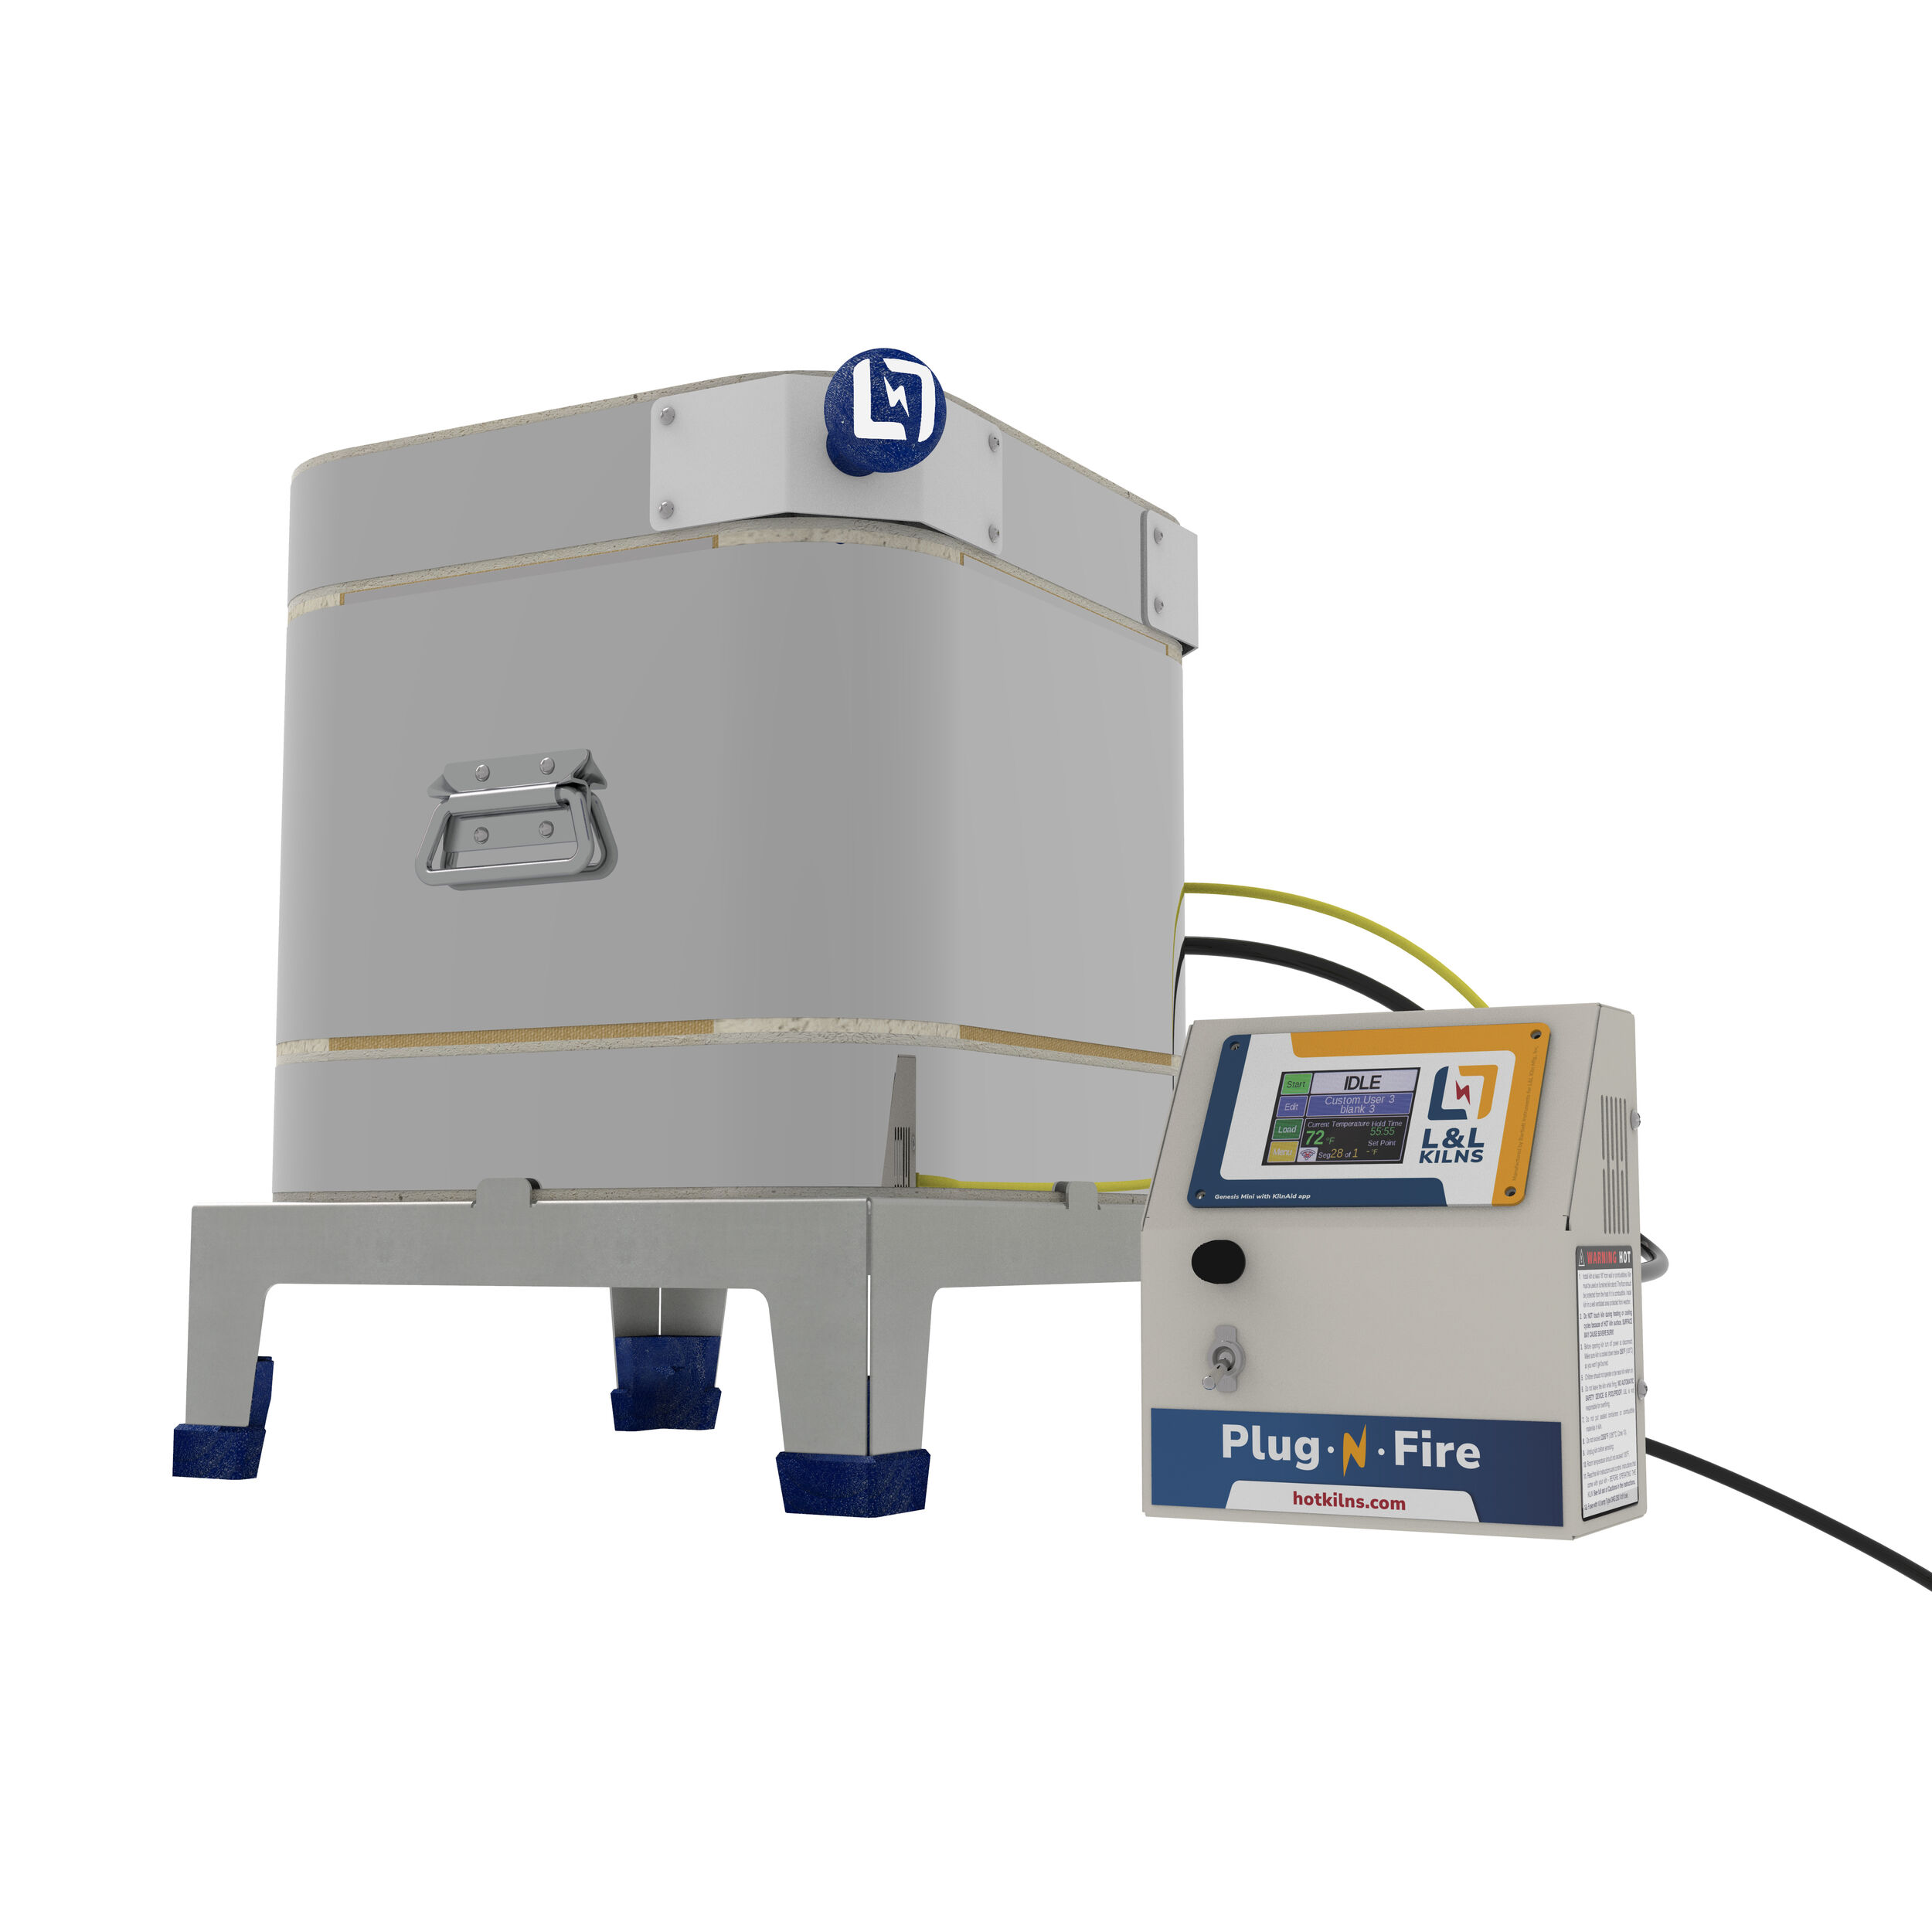
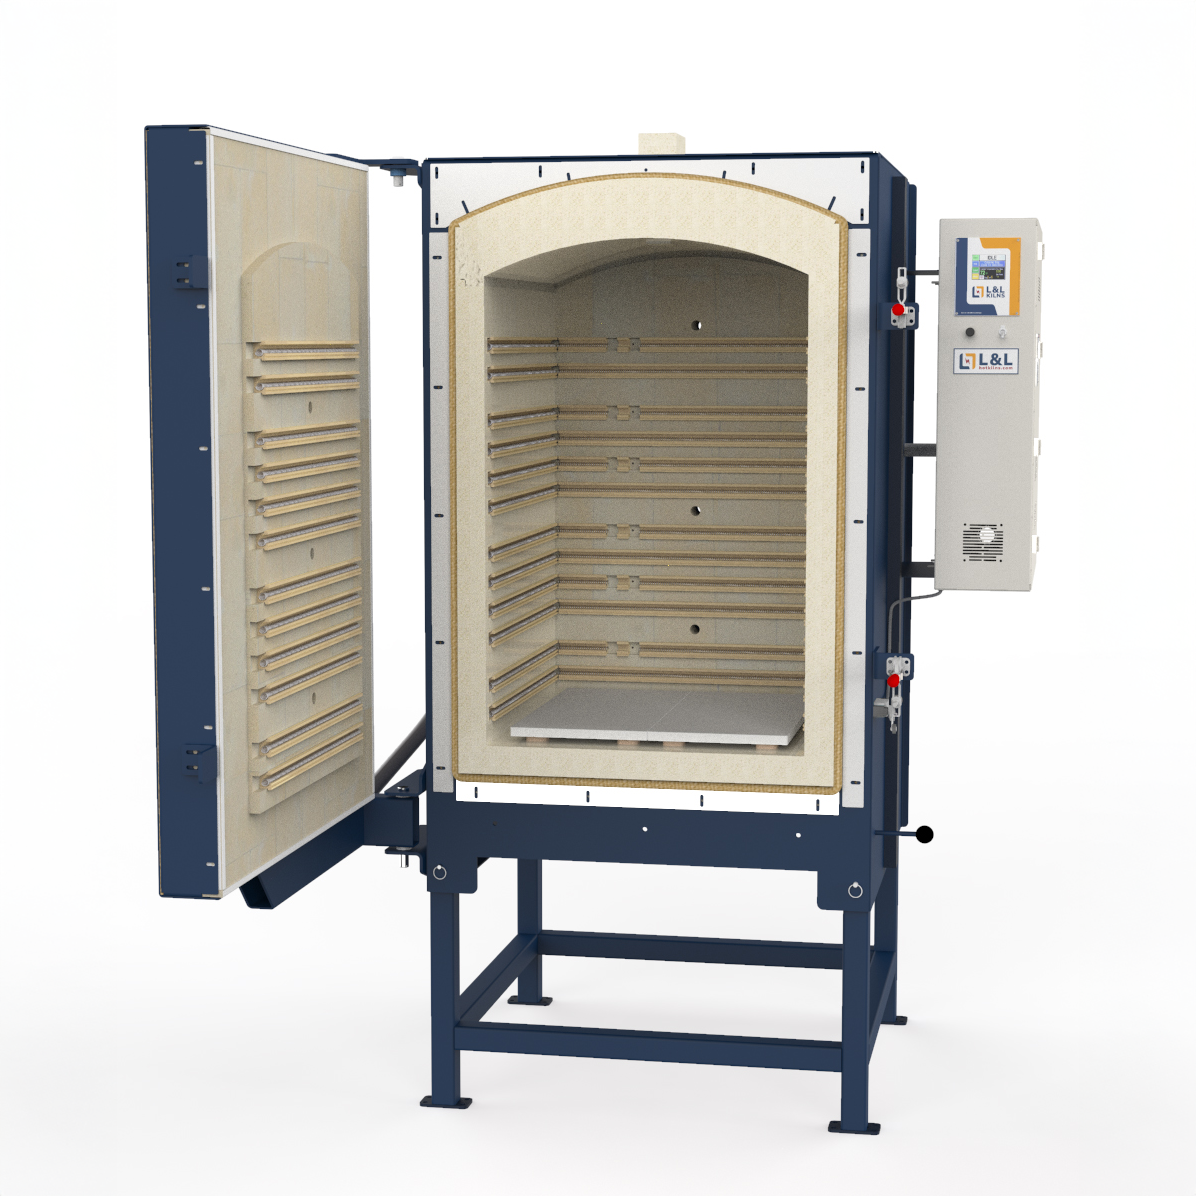
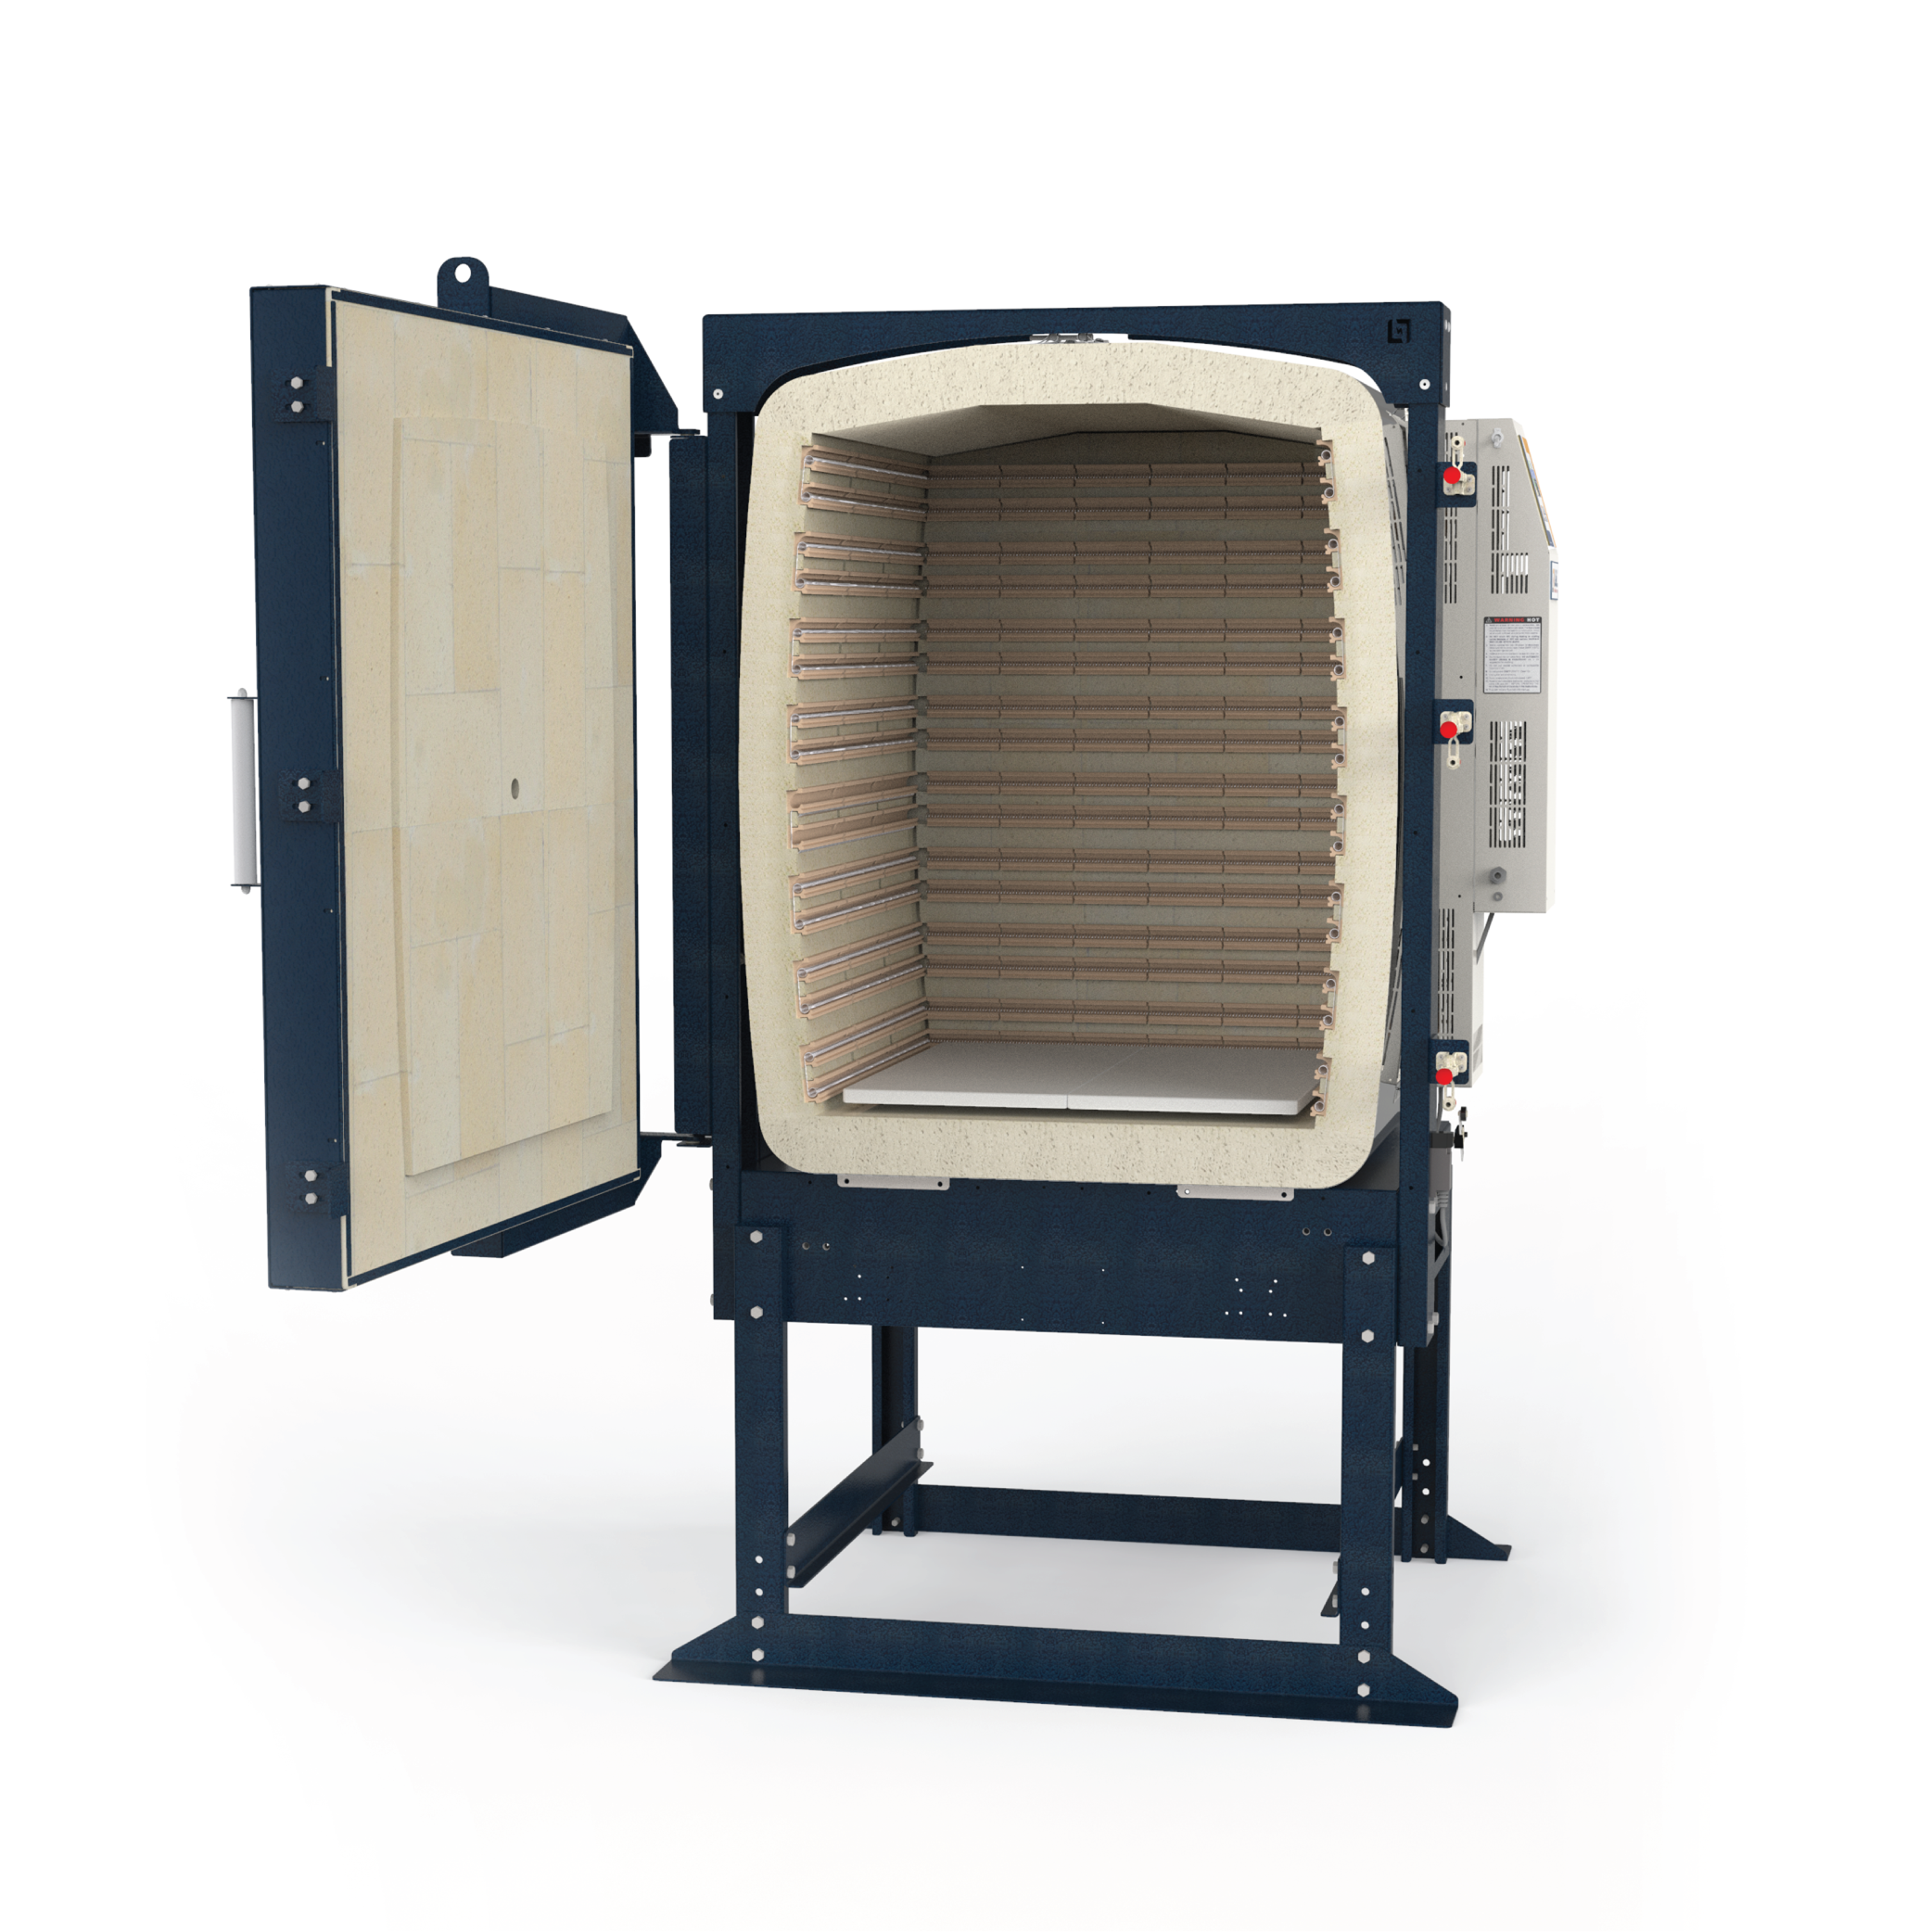
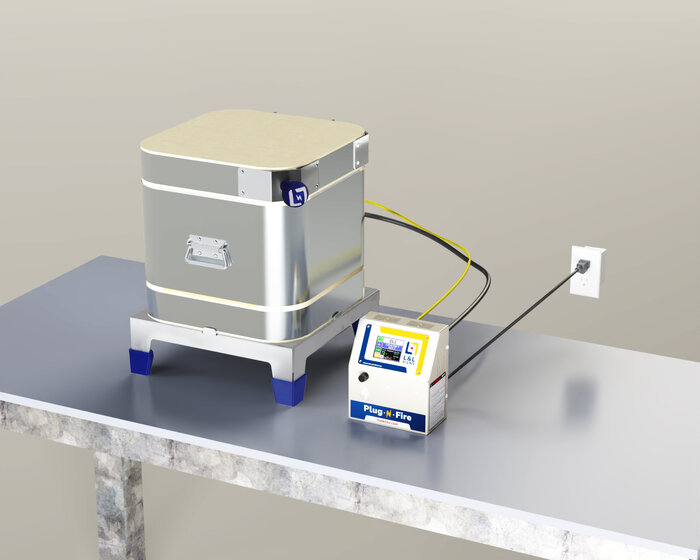
The L&L Plug-N-Fire is the first cone 10 electric kiln operating on a standard 15-amp circuit. Measuring 8 inches square by 9 inches high (0.33 cubic feet), this compact test kiln offers the durability and features you expect from L&L in a versatile, small package.
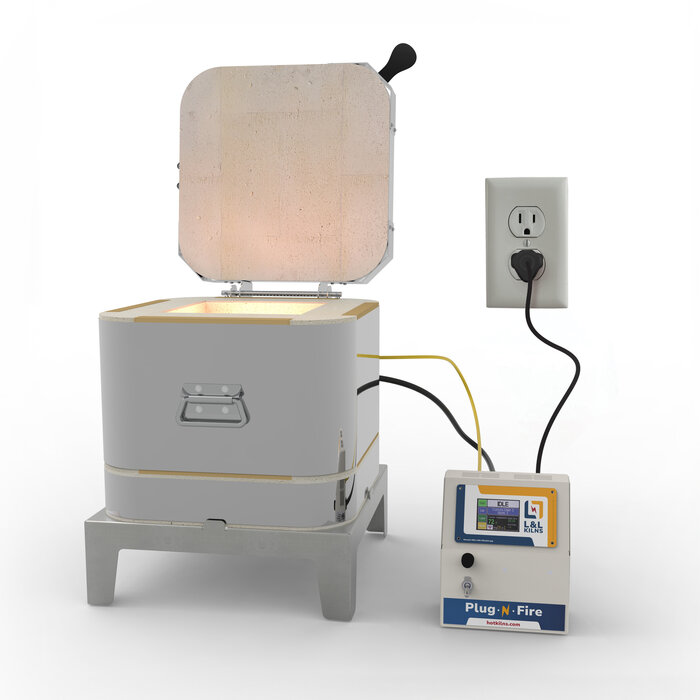
- Designed for almost all 15 amp 120-volt circuits (for USA models).
- Great test kiln and hobby kiln.
- Please follow these instructions to assemble and install your kiln.
- Be mindful of where you use the kilns because of heat.
- Also, be sure to use it in a well-ventilated area.
INSTALLATION
Before assembling your kiln, review our installation overview page for codes, clearances, ventilation, and electrical installation information.
Ventilation
- No Vent Needed: Compact design eliminates dedicated vent system.
- Ventilation Tips: Use in a well-ventilated area for performance, air quality, and safety.
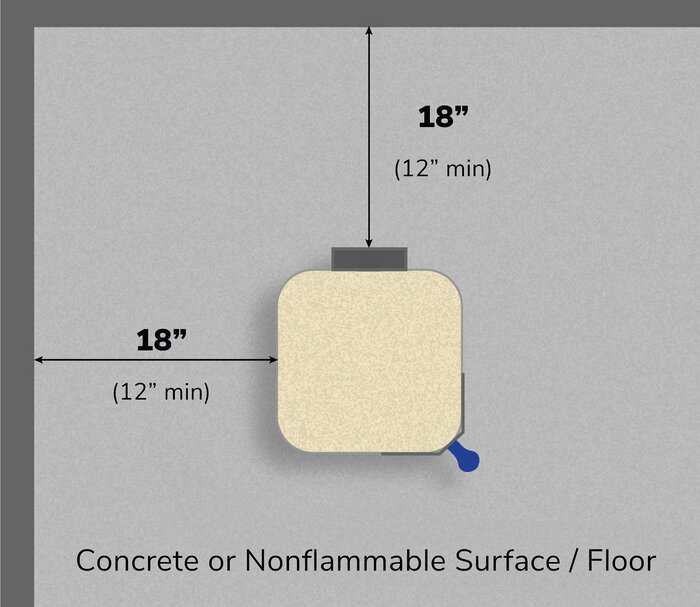
Placement
- Floor Surface: Use non-combustible surfaces (cement, ceramic, stone, slate, cinder blocks, brick).
- Avoid wood, vinyl, and carpet; protect linoleum with a non-combustible covering.
- Work Table: May be placed on a non-combustible raised table.
- Clearance: Maintain an 18" clearance from non-combustible walls, a minimum of 12", and 36" from combustible surfaces.
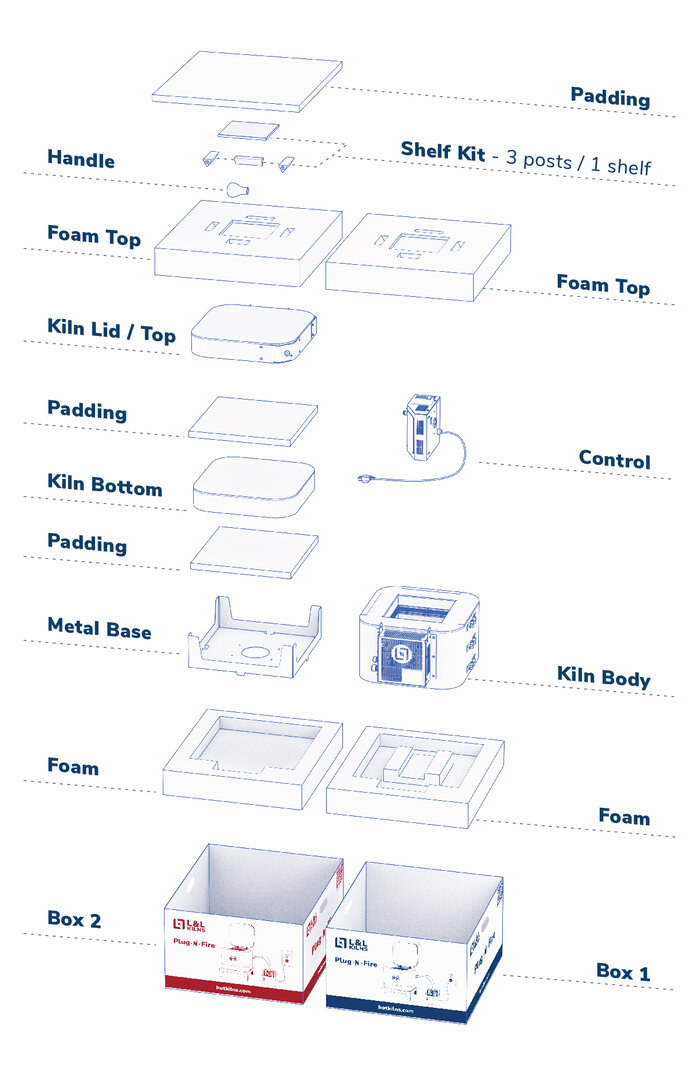
Unpacking
Your Plug-N-Fire will arrive in two separate boxes. Box 1 (blue) contains the main ring and the Genesis mini controller, while Box 2 (red) contains the stand, bottom, lid, and furniture kit. Unpack both boxes and keep everything organized.
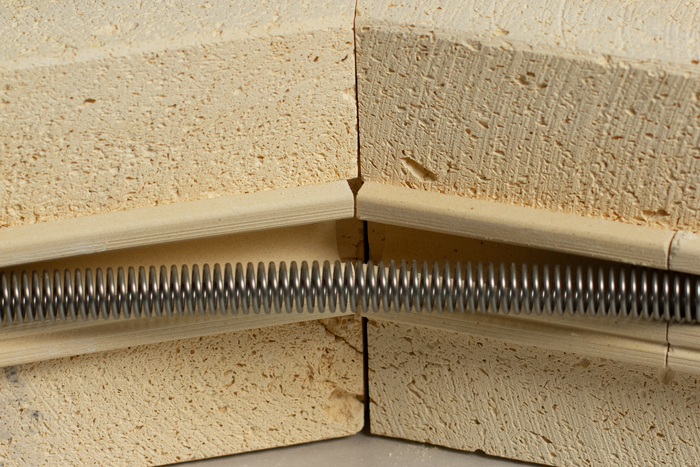
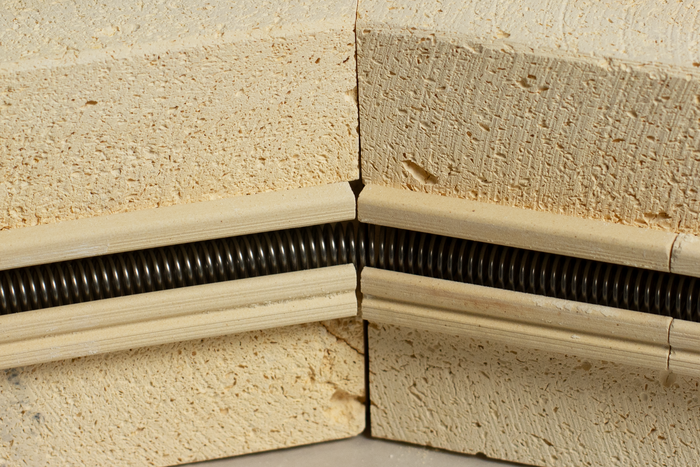
Pre-Assembly
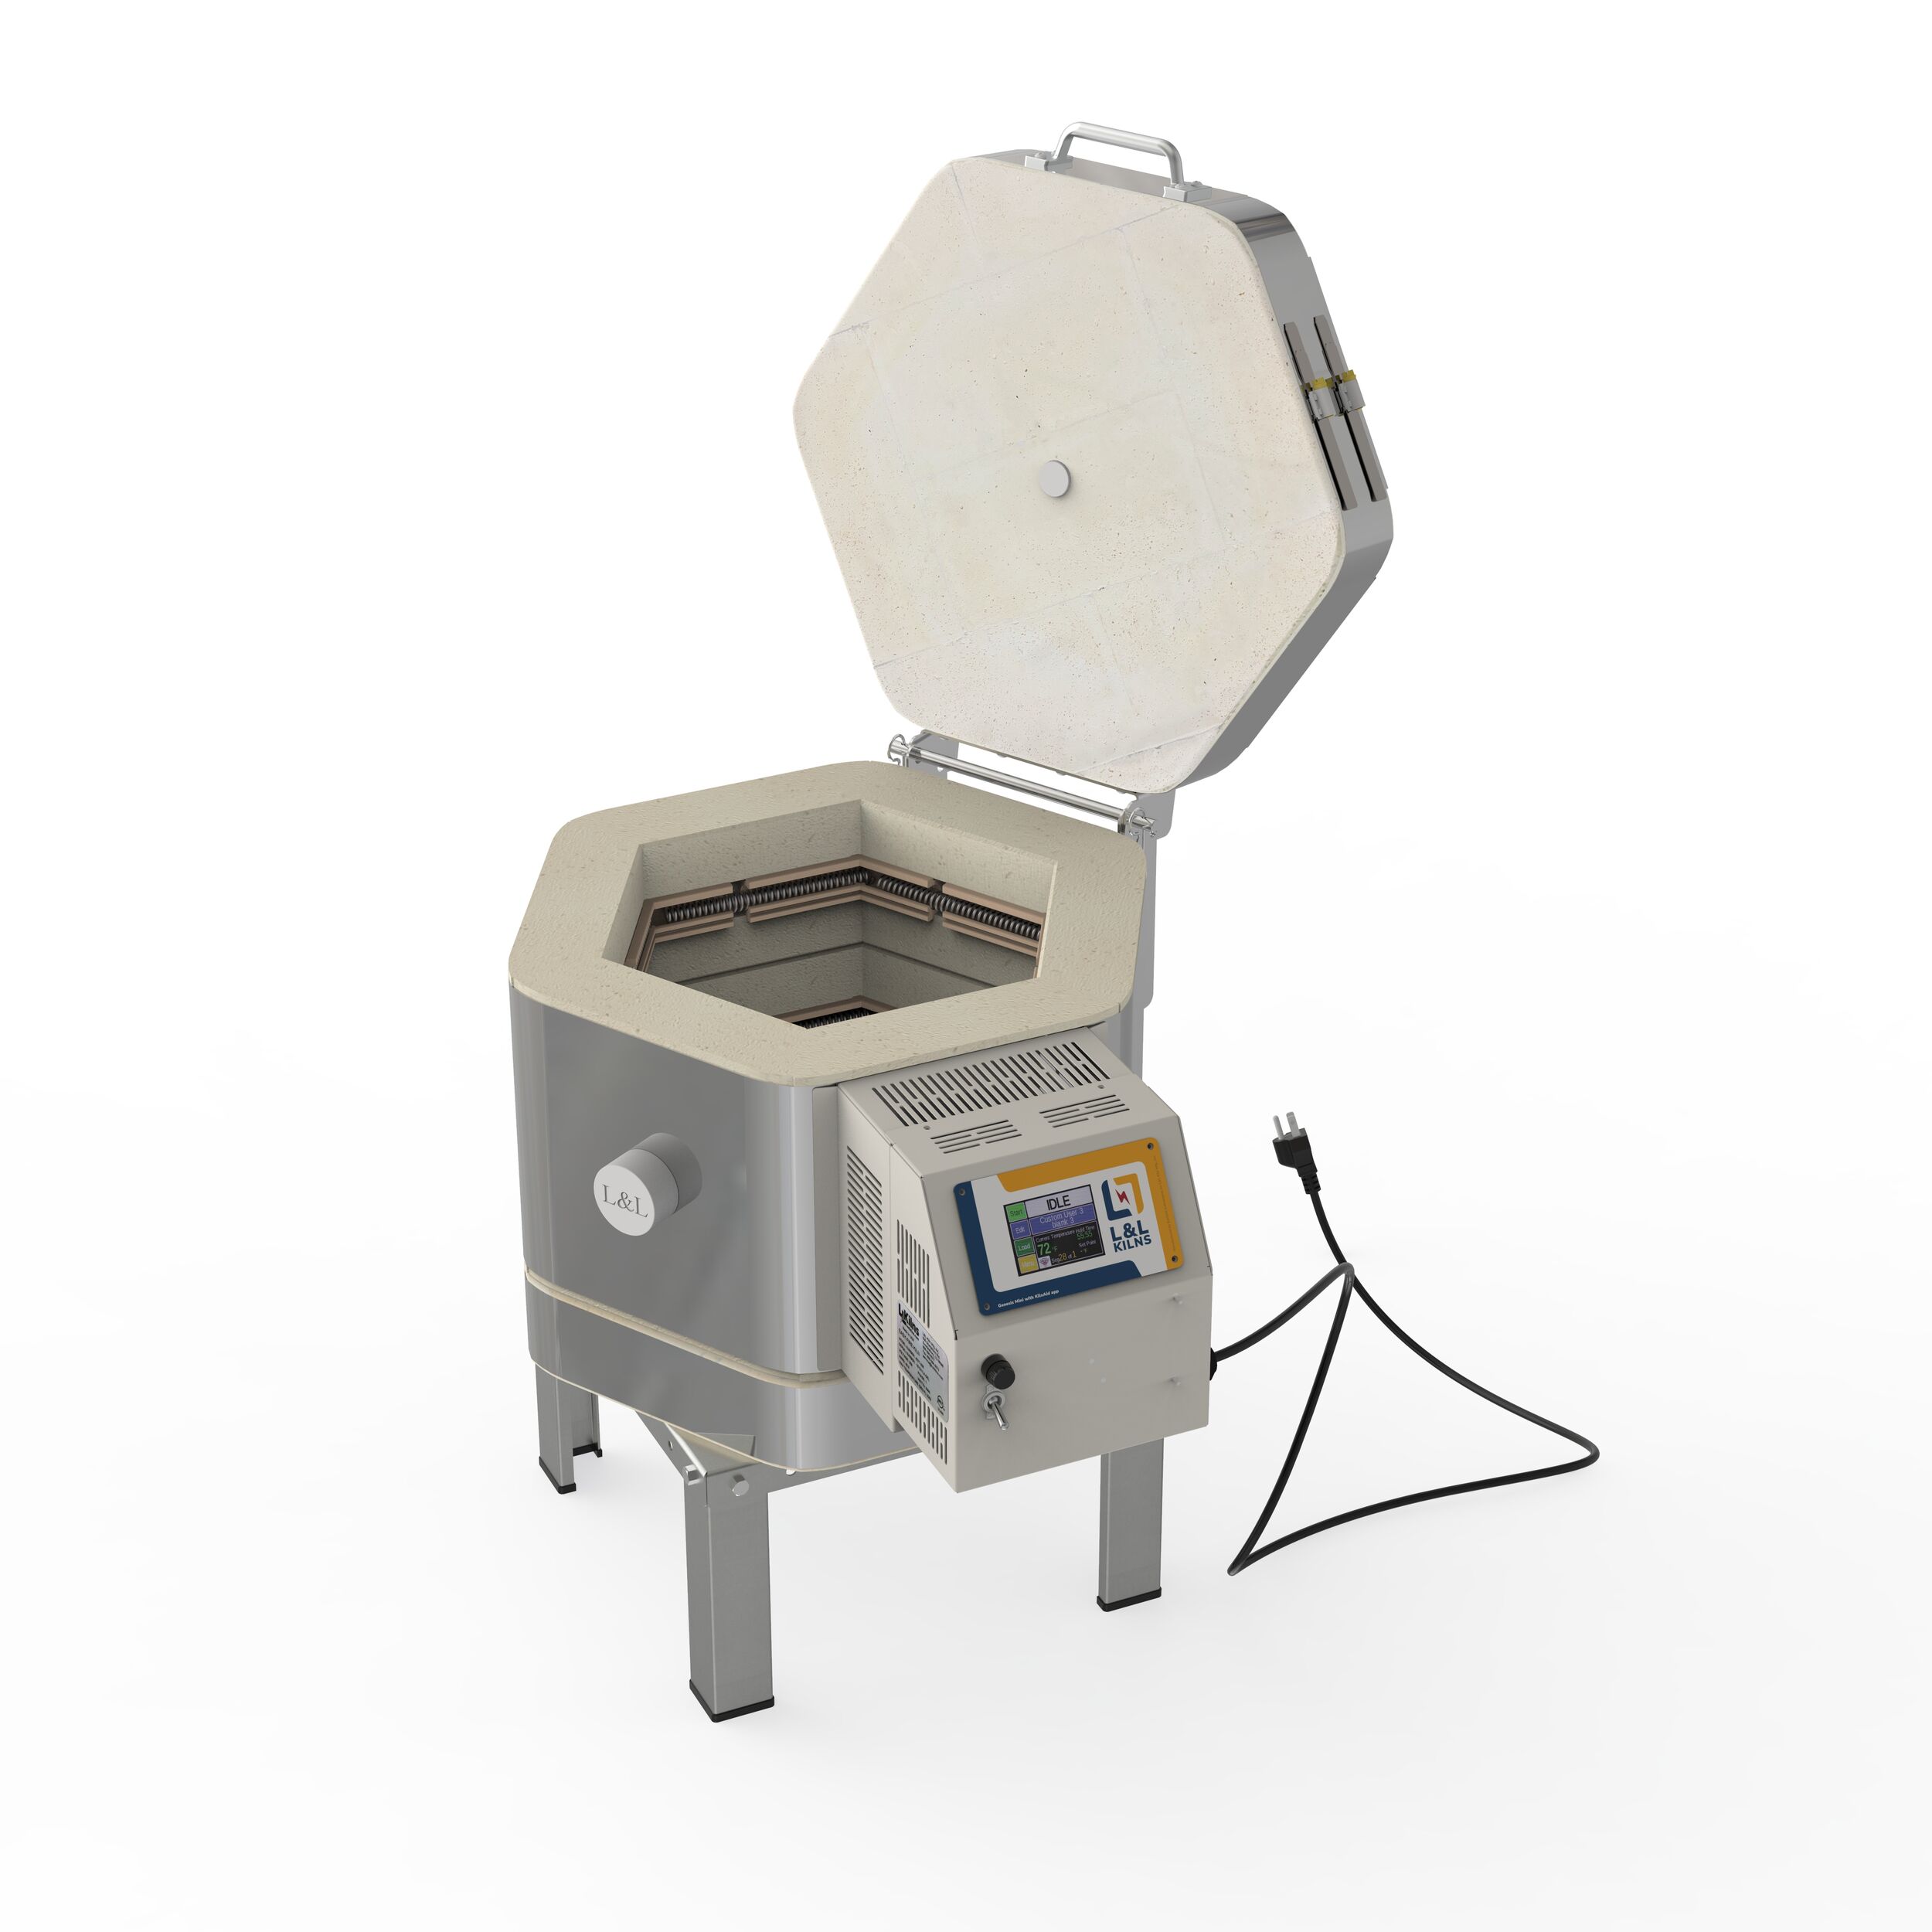
Remove the transport clips from the element channels in the kiln body and ensure that the elements rest completely in the channels before firing.

Assembly
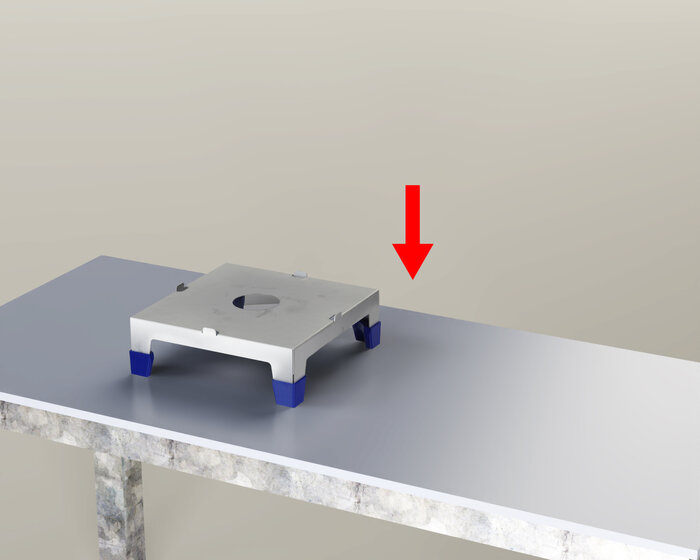
1. Position the kiln stand appropriately.
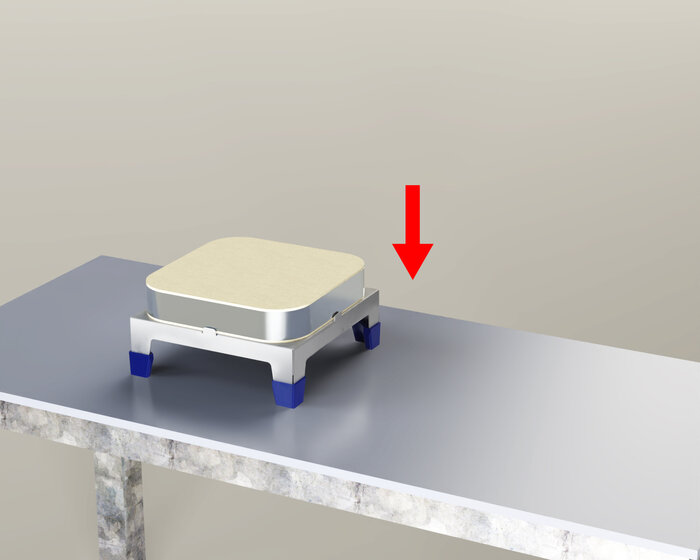
2. Put the kiln bottom on the stand.
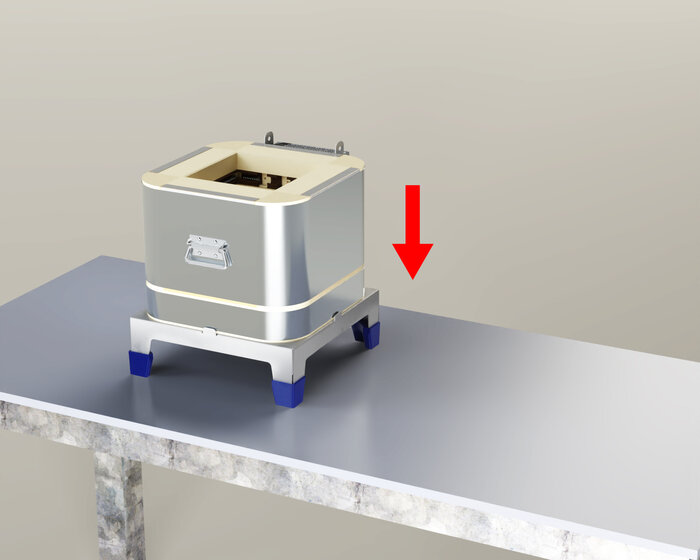
3. Place the kiln ring onto the bottom.
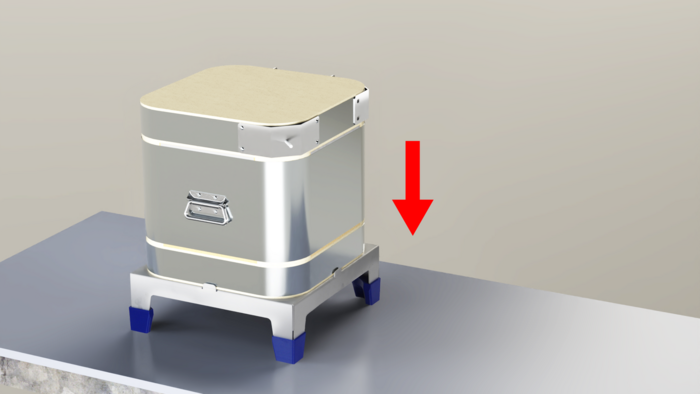
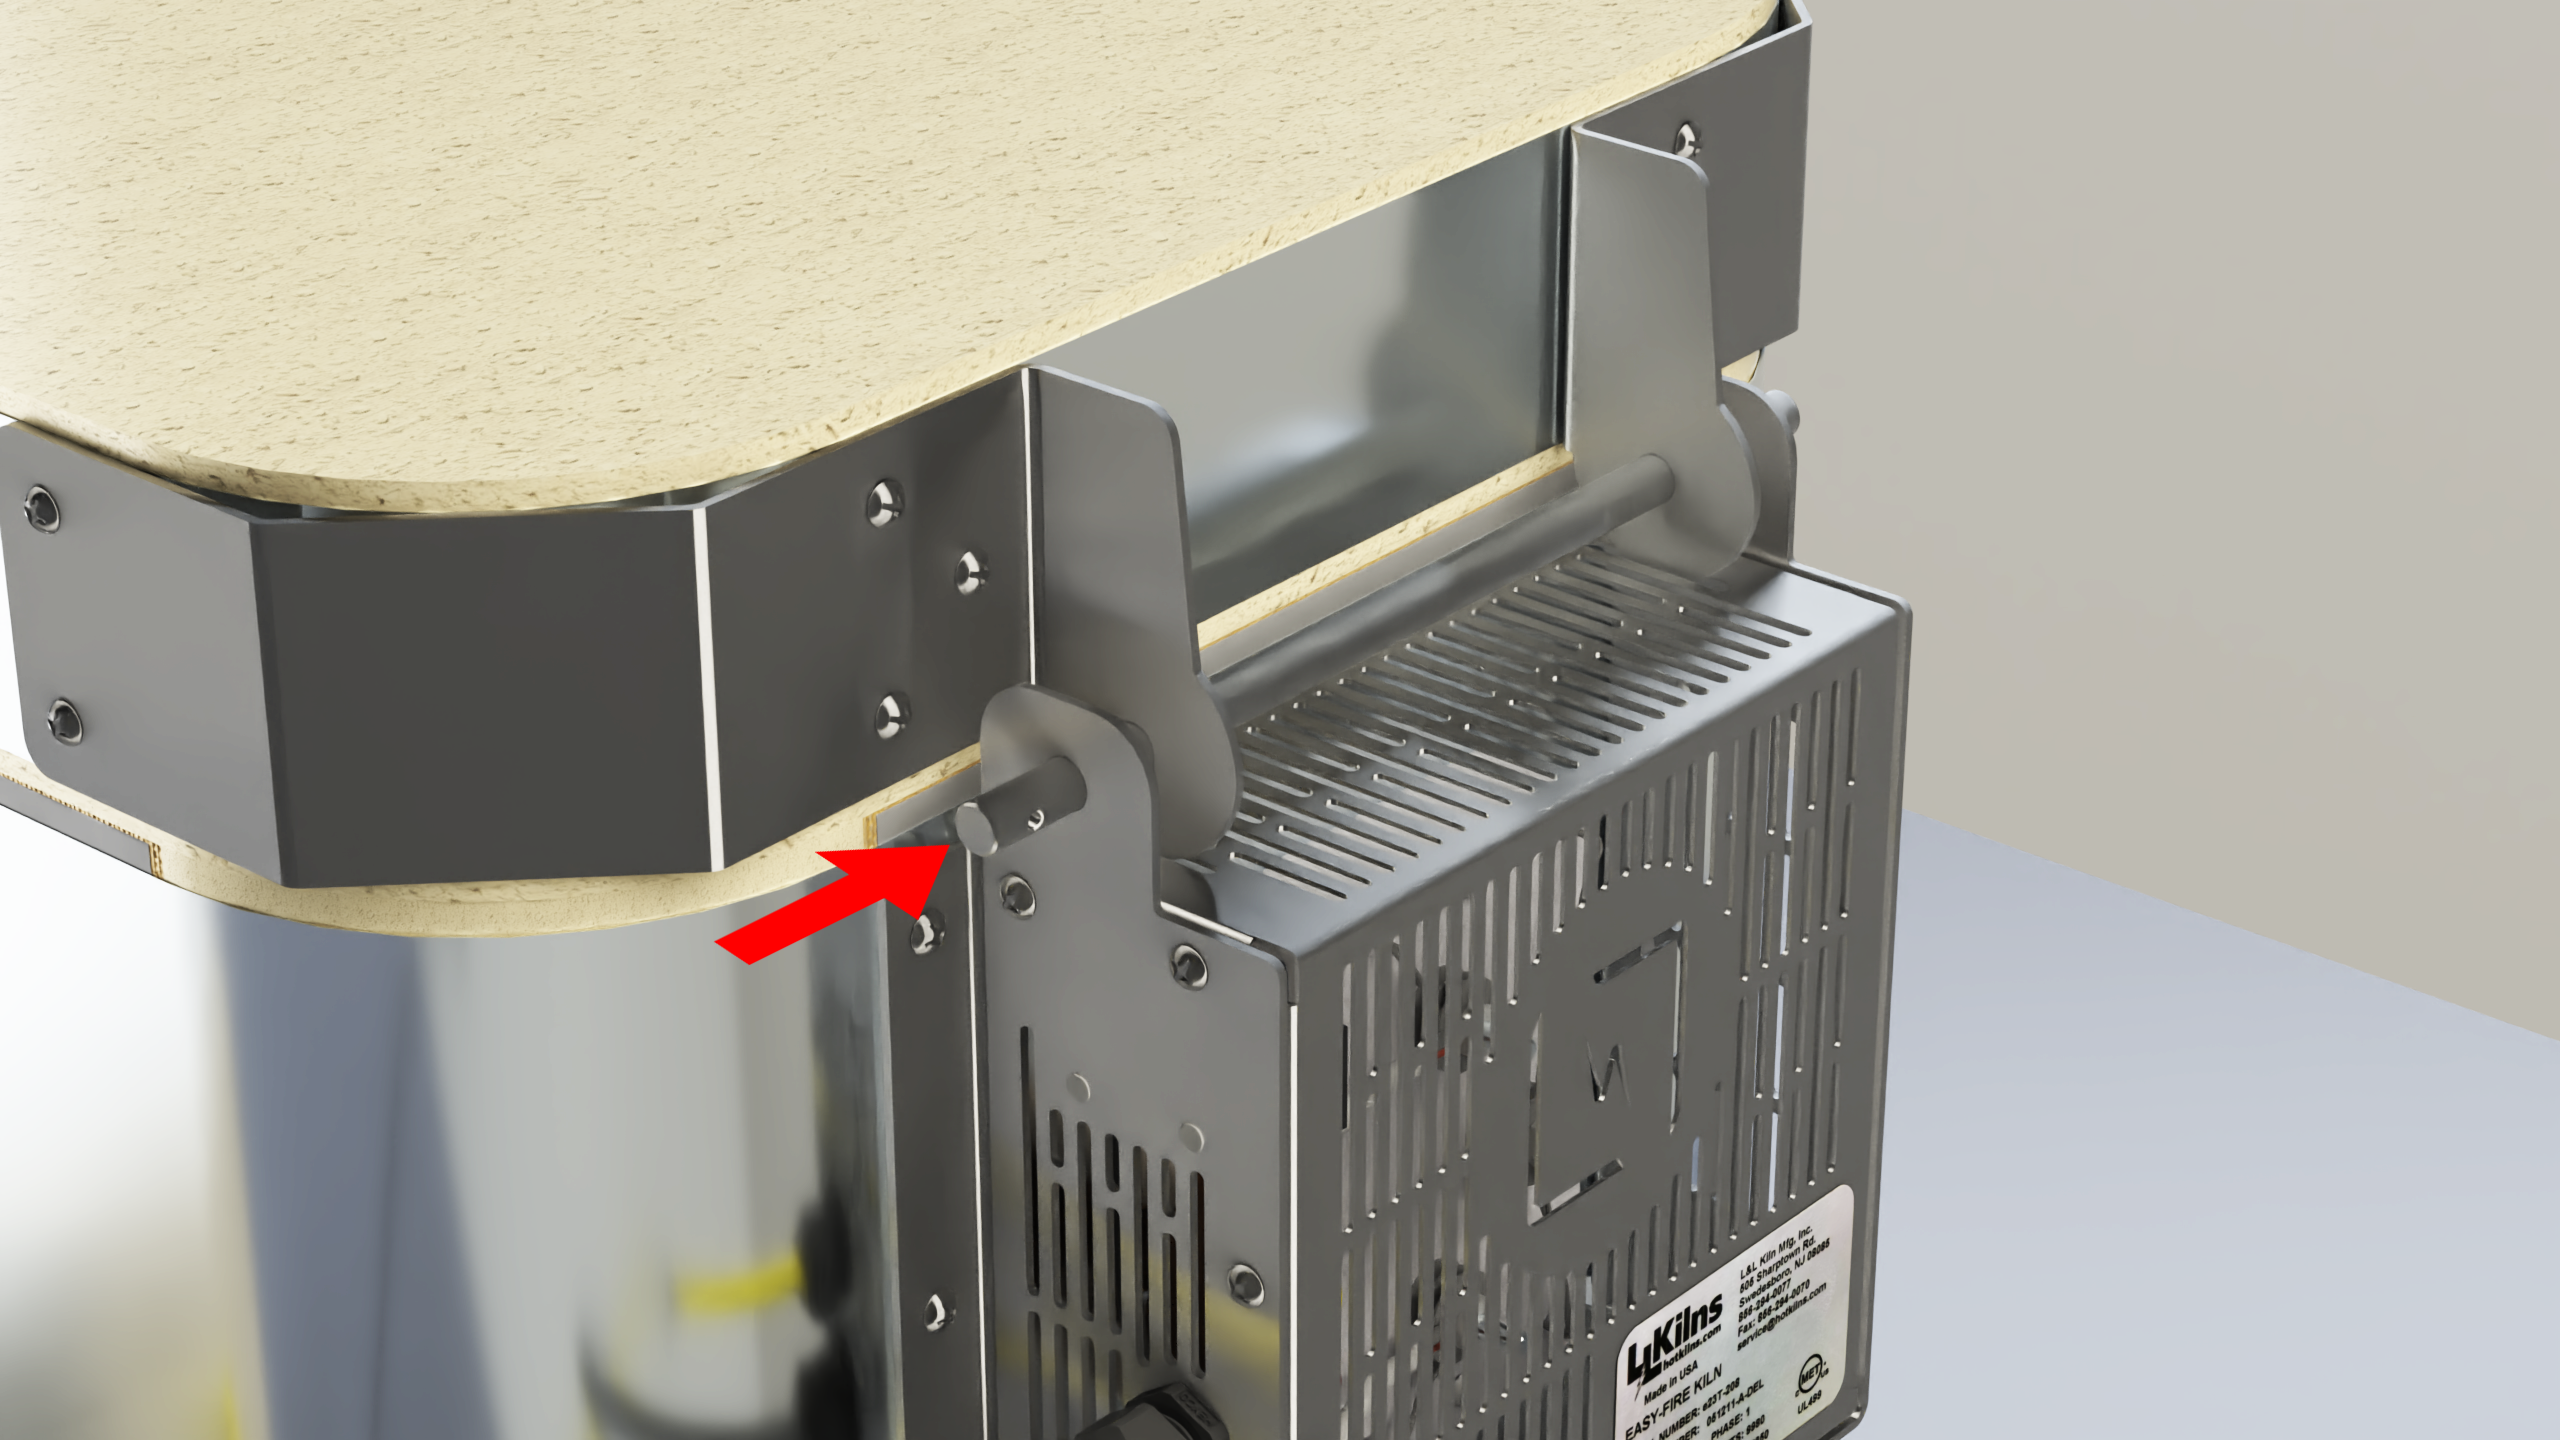
4. Place the lid on top. Make sure the hinge ears fit into place.
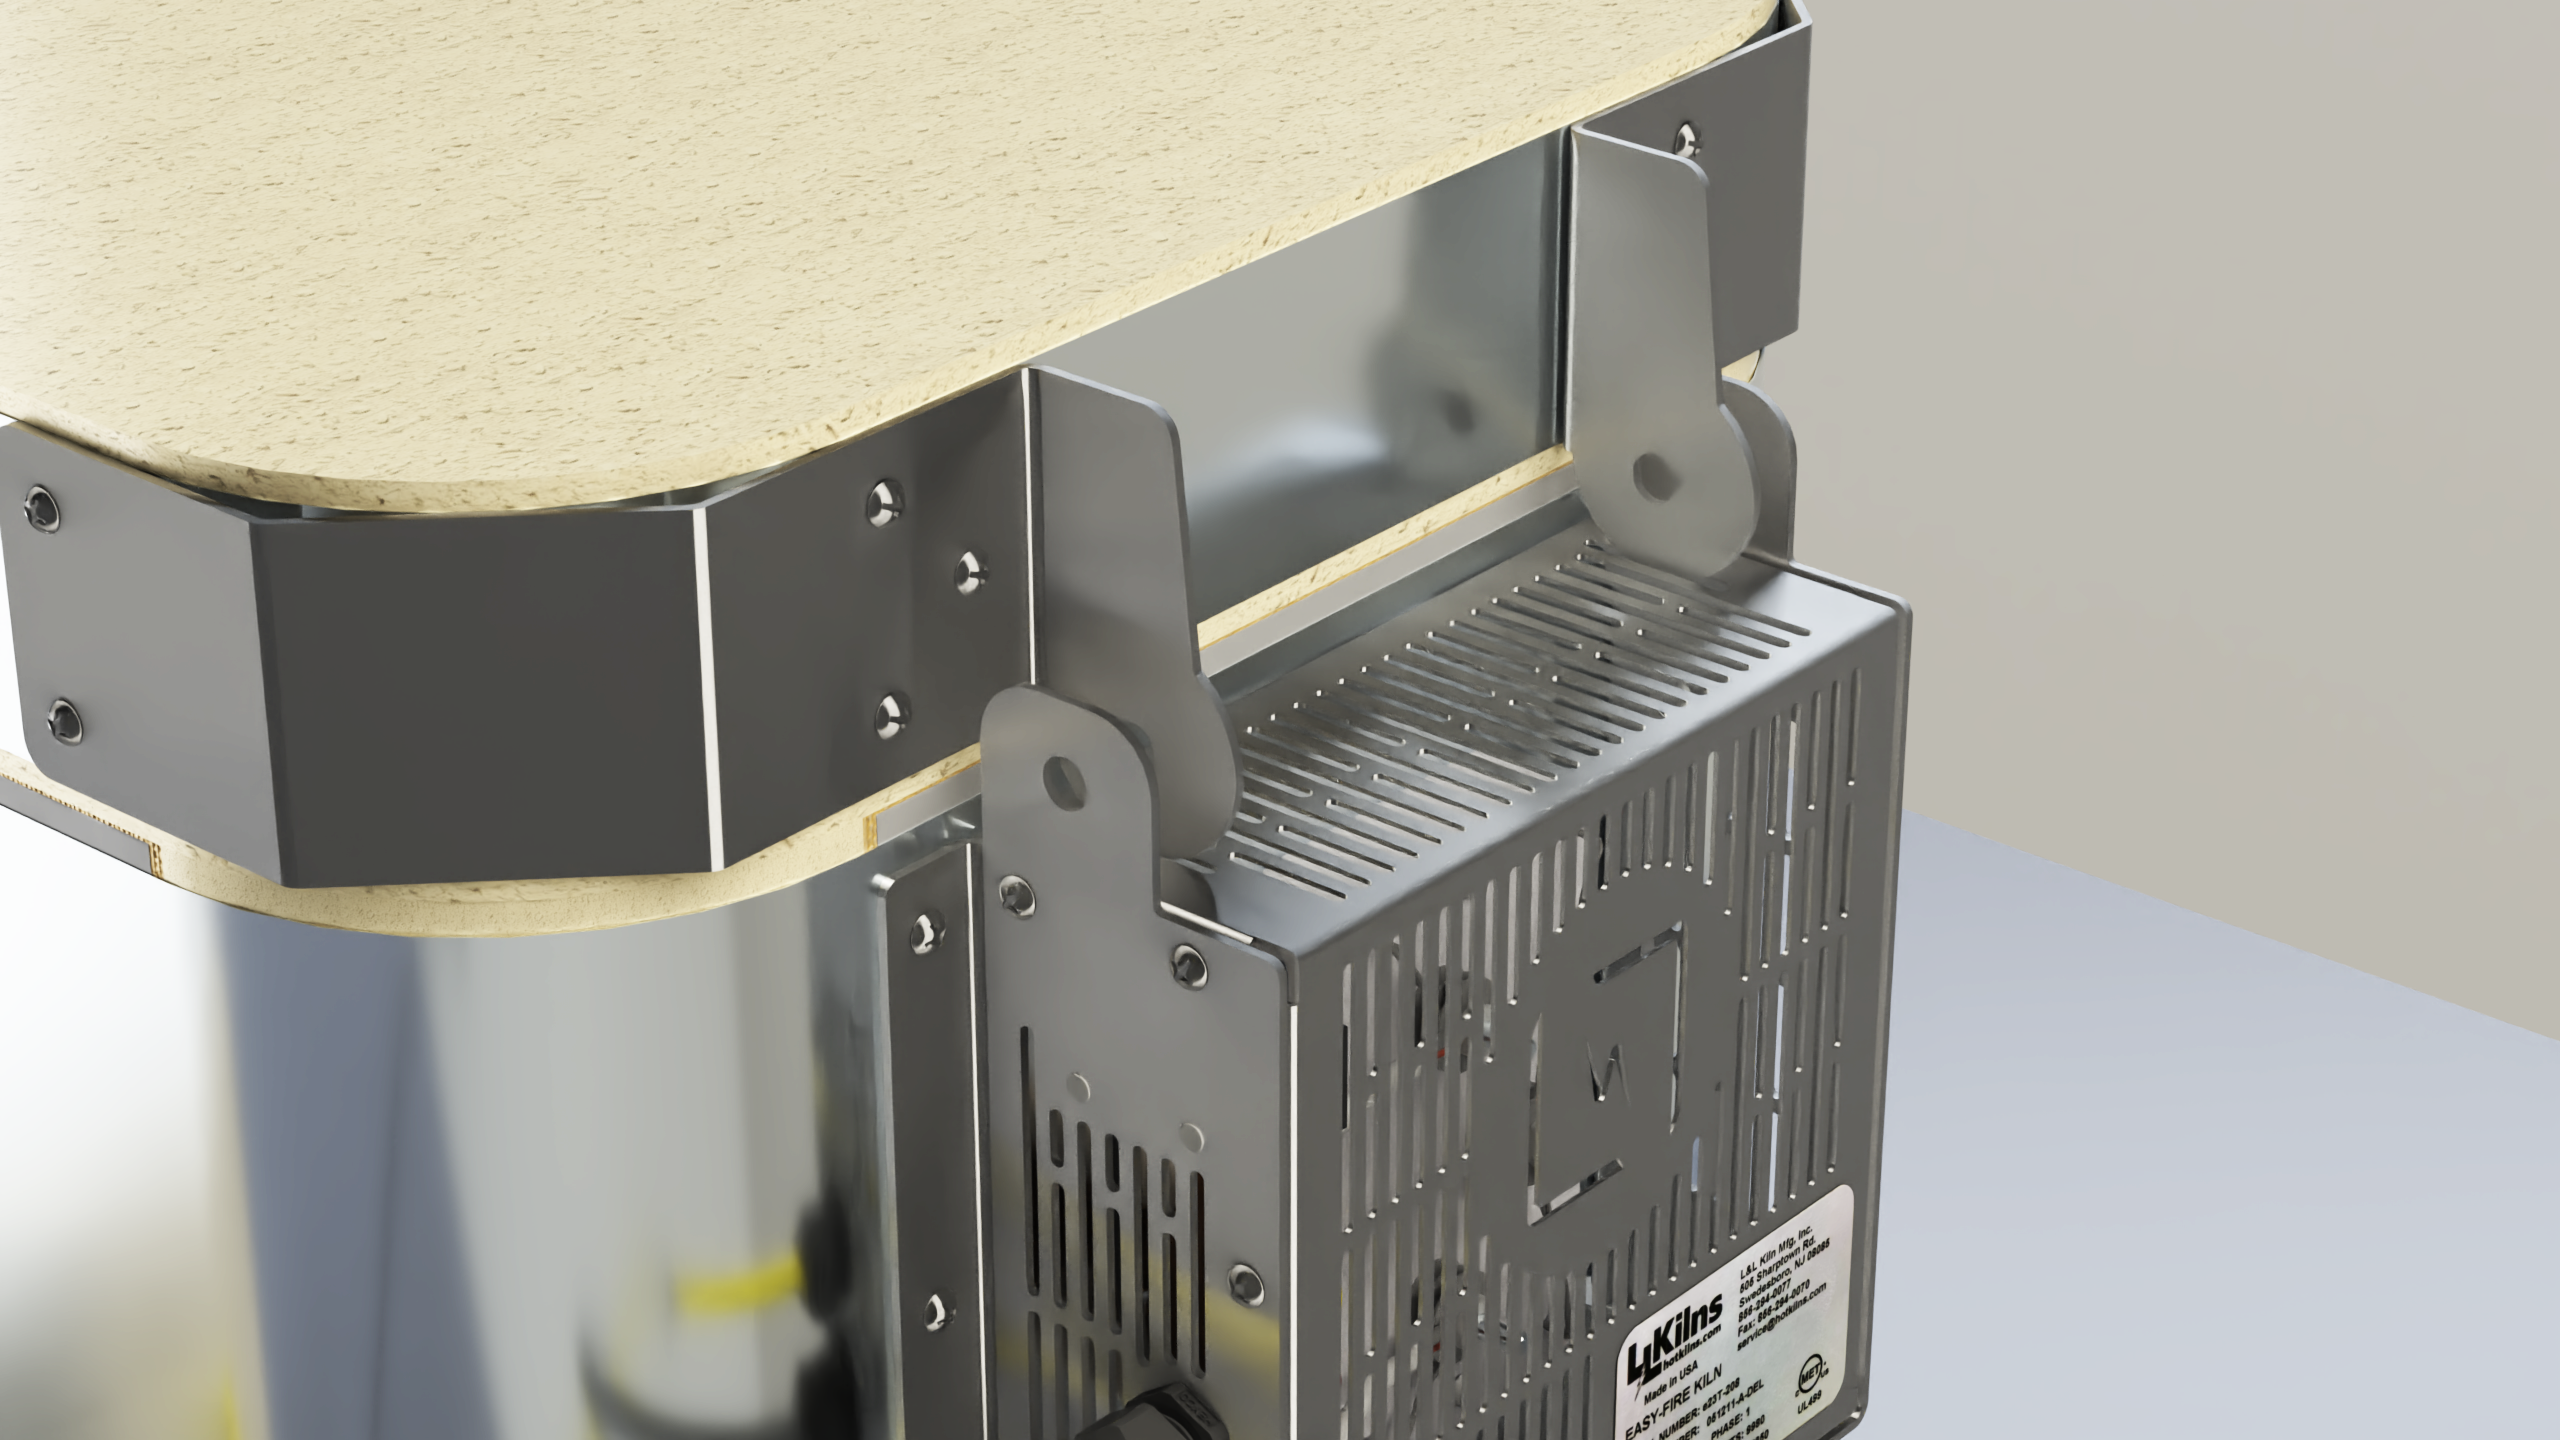
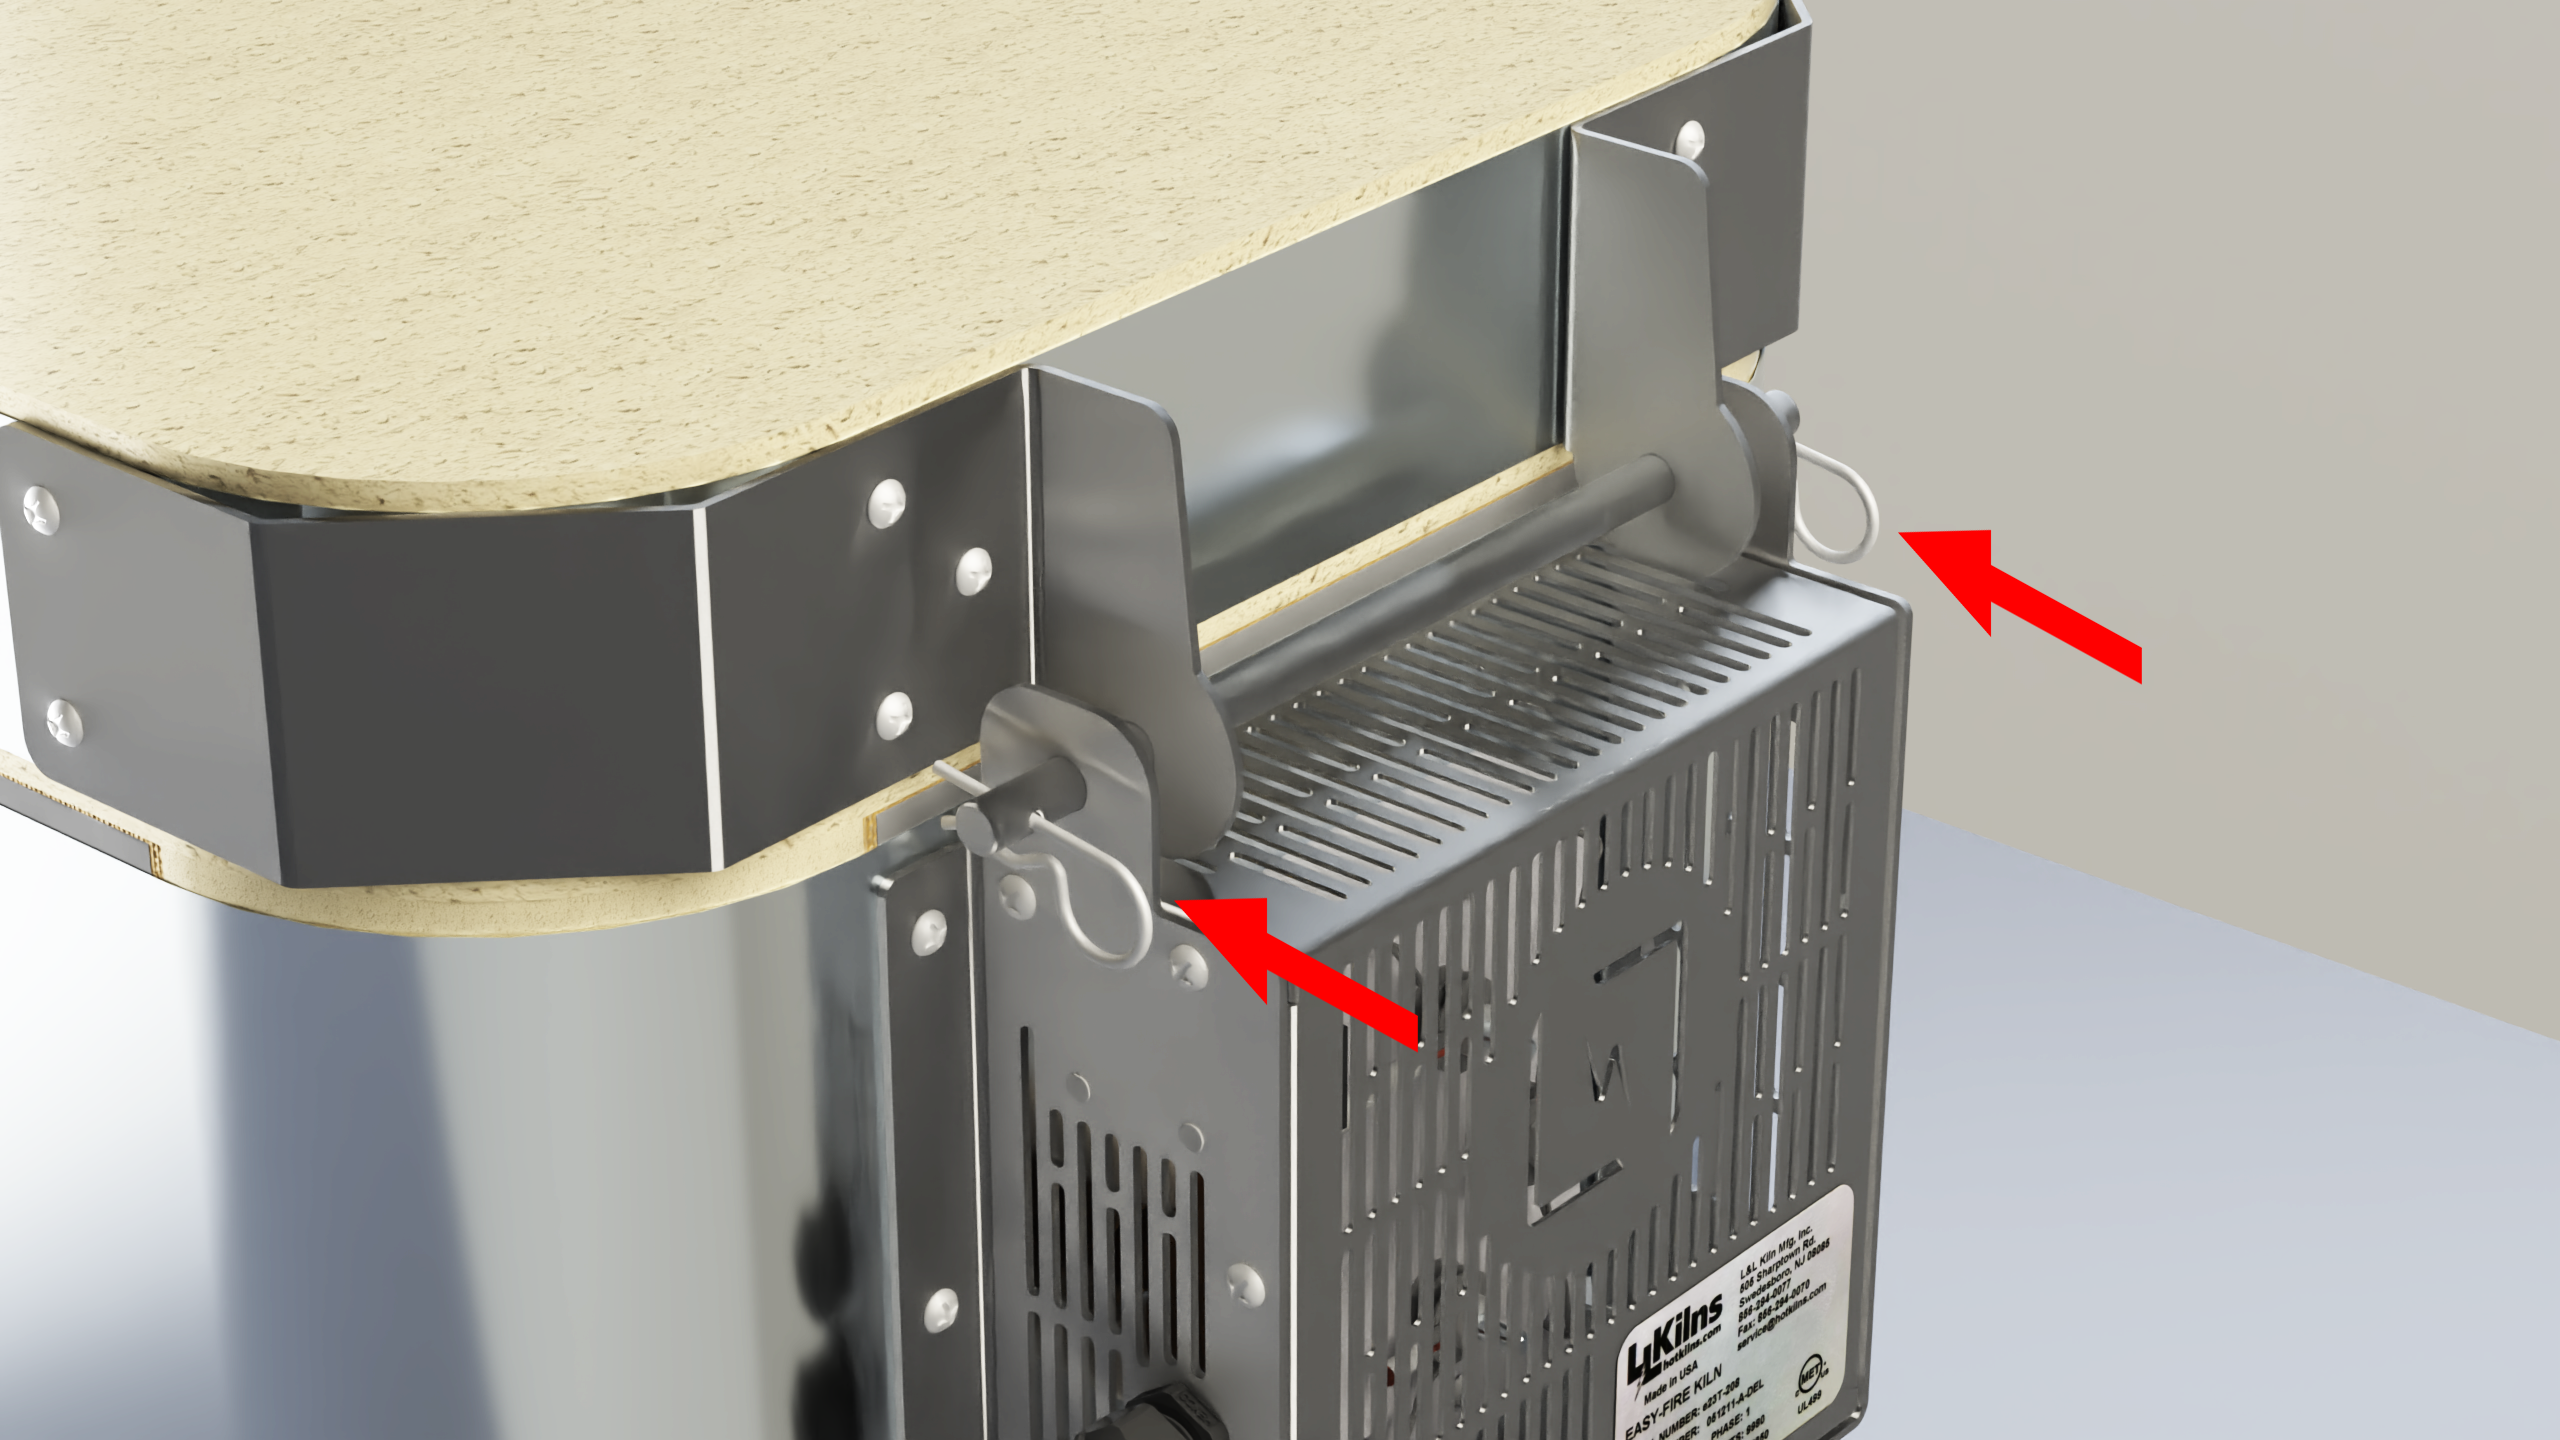
5. Insert the bar through the hinge and secure it on both ends with cotter pins.
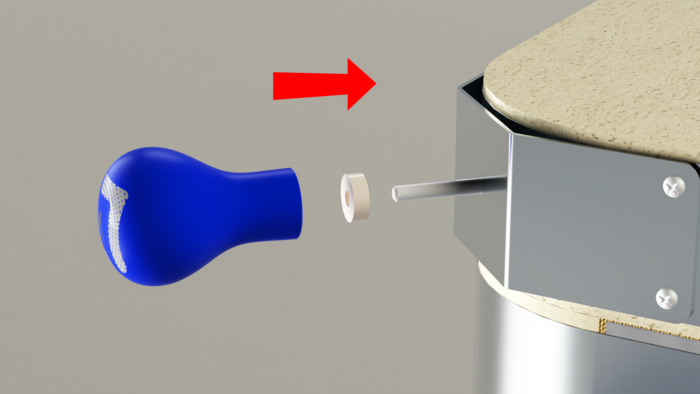
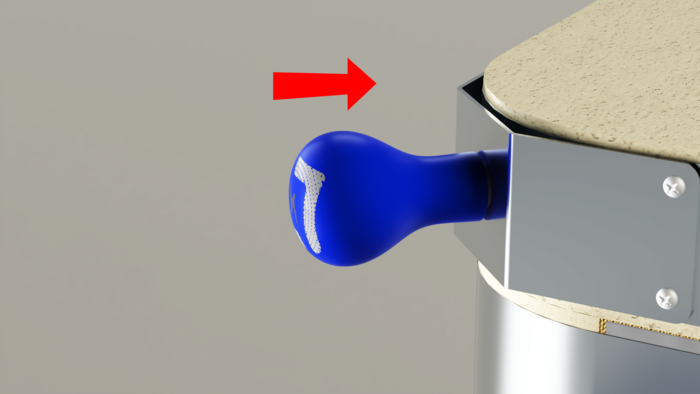
6. Attach the handle. Slide the ceramic spacer onto the threaded rod and screw the plastic handle into place.
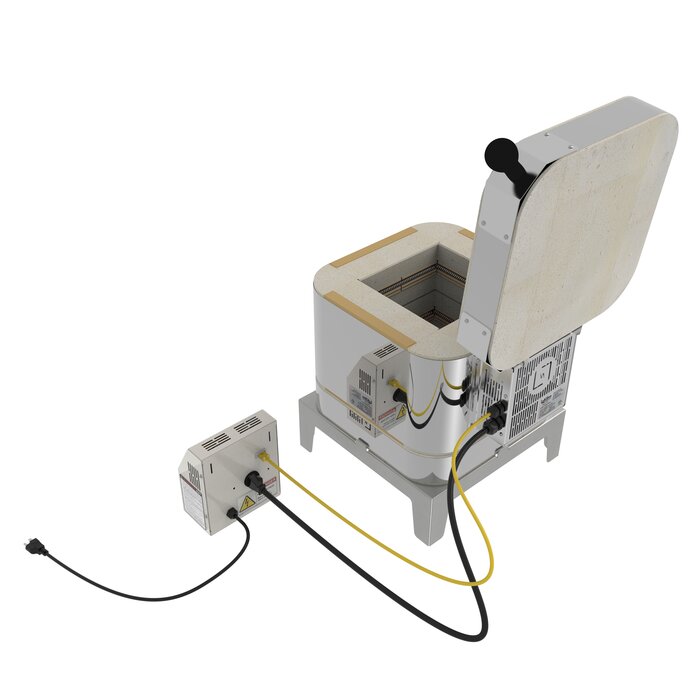
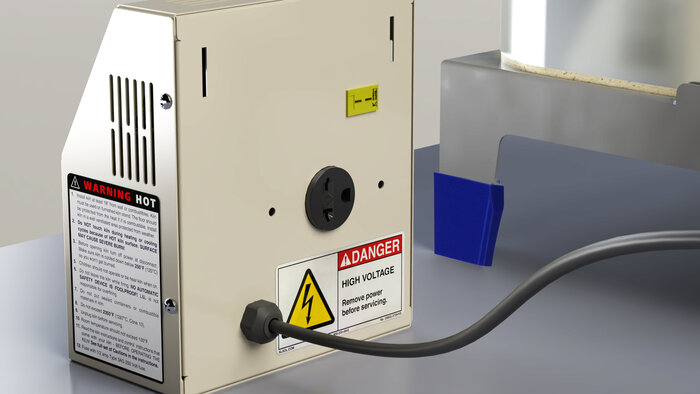
7. Connect the power wires and thermocouple wires from the Genesis-mini to the element box.

Now you're ready to Plug-N-Fire!
Moving
If you need to relocate the Plug-N-Fire kiln, you can easily disassemble and reassemble it at the new location. However, it's crucial to be aware that kilns expand and contract during the firing process, which can cause the steel case to loosen over time. Therefore, if the kiln has been fired, tighten the steel case before moving it. This precaution helps maintain the kiln's structural integrity and ensures safe transport.
Calibration
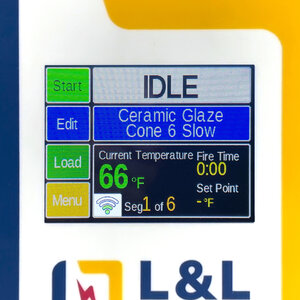
First Firing
See this page for First Firing Instructions
Important:
Review our guides on kiln calibration and using pyrometric cones. Always fire with witness cones to verify accuracy and make necessary adjustments.
Your Plug-N-Fire kiln may fire hotter than programmed due to its additional backup insulation. To compensate, use cone offsets to fine-tune the firing results. If your kiln consistently overfires by a full cone, start with a cone offset of -30°F and adjust as needed.
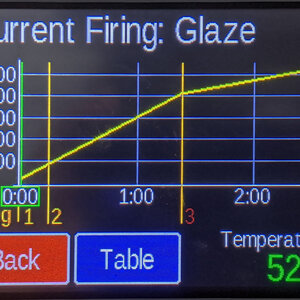
Because of its smaller size, the Plug-N-Fire cools faster than larger kilns. To mimic the natural cooling curve of a larger kiln, program a controlled cooldown: drop 100°F, then cool at 175°F per hour to 1500°F. This method should have minimal impact on overall heat work.
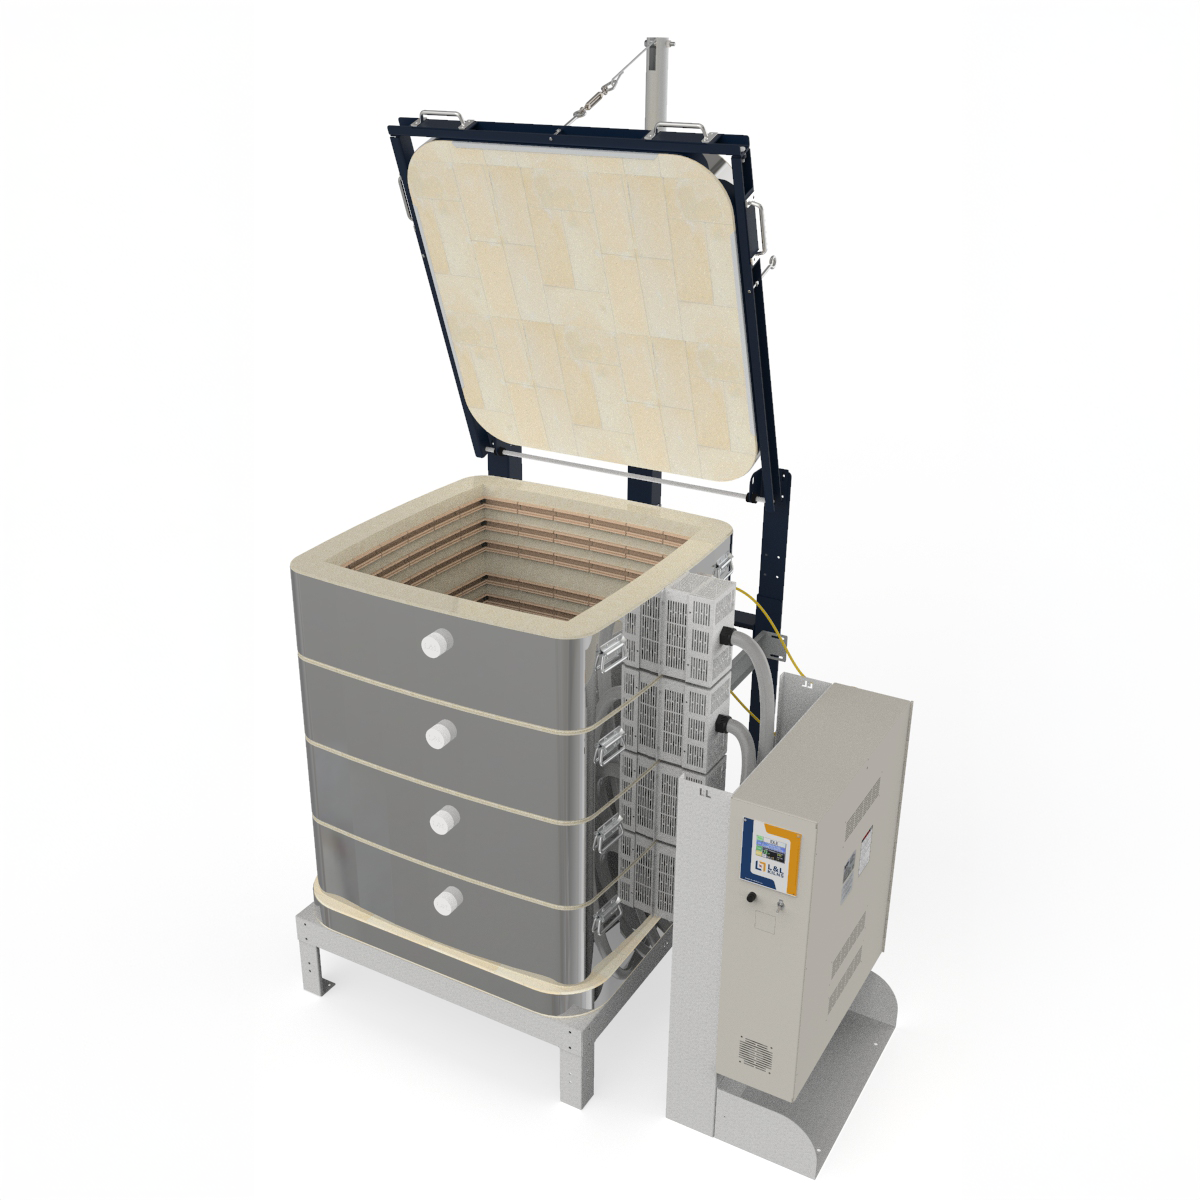
Upgrading Your Elements
The Plug-N-Fire is designed to reach cone 10 on a standard 120 V outlet, though performance may be affected if your household voltage runs low. Frequent cone 10 firings can shorten element life, so if you high-fire often, consider upgrading to our 1,800 W elements—they hold up better under sustained heat but require a dedicated 120 V / 20 A (NEMA 5-20) circuit, common in newer homes.