


Doll Kiln Assembly Instructions
REV: 03/12/25
PLACEMENT, LOCATION & INSTALLATION
- The general Dimension Drawing of all kilns is on the webpage of each kiln model. These have ventilation and clearance requirements.
- Review our installation overview page for codes, clearances, ventilation, and electrical installation information before assembling your kiln.
Pre-Assembly
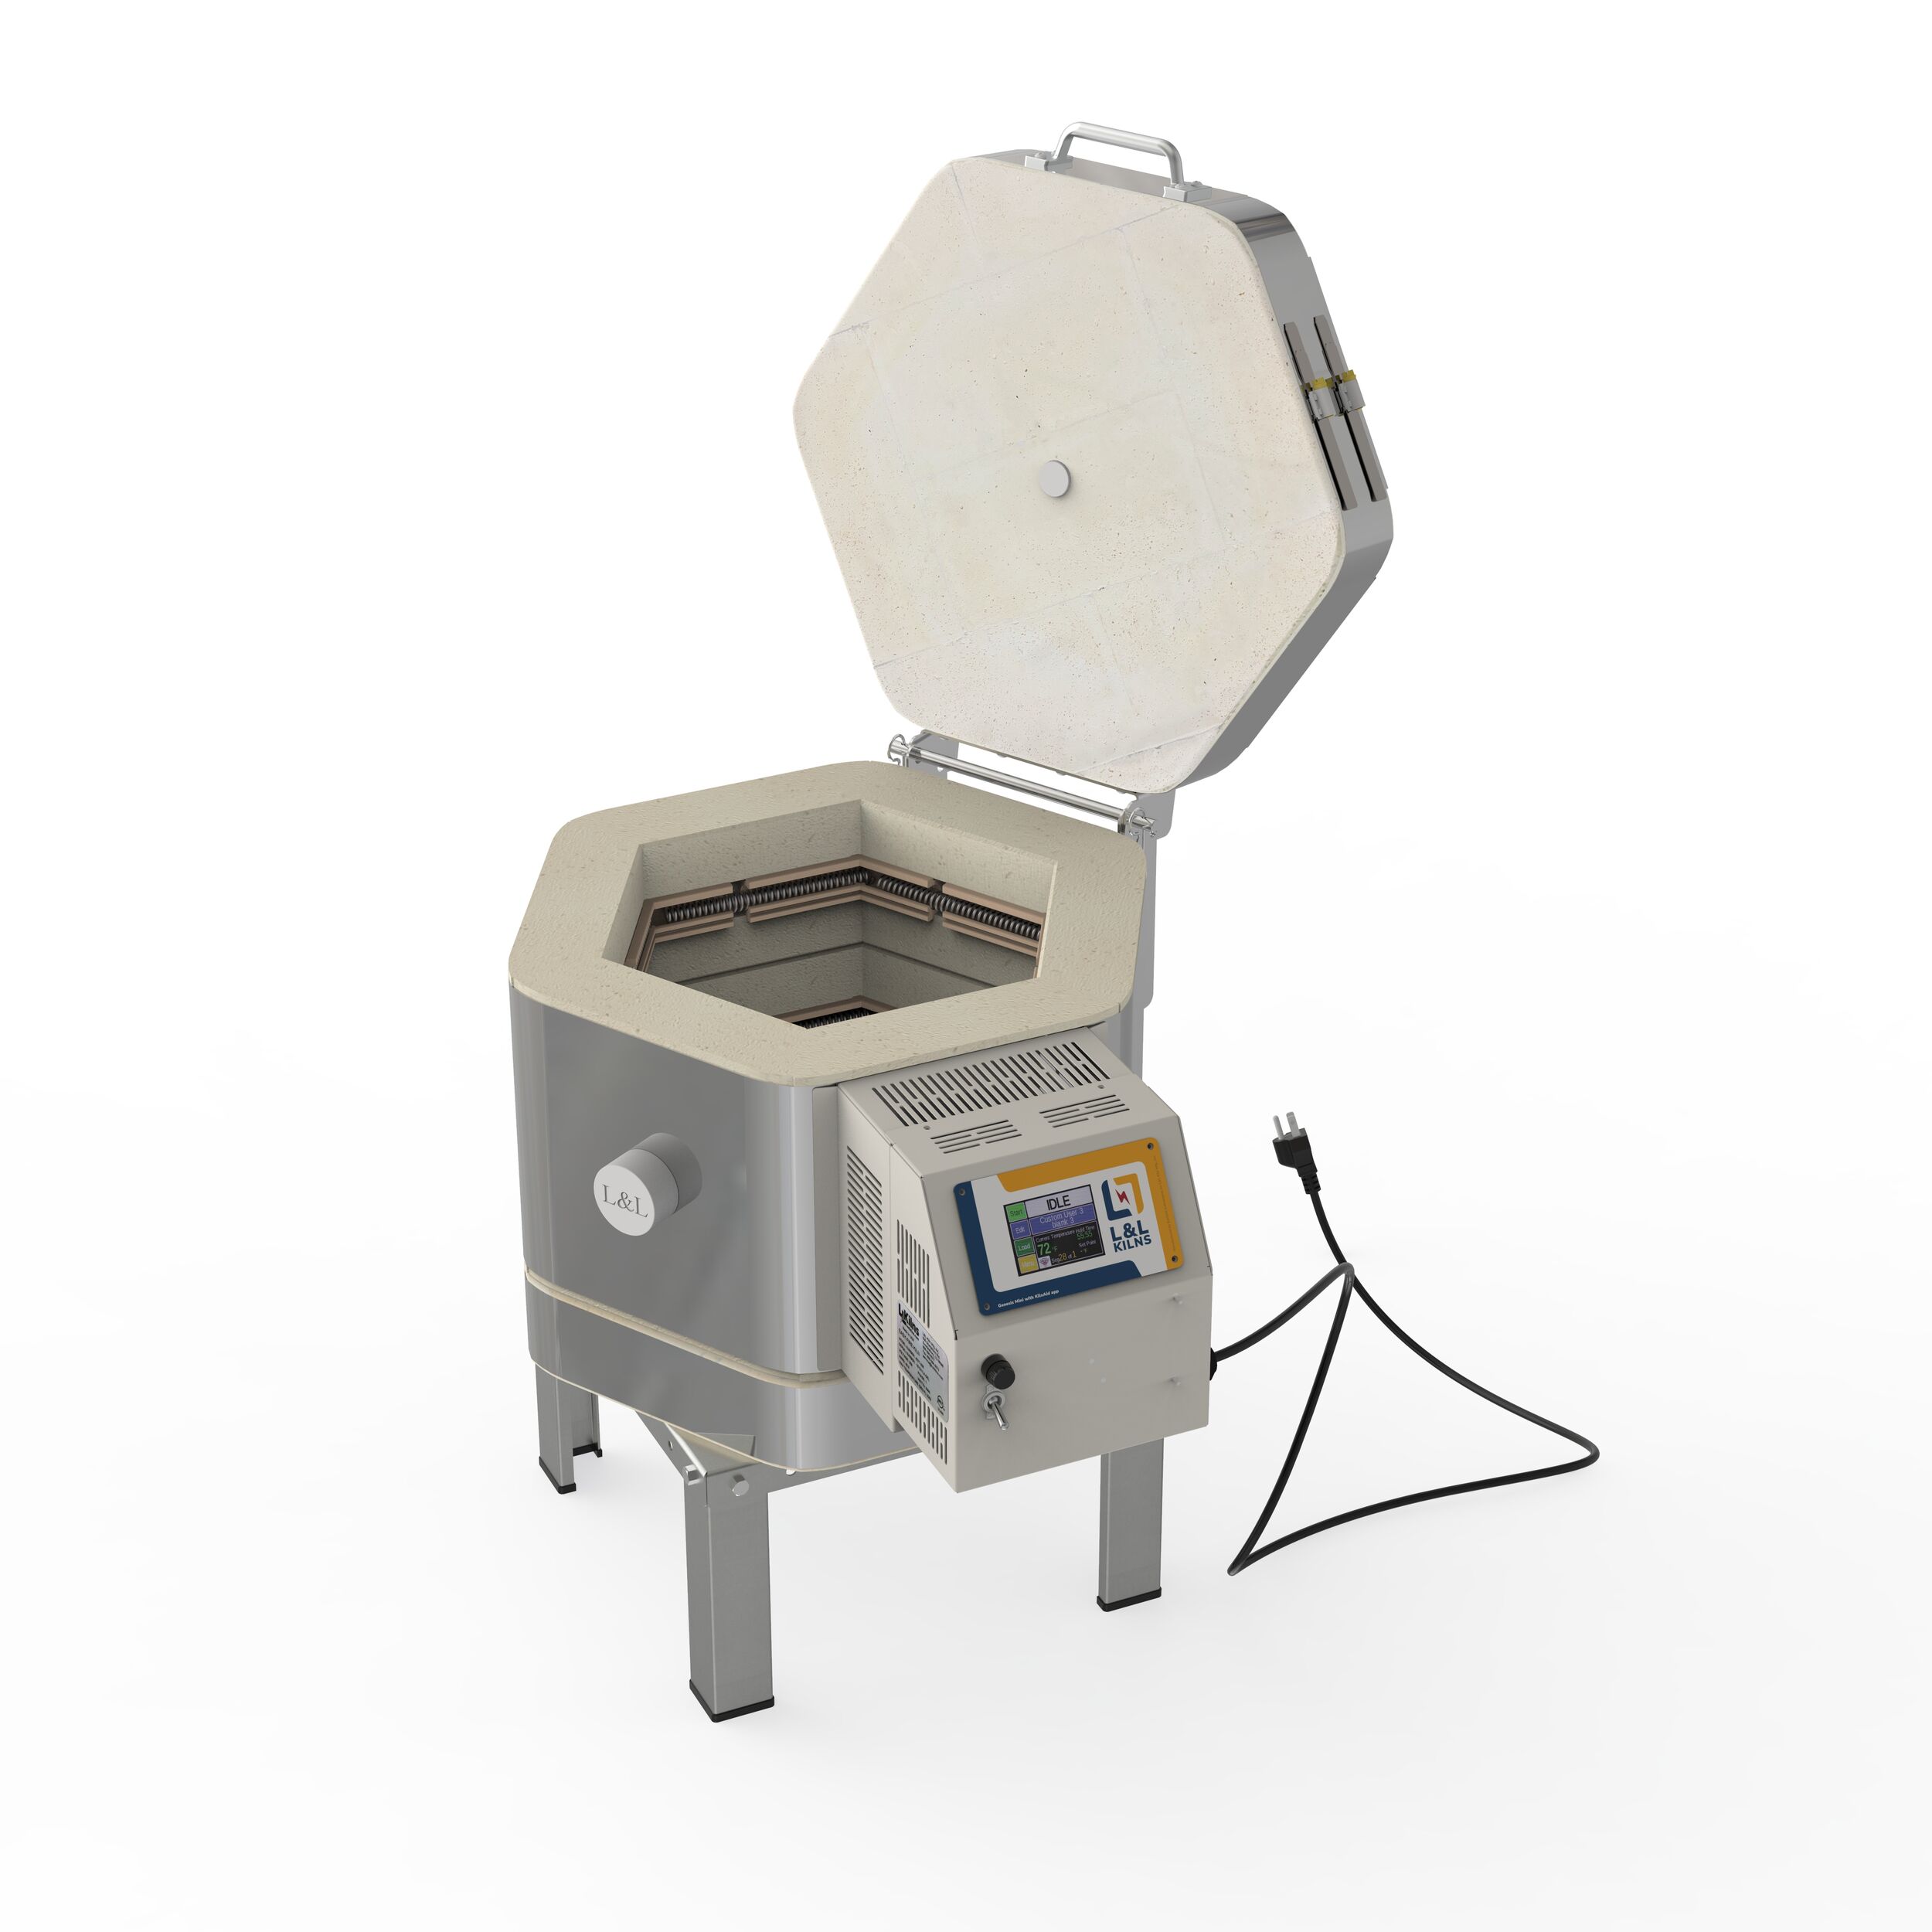
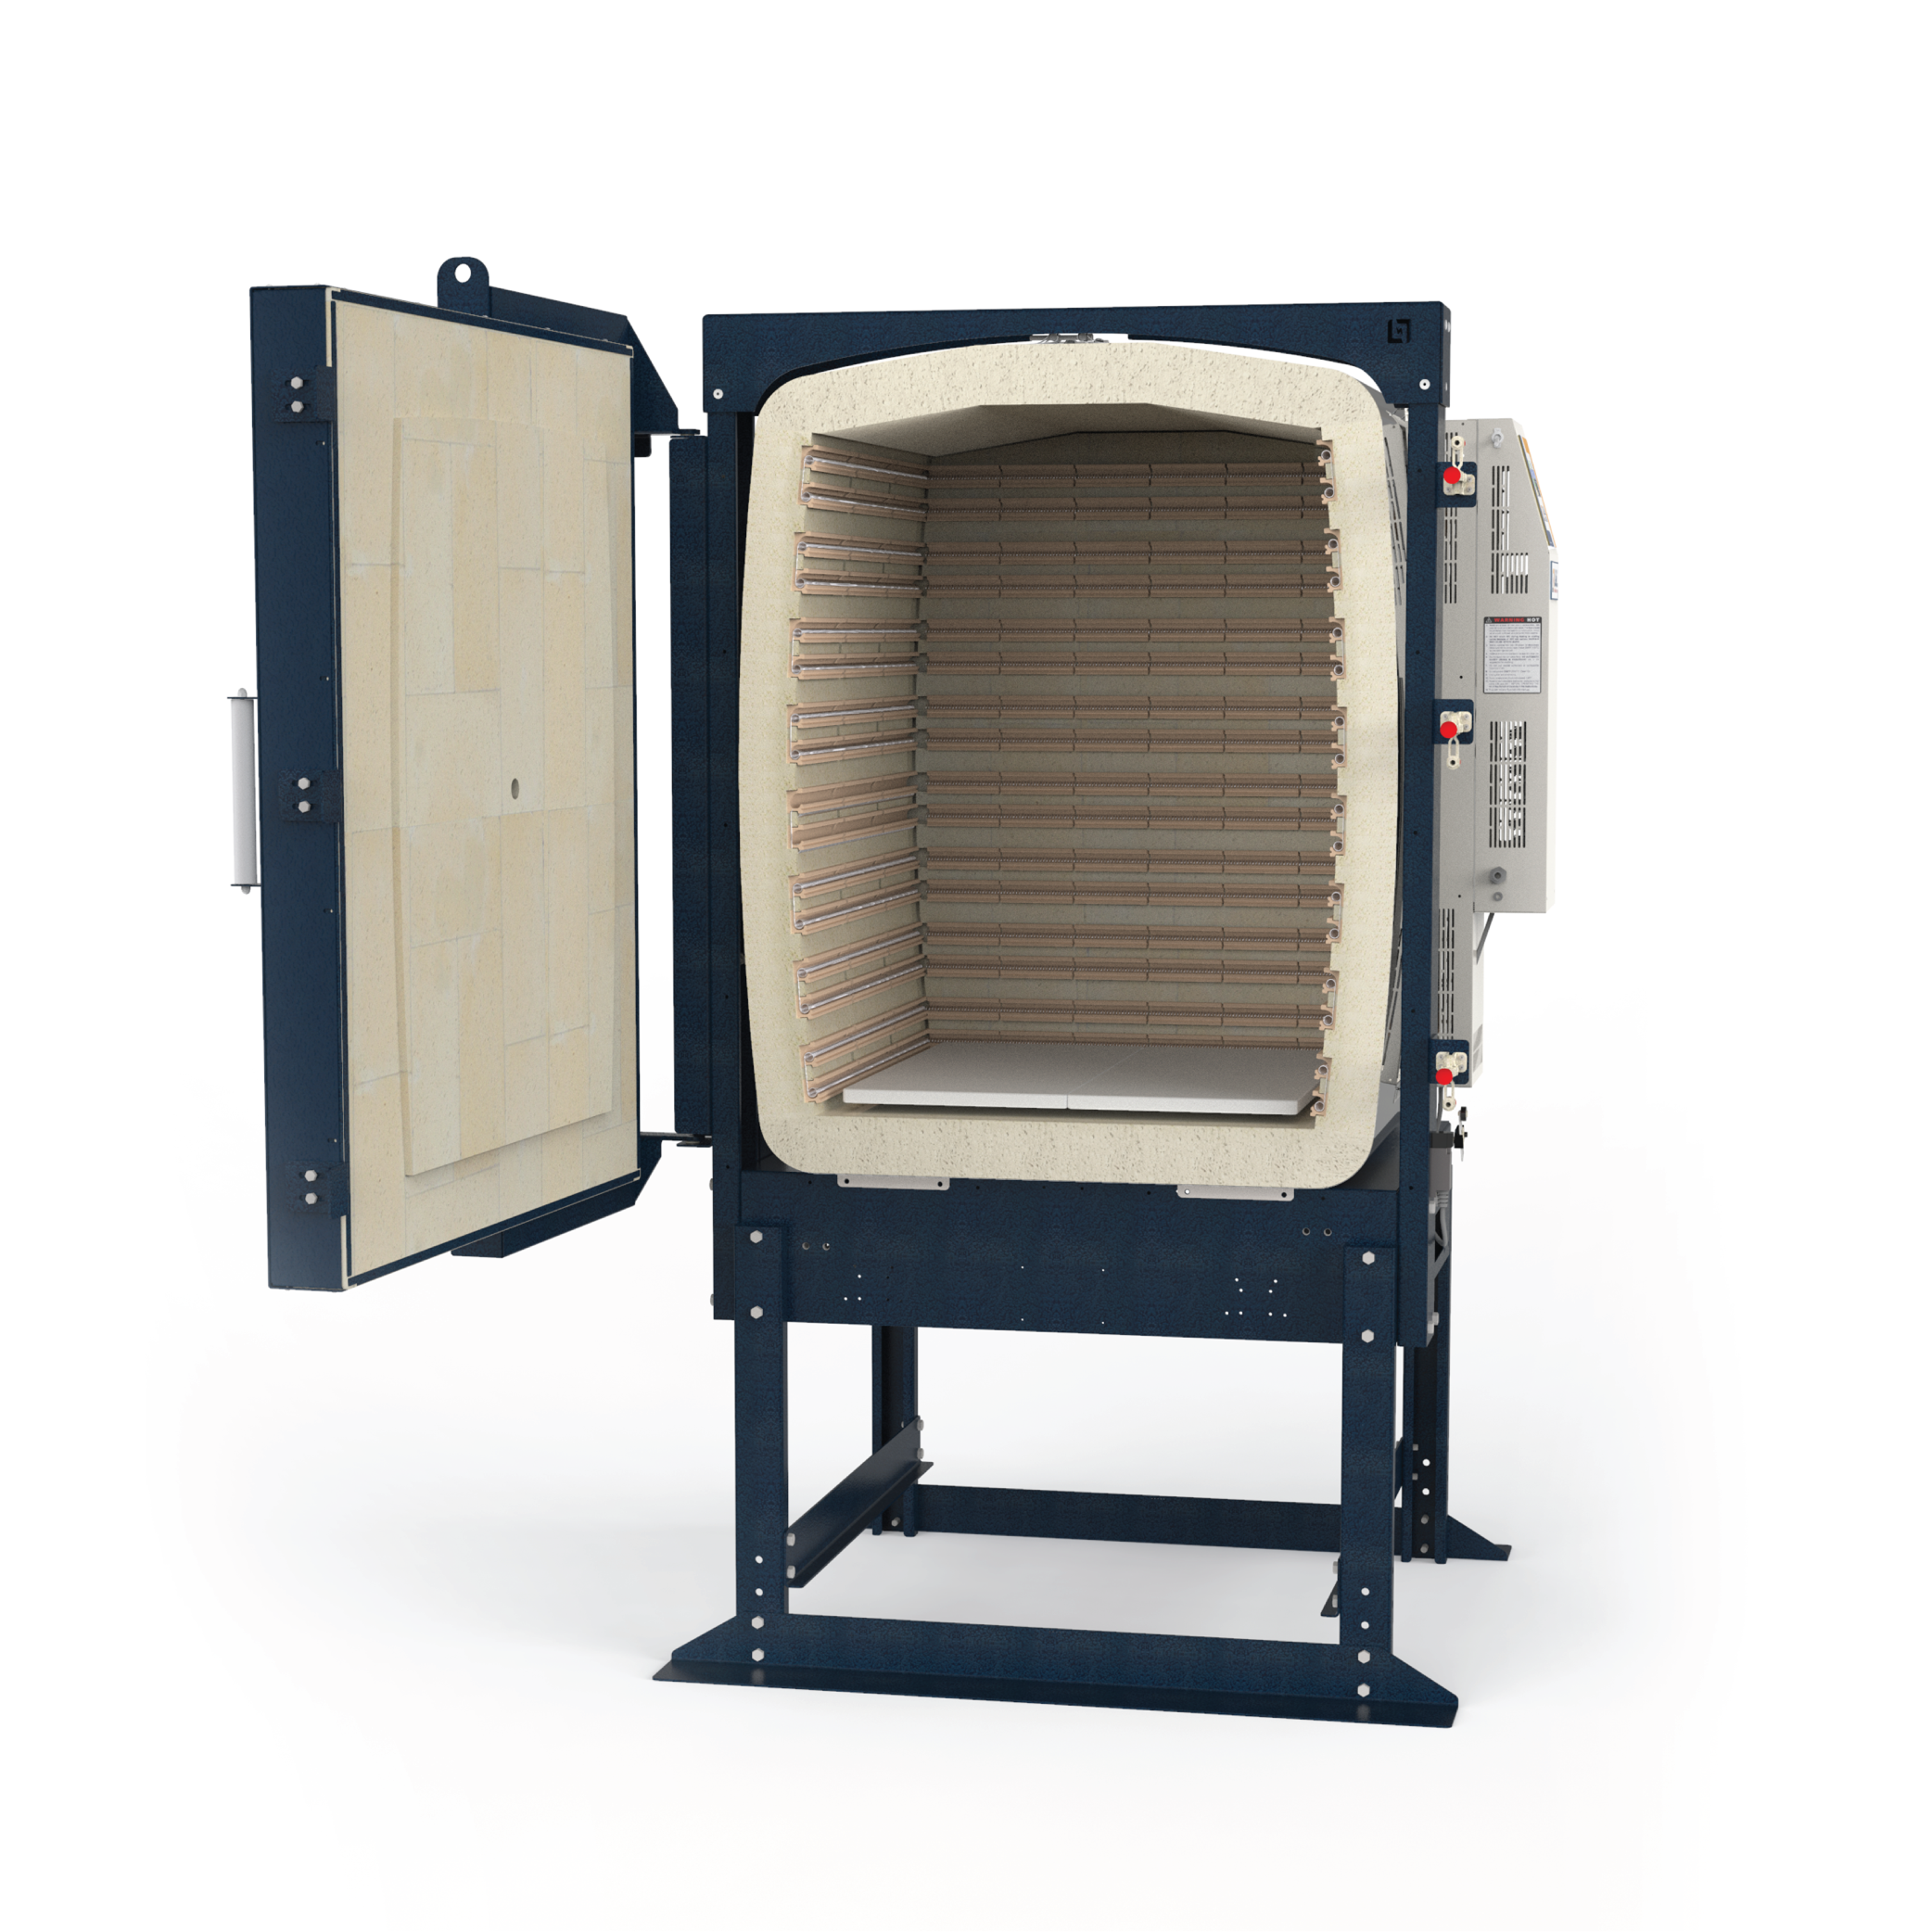
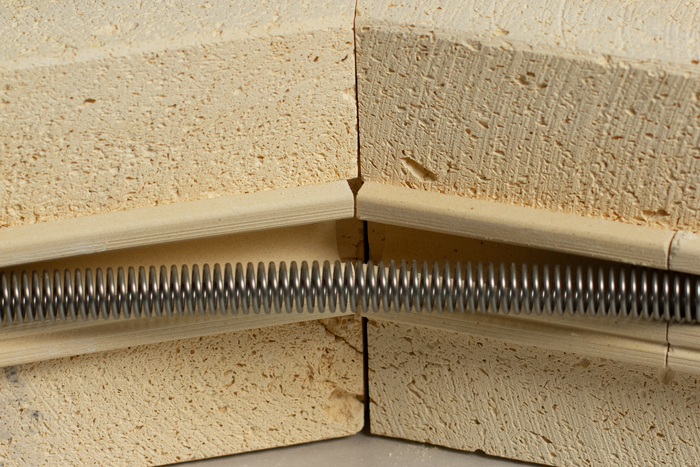
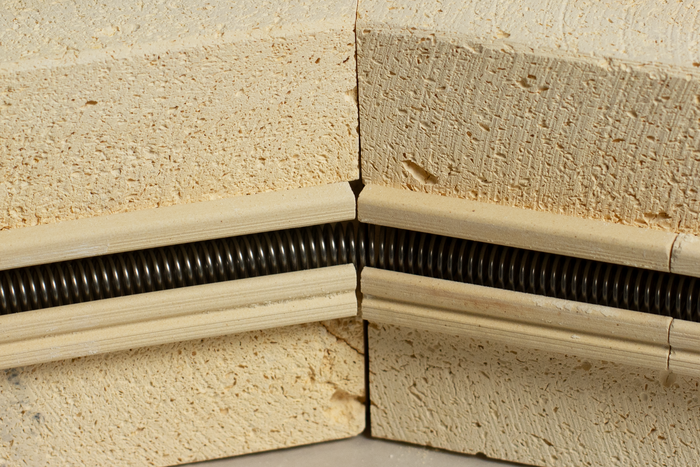
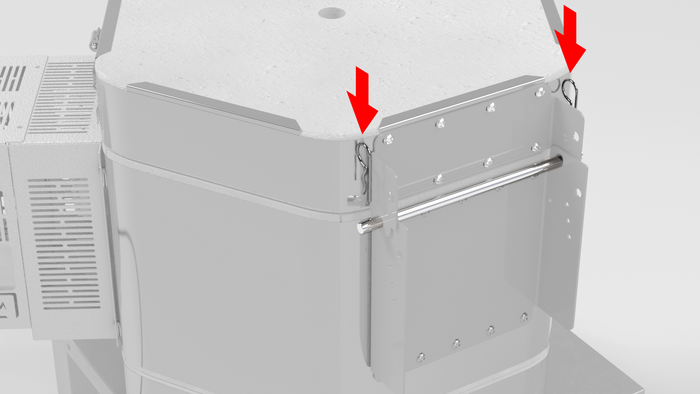
Remove the transport clips from the element channels in the kiln body and ensure that the elements rest completely in the channels before firing.

Assembly
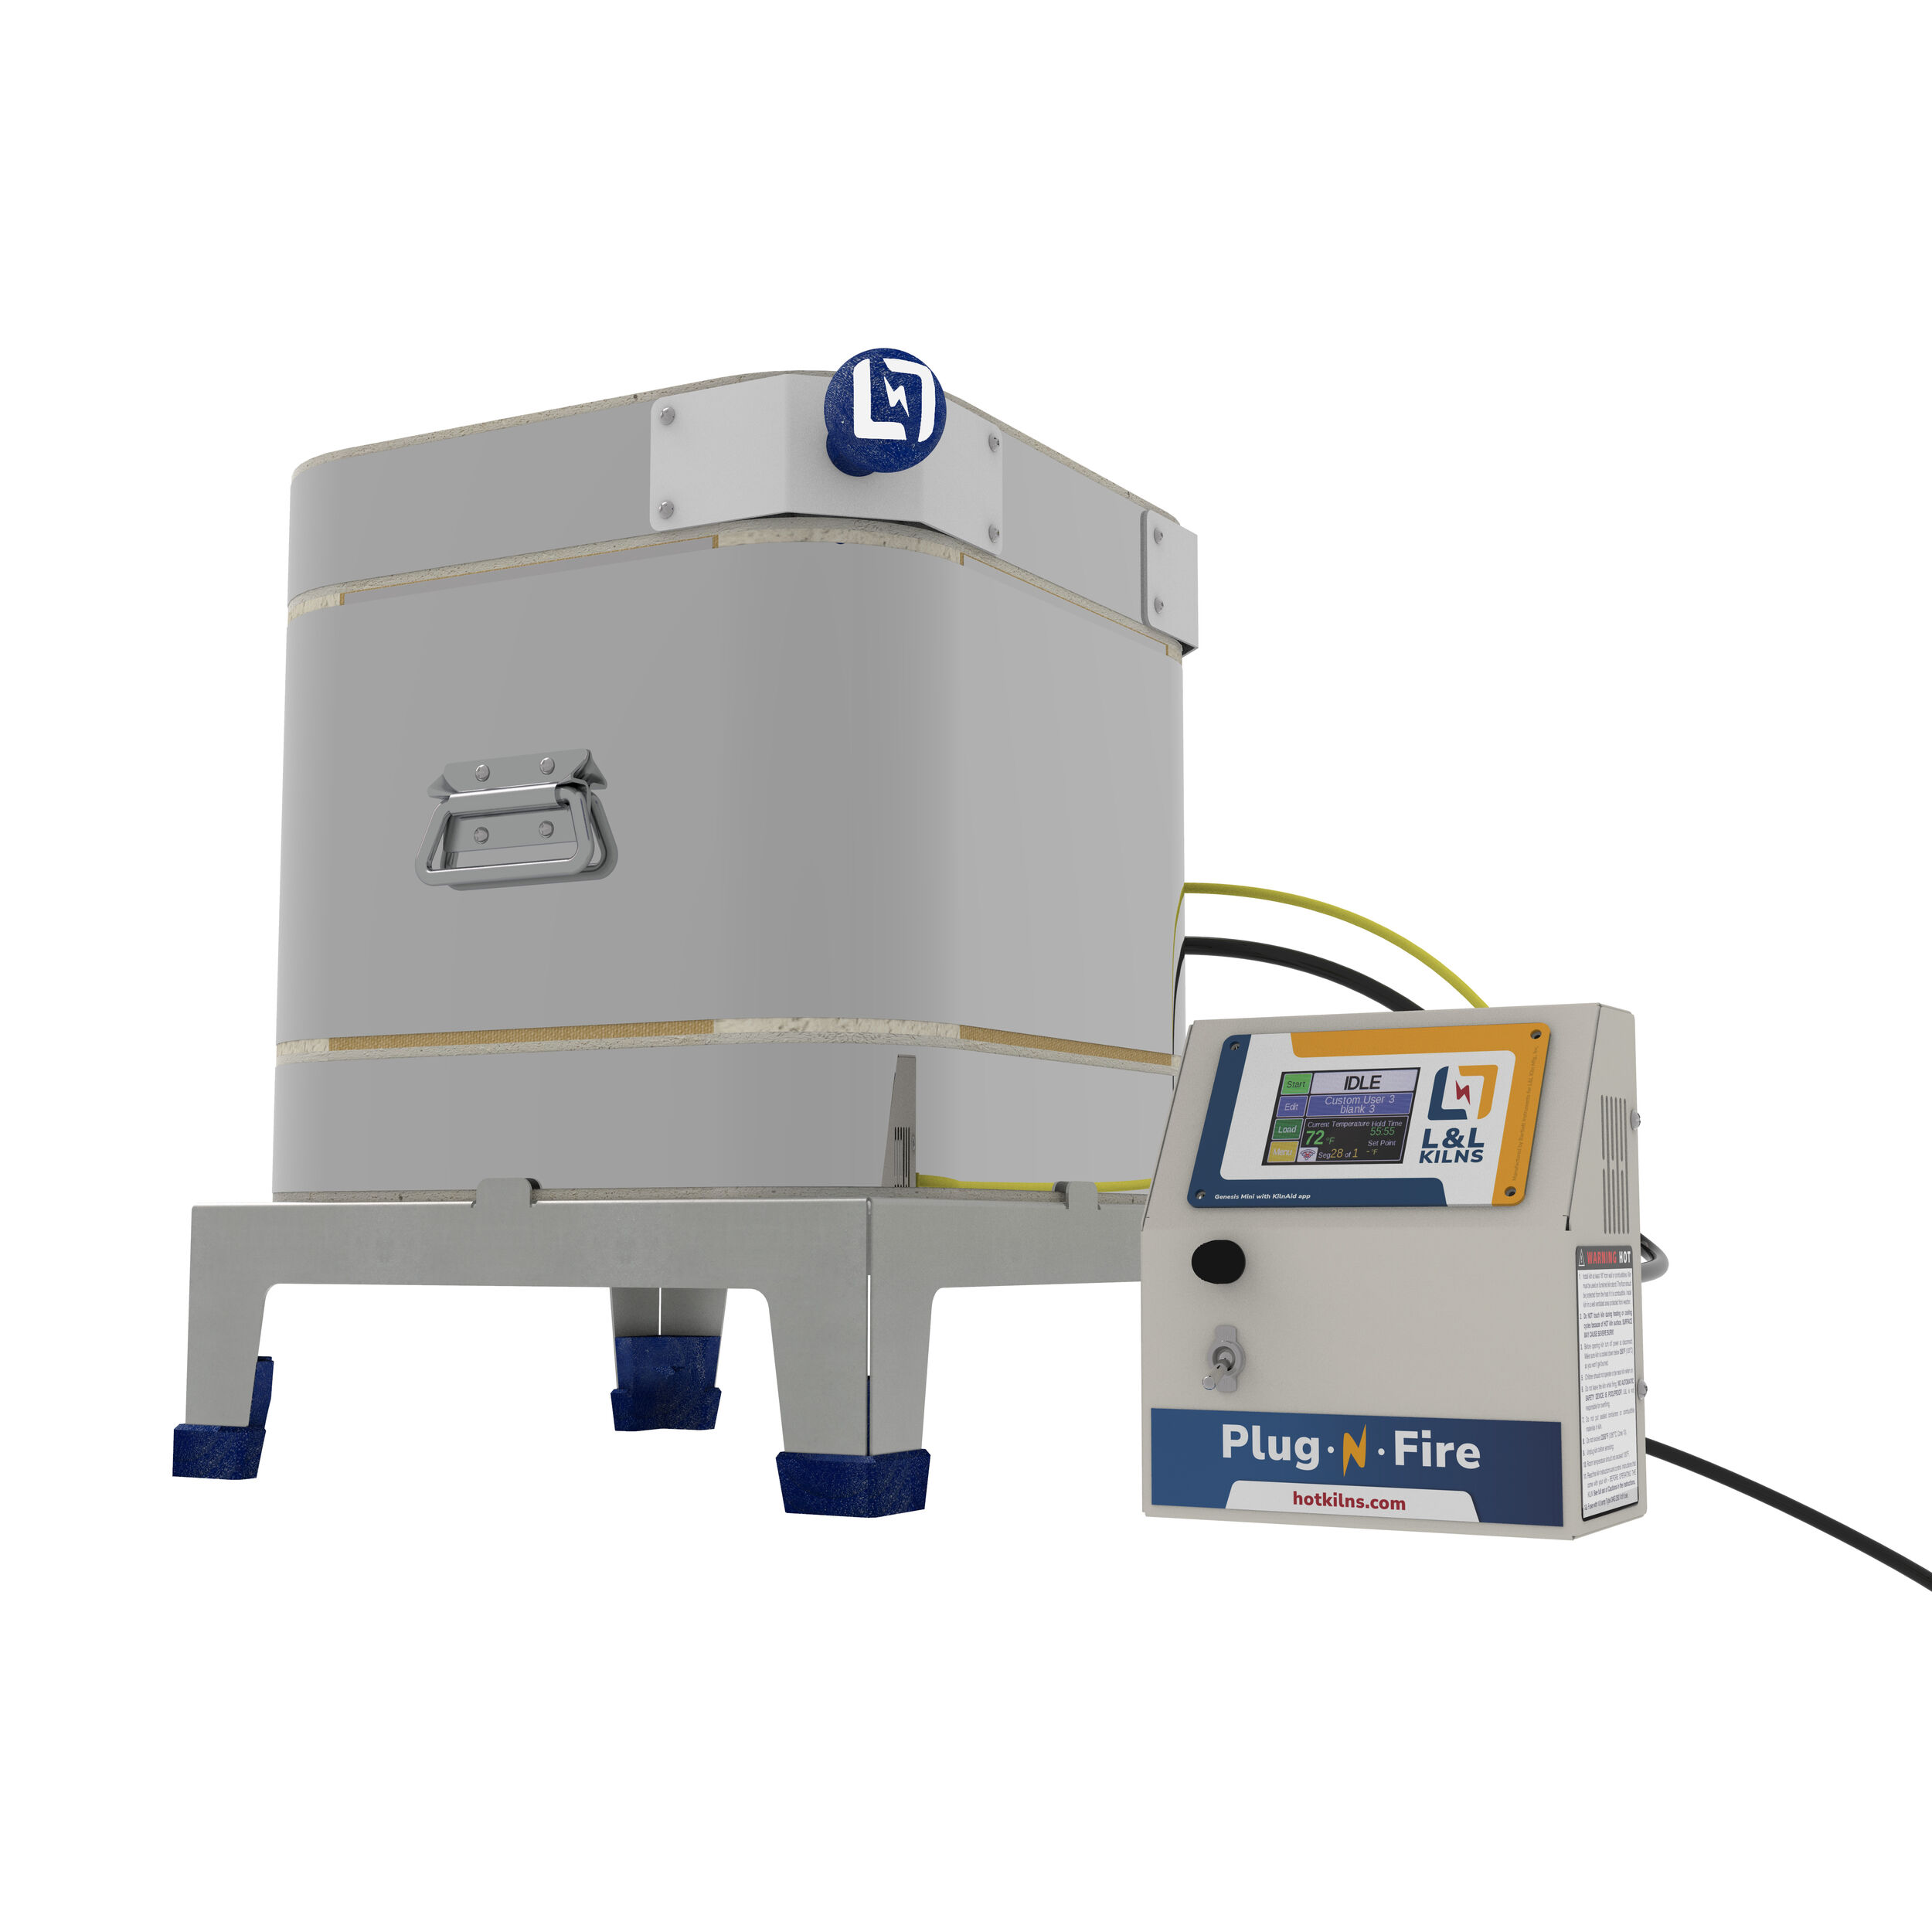
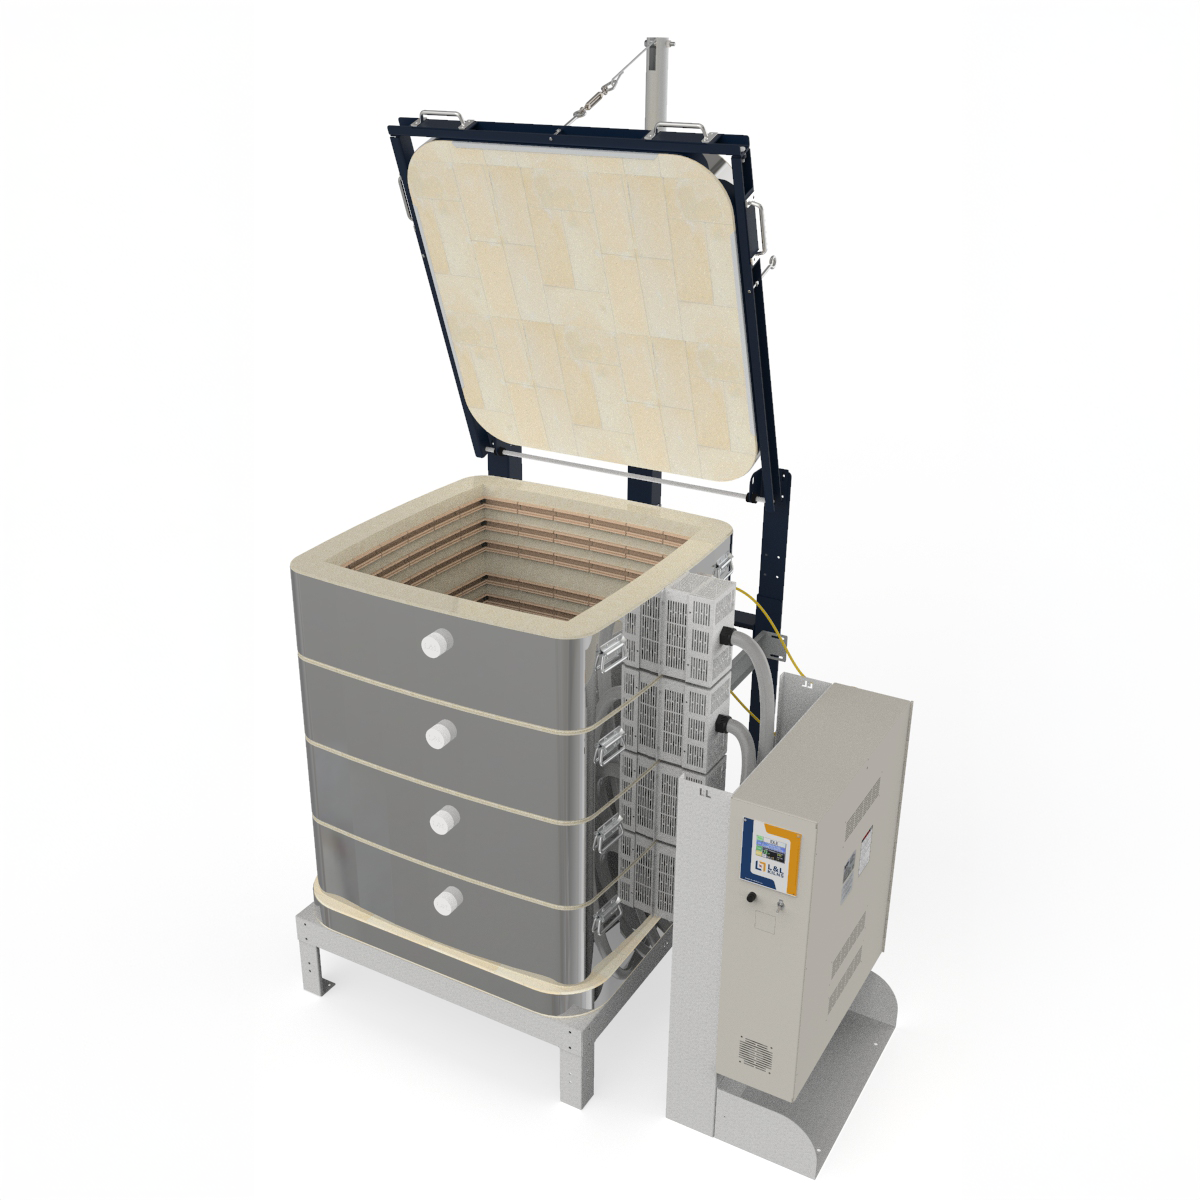
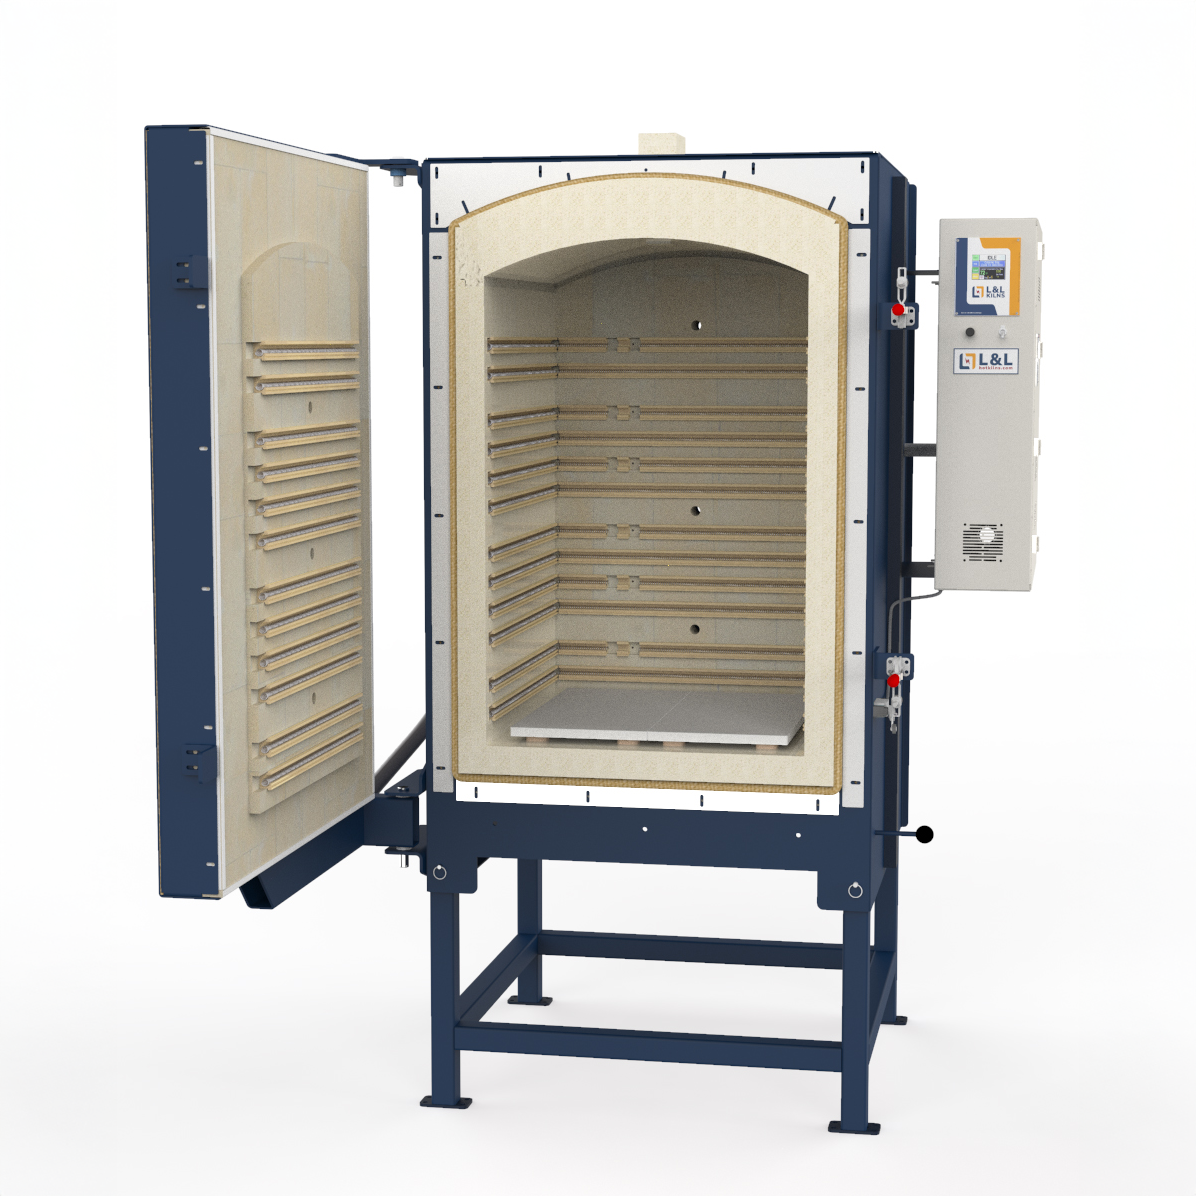
1. Bolt the four legs to the stand with the provided hardware

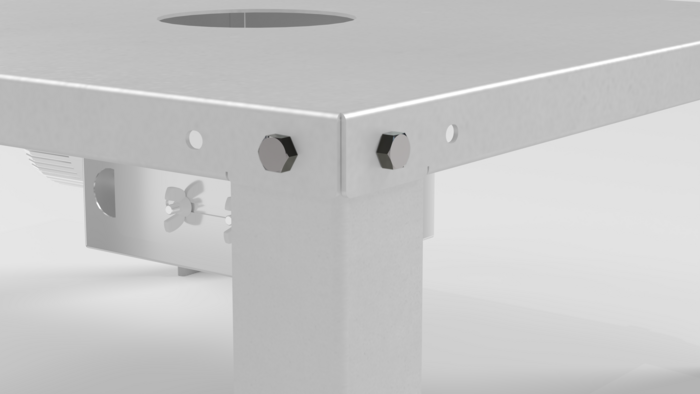
2. Place the stand in the appropriate position.
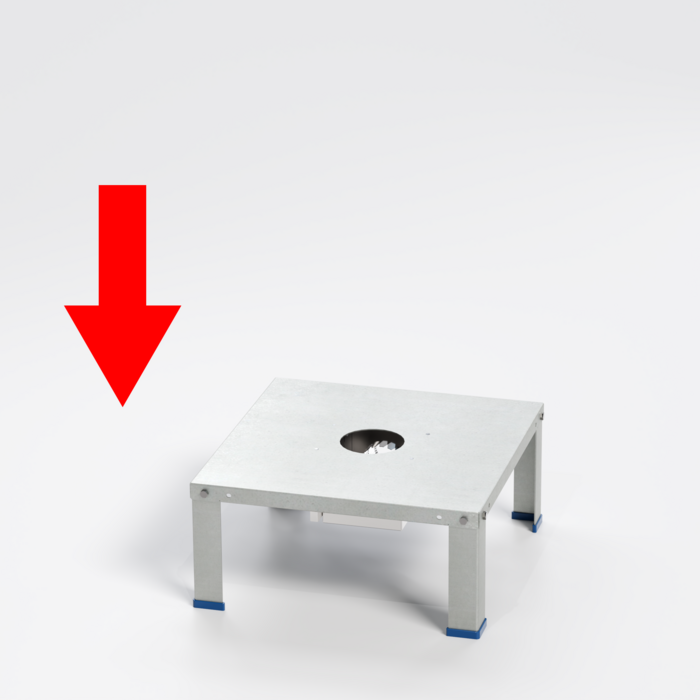
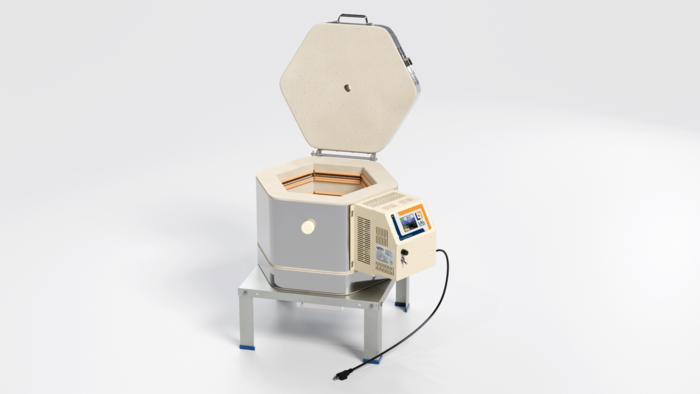
3. Place the bottom slab on top of the stand.
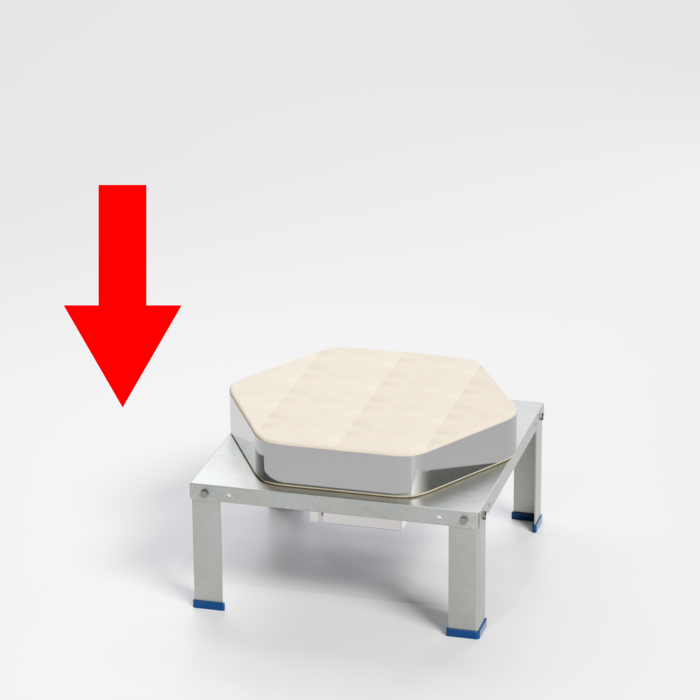
4. Place the kiln body on top of the slab.
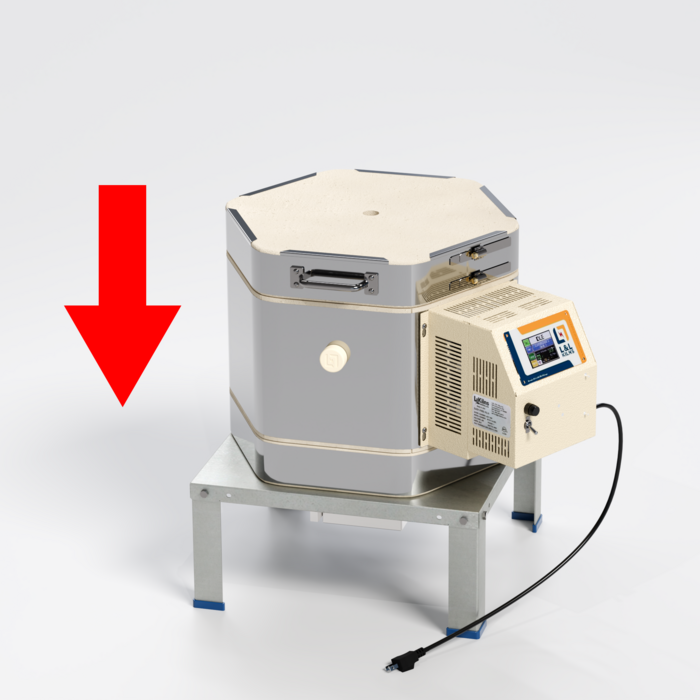
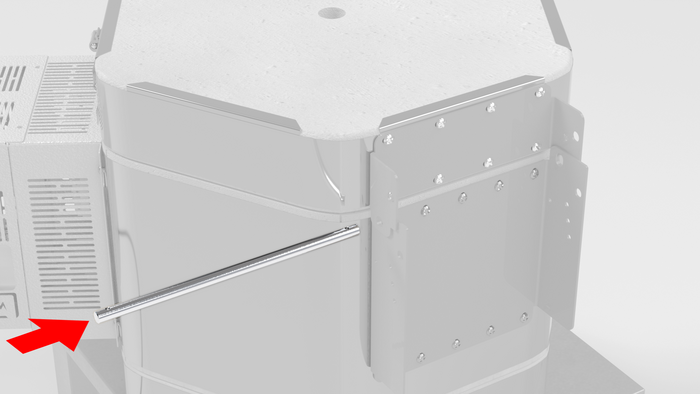
5. The lid and controller will already be attached to the kiln body. If you need to make any adjustments, the hinge assembly is a simple bar held in place by two cotter pins.
Now you're ready to Fire!
Moving
If you need to relocate your Doll kiln, you can easily disassemble and reassemble it at the new location. However, it's crucial to be aware that kilns expand and contract during the firing process, which can cause the steel case to loosen over time. Therefore, if the kiln has been fired, ensure you tighten the steel case before moving it. This precaution helps maintain the kiln's structural integrity and ensures safe transport.