

Brick Repair on a Kiln
REV: 5/26/2026
OVERVIEW & CAUTIONS
- Firebrick is a fragile material subject to breakage, spalling, and thermal shock.
- The good news is that it is easy to repair and maintain with the proper materials and techniques.
- L&L's Brick Repair Kit includes all the materials you will need to do a first-class job.
- Use protective glasses and gloves when working with the Cement, Patch, or Facing.
- This brick repair kit is intended for L&L kilns. You do so at your own risk if you use it on anything else. It will not work on other refractory types, such as wood stoves, etc.
BRICK REPAIR KIT

See https://www.youtube.com/video/7zvQwnuDcuo
Included with Brick Repair Kit
- ½ Pint of Brick Dust
- ½ Pint of Pot-Sil (Potasium Silicate)
- ½ Pint of Brick Cement
- 1 New Firebrick
- 1 Brush
- 1 Sponge
- 1 Plastic Spatula
- 1 Tongue Depressor
- Rubber Gloves
- Instructions
BRICK PATCH (Made from Brick Dust and Pot-Sil)

See https://www.youtube.com/video/iViSDqnEAcQ
- Brick patch is a versatile material that can be used to repair various chips, holes, and gouges in kiln brick.
- Brick Patch will work best on small to medium sized defects on a flat face of firebrick.
- For more severe damage, consider cutting out and cementing new pieces of kiln brick.
Brick Patch Formula:
Brick Patch is mixed from water and the included Pot-Sil and Brick Dust.
- The mixing ratio is 1 part water, 3 parts Pot-Sil, and about 6 parts Brick Dust.
- Start by mixing the water and Pot-Sil, then slowly add the Brick Dust and mix thoroughly.
- Mix with a tongue depressor or plastic spatula.
- It should be on the edge between a liquid and a solid and have the consistency of wet clay or silly putty.
- If need be, add a little water to moisten it or a little brick dust to dry it until the correct consistency is achieved.
Repairing small holes and chips:
- Remove dust and debris with a brush or vacuum.
- Press the Patch into the voids with a plastic spatula.
- Use a twisting wrist motion and push it in from
several directions to ensure the patch sticks to all sides of the hole. - Coat the repair with Brick Facing to strengthen it. (Optional)
- Allow to dry for 24 hours before firing. (We recommend a fast glaze fire to cone 05)
BRICK CEMENT

See https://www.youtube.com/video/FypOeLFWNyc
Why use brick cement?
- Brick cement can repair severe damage to your kiln brick, such as large holes, chipped edges, and cracks.
- Repairs with brick cement are more involved. For less severe damage, consider using Brick Patch.
- Repairing very large holes and chips
- If damage is too severe to use brick patch, you can use brick cement to adhere a new piece of firebrick into place.
Brick Cement Process
- Use a saw, router, or chisel to remove the damaged area, leaving an even and square void behind.
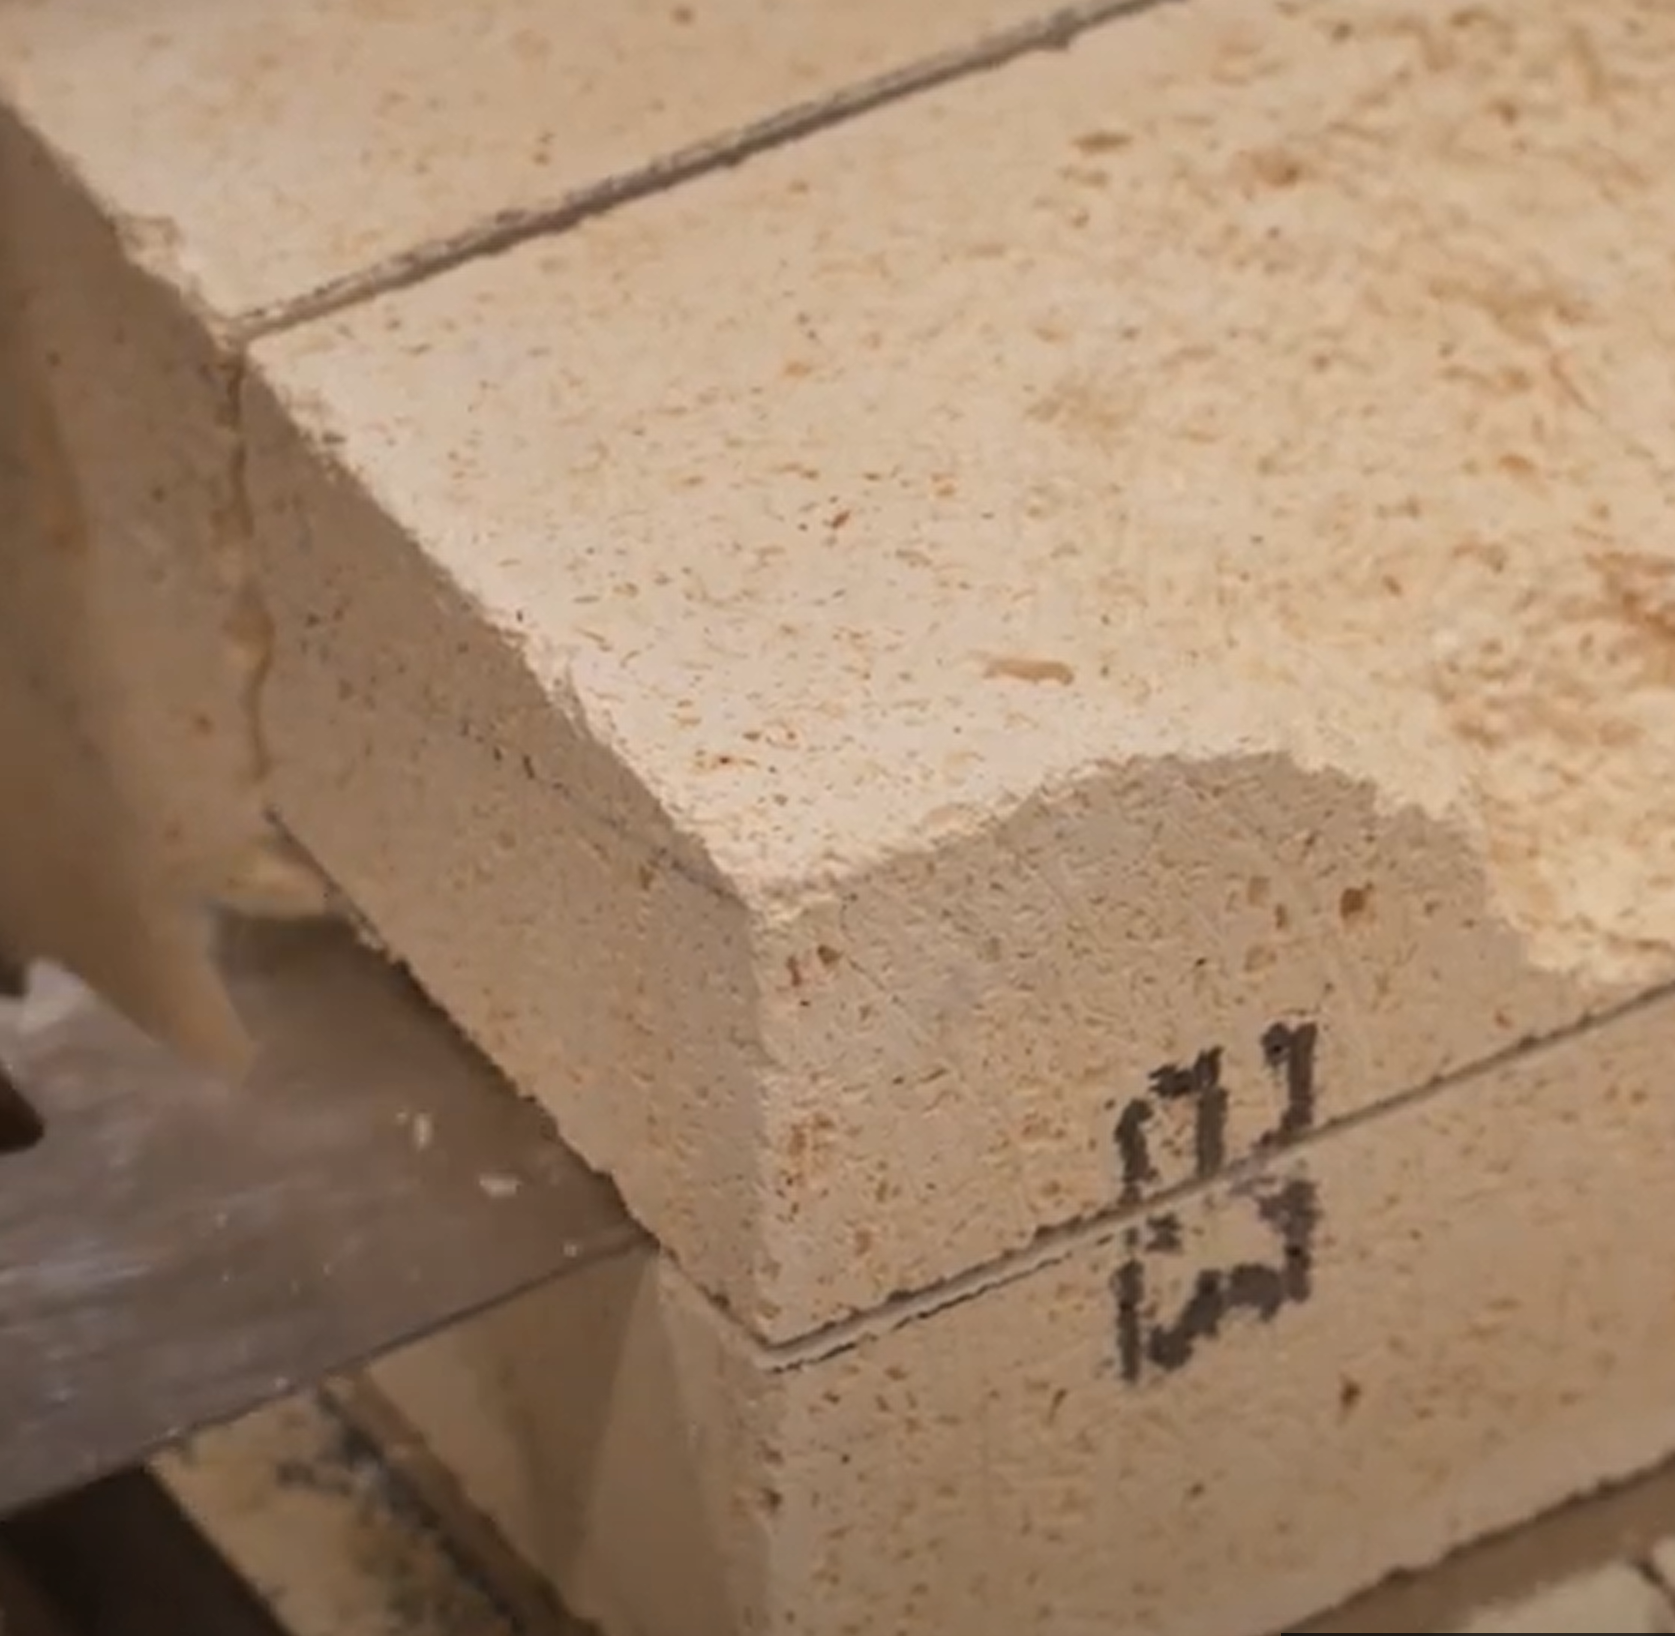
- Cut a piece of the new firebrick to fit in the void. The piece should be slightly smaller (about 1/16” to 1/8”.)
- Thoroughly clean all surfaces of dust and debris.
- Wet down the area before applying cement.
- Apply an even coat of cement onto all surfaces using a plastic spatula.
- Press the new brick piece into place and wipe away excess cement.
- Allow to dry for 24 hours before sanding flush.
- Coat with brick facing and allow it to dry completely before firing.
Repairing hairline cracks:


See https://www.youtube.com/video/G1PF0bguGgM
It is normal for your kiln to develop hairline cracks. Most are not a cause for concern and don’t require repair. However, these cracks can be repaired with this method if they get more severe.
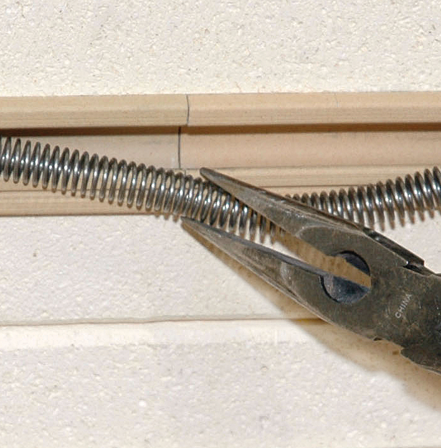
- Use a drill with a 1/8” drill bit to rout a channel along the crack. (The bit should protrude 1” into the brick.)
- Remove all dust from the channel with a vacuum.
- Wet down the channel. (A spray bottle works best.)
- Thin out the cement with water to ensure it seeps in.
- Use a plastic spatula to fill the channel with cement. Push it deep into the channel and blend it smooth.
- Allow to dry for 24 hours before sanding smooth.
BRICK FACING
Brick Facing can be used to strengthen the surface of the brick and protect it from future damage.
Facing Formula:
Brick facing is mixed from water and the included Pot-Sil.
- The mixing ratio is 8 parts water to 1 part Pot-Sil
Application:
- Mix the facing thoroughly.
- Use a sponge to lightly smooth the facing onto the brick surface.
- Only small amounts should be needed.
BRICK PROBLEMS
Excessive Brick Wear:
Excessive brick wear can be the result of various conditions. The most common is improper brick curing when it is first fired. Follow the instructions in the installation section for the first firing and curing cycle!
All insulating firebrick expands and contracts when heated and cooled. Over time this leads to cracking and spalling. Spalling is the continued cracking of the brick, which eventually results in large pieces of the brick falling out. This is a normal condition as long as the emphasis is on eventually. Factors such as how often the kiln is fired at or near maximum temperature, how often and how fast the kiln is cycled up to heat and then cooled, and how heavy the loads are, all figure into the brick wear equation. There is no set rule as to how long a brick lining will last. Some L&L kilns are 25 to 30 years old, and the original lining is still in place. Note that the type of brick we use is the same one we have always used and is generally used in the hobby kiln industry.
- Frequent door openings when the kiln is at high temperatures can cause thermal shock, leading to excessive cracking and spalling. Do not open the kiln when it is hot (>500°F). Thermal shock can destroy the brick and your ceramic pieces.
- For light to moderate spalling, coat the brick with the Brick Facing
Removing glaze spots:
- Be sure to remove any spots of glaze that get onto the firebrick sides or on the element holders. When the kiln is fired, the glaze will remelt and potentially damage the elements.
- Once removed, use Brick Patch to repair the hole left behind.
Loose bricks:
Firebrick will shrink slightly over time. This is more pronounced when using the kiln at higher temperatures like cone 10. You may never notice this condition if you only use the kiln for low fire bisque. If the bricks shrink too much they can become loose.
- Occasionally tighten the case by turning the screws of the case clamps. Do this 1/4 of a turn at a time on each of the clamps. Keep a balanced tightening (i.e. don’t tighten one clamp too much at one time). Slow is good.
- You can also do this on the bands around the top and bottom. This will help maintain the integrity of those slabs even if there is a crack.
Replacing side bricks:

See https://www.youtube.com/video/dnsBoUAuK0E

See https://www.youtube.com/video/zxWUM8NP-08
General lid and bottom maintenance:
- Mechanical shock can crack the fragile lid if you close it too quickly.
- Lids and bottoms developing hairline cracks is normal and not a cause for concern. These shouldn’t require repair.
- If repairing cracks becomes necessary, see the section on Brick Cement.
- Be careful not to overload the bottom.
- As long as the bottom is fully supported by the stand, cracks in the bottom will not adversely affect the kiln's operation.
- If the bottom deteriorates over time, try putting a full ceramic shelf directly on top.
- In many L&L Kilns the bottom can be reversed once the initial inside surface deteriorates.
- It is okay to double up. You can buy a new bottom and place it under your cracked or spalling one.
- Cover the bottom with kiln wash to prevent dripping glaze from sticking.
- If glaze does get onto the bottom, be sure to scrape it off. Then, apply kiln wash over the area that you have scraped clean.
Repairing a cracked lid or bottom:

See https://www.youtube.com/video/pZNQkeS41rA
Replacing kiln lids

See https://www.youtube.com/video/9_3NDmlqCbQ

See https://www.youtube.com/video/Ejh5wcyE1Uk
Front Loader Brick Repair:

See https://www.youtube.com/video/qftZOFSYWh4

See https://www.youtube.com/video/X3PhjpWxedQ

See https://www.youtube.com/video/hXiVZNd57SU

See https://www.youtube.com/video/e-GYhRiMtZU
Repairing Kiln Brick With Andrew Seymore

See https://www.youtube.com/video/Ywm9mCTO7Kc?si=zfv_TNlZn1w9yzMq