


General Troubleshooting Guide
REV: 2/1/2025
getting started
This troubleshooting guide will give you a basic overview of common problems. Once the problem or faulty component is identified, please refer to the dedicated page for that topic.
Safety First
CAUTION – ELECTRICITY CAN KILL
Refer to our electric troubleshooting guide for specifics about working with electricity
- Only qualified personnel (e.g., electricians or trained technicians) should perform steps involving live electrical power.
- Unplug the kiln if you're not qualified or uncomfortable—never guess. Always verify circuits are disconnected before touching anything.
- Use proper safety protocols: wear PPE and follow lock-out/tag-out procedures when working on live circuits.
Tools You’ll Need
- Digital multimeter (to measure ohms and AC voltage)
- Assorted screwdrivers, nutdrivers, wrenches, pliers (needle-nose, standard), wire cutters, wire strippers, and wire-terminal crimpers
Troubleshooting Approach
Start with Symptoms – Don’t Guess
Like diagnosing a health issue, begin by identifying what’s going wrong—e.g., the kiln won’t heat, error messages appear, or firing is slow or uneven.Define the Variables
List all the possible factors that could cause the issue—such as voltage supply, element age, relay functionality, or thermocouple accuracy.Eliminate Variables One at a Time
Use a logical, step-by-step process to test each variable and narrow down the actual cause.
Common Problems & Solutions
Below are some frequently encountered issues, along with ways to diagnose and fix them. Always unplug or shut off power at the breaker before removing panels or touching internal components (unless a live test is explicitly required and performed by a qualified person).
Error Codes
- For a complete list of Error codes, what they mean, and how to address them, please see our dedicated Error Code page.
- Some common error codes include:
- Errd: Temperature difference of more than 50°F between zones. Read More
- Err1: Kiln is climbing too slowly (under 12°F/hr in the final stages). Usually indicates worn elements or relay failure. Read More
- Err2–Err8: Various over-/under-shoot conditions. Read More
- ErrP / PF: Power outage. Read More
- FAIL: Thermocouple circuit failure. Read More
“FAIL” Errors or Thermocouple Problems
- “FAIL” with “tC1,” “tC2,” or “tC3” usually means a thermocouple circuit failure and is commonly caused by a corroded or broken thermocouple tip.
- Check Tip: Unplug kiln. Inspect thermocouple tip for cracks or corrosion. Replace if damaged.
- Check Wiring: Ensure red (–) and yellow (+) leads are secure and correctly connected. Look for loose or melted wires.
- Measure Resistance: With the kiln unplugged, measure resistance across the thermocouple connections on the terminal strip (expect around 0.9–1.0 ohms). If you see “OL,” there is an open circuit (likely a failed thermocouple or lead).
- Test Controller: If shorting the thermocouple terminals on the board directly gives a proper room temperature reading, then the thermocouple wires are at fault. If it still shows an error, the board may be at fault.
- Read More
Fix:
- Replace the faulty thermocouple following these instructions.
Control Display Is Blank
- On/Off Switch: Ensure the switch is on and toggle it off and on again.
- Control Fuse: Inspect the fuse in the control box; replace if blown and check the fuse holder for damage.
- Power Cord & Plug: Reseat the plug firmly, check the cord for damage or discoloration, and replace if necessary.
- Circuit Breaker: Verify the breaker is on, test the outlet or terminal block voltage (qualified personnel only), and confirm correct breaker/fuse ratings.
- Control Transformer: Check for ~240V or 208V on the primary side and ~24V on the secondary side; replace if there’s proper input but no output.
- Control Board: If voltage is present at the board and the transformer is good, the control board itself may need to be replaced.
- Internal Wiring: With power off, confirm all connections are secure, and inspect for burns or frayed insulation.
- Short Circuits: Look for burnt wires, fraying, or dirt buildup; a short typically blows a fuse or trips the breaker.
- Read More
Display Is Normal, But Kiln Won’t Heat
- Programming: Verify the kiln is programmed correctly, with no unintended delays or preheat times.
- Wiring & Continuity: Unplug the kiln, confirm all relay power-wire connections, and use a multimeter to test continuity of each element circuit at the relay outputs or terminal strip.
- Control Board Outputs: check output signals for each relay control wire ~12V DC each.
- Caution: Only qualified personnel should do live tests.
- Relays: If you hear a relay click but the element doesn’t heat, the relay may have failed internally—replace if needed.
- Elements: Burned-out elements or incorrect element resistance can prevent heating; see our Element Troubleshooting page for more details.
- Paper Test: Conduct a paper test to help diagnose element issues
Uneven Firing (Kiln Fires Hot/Cold in Different Areas)
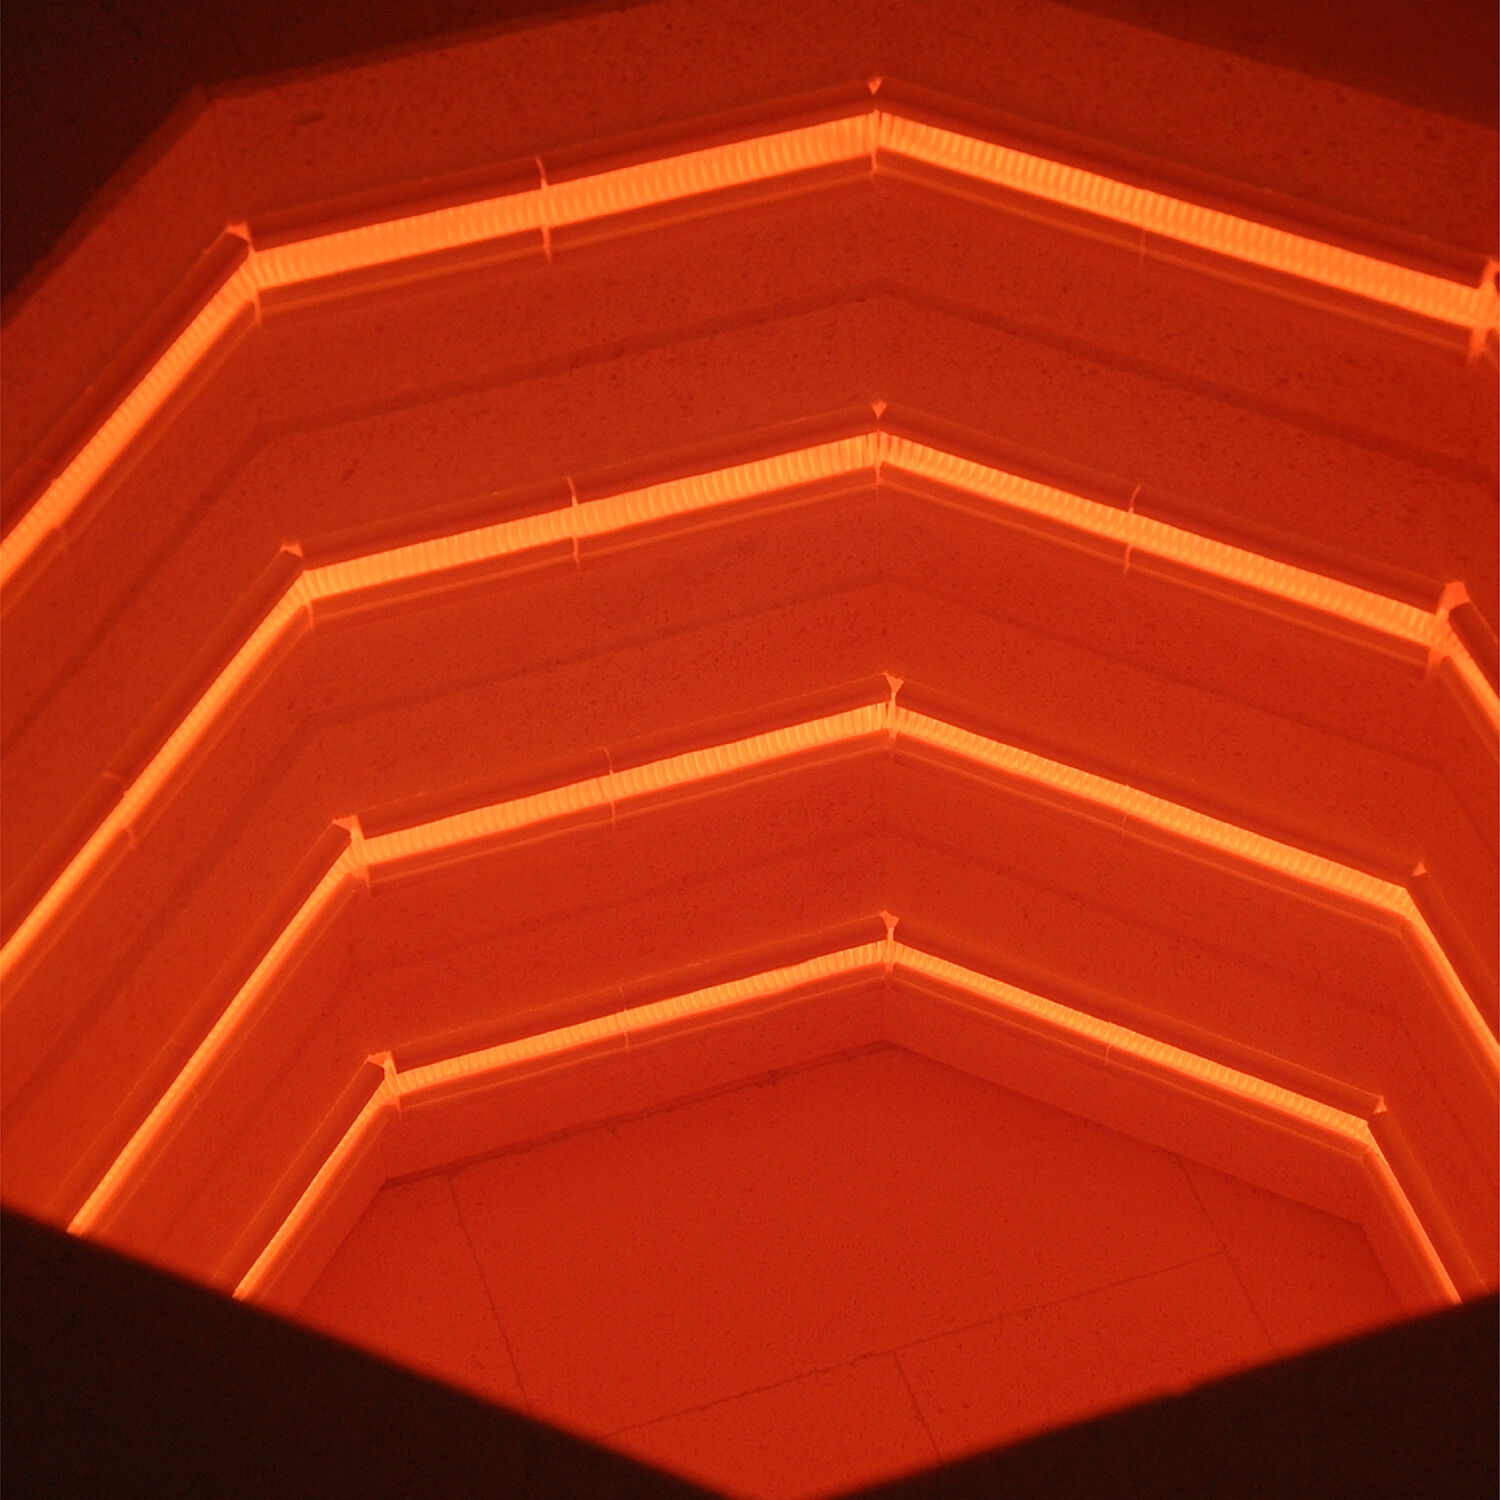
- Peepholes & Lid Seal: Keep peephole plugs in and ensure the lid or door seals well. A slight glow is normal, but large gaps cause heat loss.
- Elements: Multi-zone controls help compensate but cannot overcome severely weakened elements. Check for aging or imbalanced elements. See our Element Troubleshooting page for more details.
- Loading: Adjust shelf placement if certain areas over or underfire.
- Thermocouple drift: A drifting thermocouple can throw off uniformity; See our Calibration guide for more details.
- Vent System: A downdraft vent can improve uniformity. Ensure it doesn't pull too much air from one area; see our ventilation page for more info.
Kiln Fires Too Hot or Too Cold Overall
- Using Cones
- Always confirm final firing temperature with witness cones—especially if the kiln seems off.
- Use the Cone Offset Calculator to help with calibration.
- Calibration
- Your kiln may just need to be calibrated. Look over the Calibration Guide.
- Control Settings
- Hold Times can significantly alter final heat-work. Even a short hold can raise the effective cone.
- Thermocouple Offsets: Over time, thermocouples drift. Adjust offsets or replace thermocouples to maintain accuracy.
- Voltage Issues
- High voltage (245+ V) can cause the kiln to run hotter; low voltage can make it fire slower and potentially cooler.
Kiln Stalls or Fires Very Slowly
- Aged or Worn Elements
- As elements age, their resistance increases, reducing power.
- A slow kiln is often a sign it’s time to replace elements.
- Voltage Supply
- Check for 208V vs 240V mismatch.
- Verify your supply doesn’t drop significantly under load.
- Make sure no other major appliance is drawing current simultaneously.
- Bad Relays
- A partially failing relay might open and close intermittently.
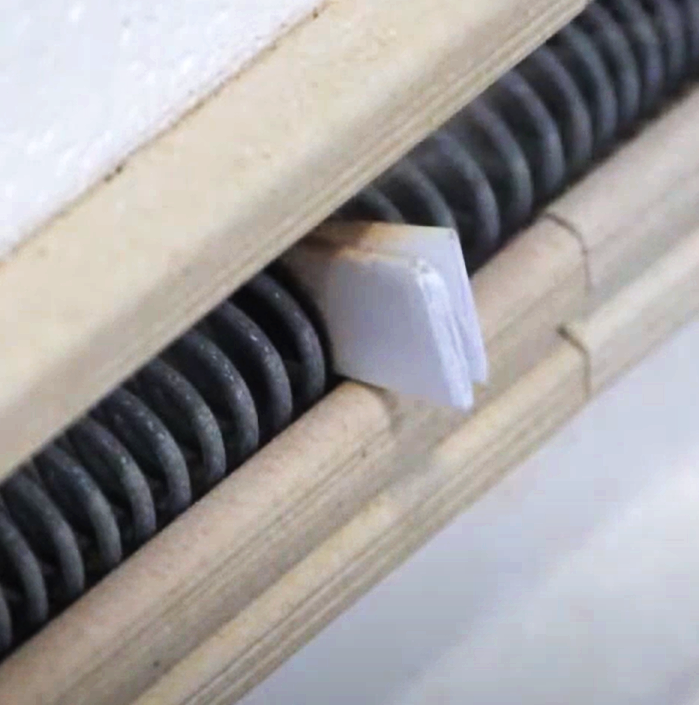
- Paper Test
- Confirm all sections are firing by placing small pieces of paper in each element groove to see if they smolder during startup.
- Other Wiring Issues
- Undersized wire, poor connections, or corroded terminals can generate extra heat or voltage drops.
Checking and Replacing Components
Kiln components age over time, and some may need to be replaced. We design our kilns to make this process quick and easy.
Elements
- Element resistance increases with age.
- Follow our element troubleshooting guide to determine if they need to be replaced.
- If replacing elements, follow our element replacement guide.
Thermocouples
- Type K thermocouples drift over time and eventually fail.
- To replace, follow these instructions.
- We recommend replacing thermocouples at the same time you replace your elements.
Relays
- Relays handle heavy loads and can fail in “open” (no heat) or “stuck on” states.
- If the relay coil has high resistance or you see visible damage, follow our relay replacement guide.
- Inspect connections and spade terminals for corrosion or looseness.
Control Boards
- If the display is blank or certain segments won’t fire despite correct signals and voltages, the control board may be bad.
- Follow our control replacement/upgrading guide.
Transformers
- The control transformer reduces the incoming line voltage from 240, 208 or 220 volts to 24 volts for the control and 12 volts for the relays.
- Guide for testing and replacing transformers
Fuse/Fuse holder
- Fuses: Fuses protect the kiln from power surges or other electrical malfunctions by breaking the circuit if too much power flows through it.
- Fuse Holder: This item rarely fails, but a damaged fuse holder can cause blank displays or no power. Replace it if it is visually damaged or tested faulty.
- Follow this guide for replacing fuses or fuse holders.
Firebrick
- Small hairline cracks are normal.
- See this page for common brick problems and how to repair them.
Final Reminders
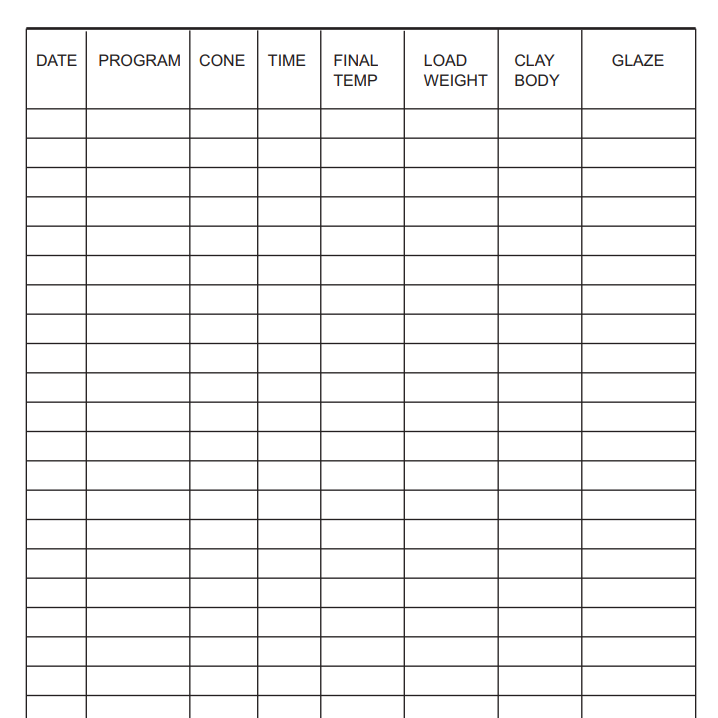
- Record-Keeping: Track your firings (cones used, times, observed issues). This helps isolate problems quickly.
- Check Elements & Thermocouples Regularly: Aging parts cause most firing issues.
- Safety Above All: If in doubt, consult a qualified electrician or kiln service professional.
With proper maintenance and correct operation, your L&L kiln will provide consistent, reliable firings for many years. When in doubt, always refer to the official L&L documentation or contact support directly.
Stay safe and happy firing!