

Changing Controls on a Kiln
REV: 2/1/2025
Introduction
Digital kiln controls automate your kiln’s firing schedule—managing ramp rates, hold times, and cool-down periods. This ensures consistent results and simplifies the firing process.
- Most of our new kilns are outfitted with the Genesis Touchscreen Control.
- Many of our older kilns used the Dynatrol Digital Control.
If your control is damaged or not functioning correctly, they are easily replaceable and interchangeable.
Replacing a Dynatrol

See https://www.youtube.com/video/xPPO2WqiUGQ
-
Disconnect Power
Unplug your kiln or ensure it is completely disconnected from any power source. -
Access the Control Panel
Unscrew and carefully open the control panel. -
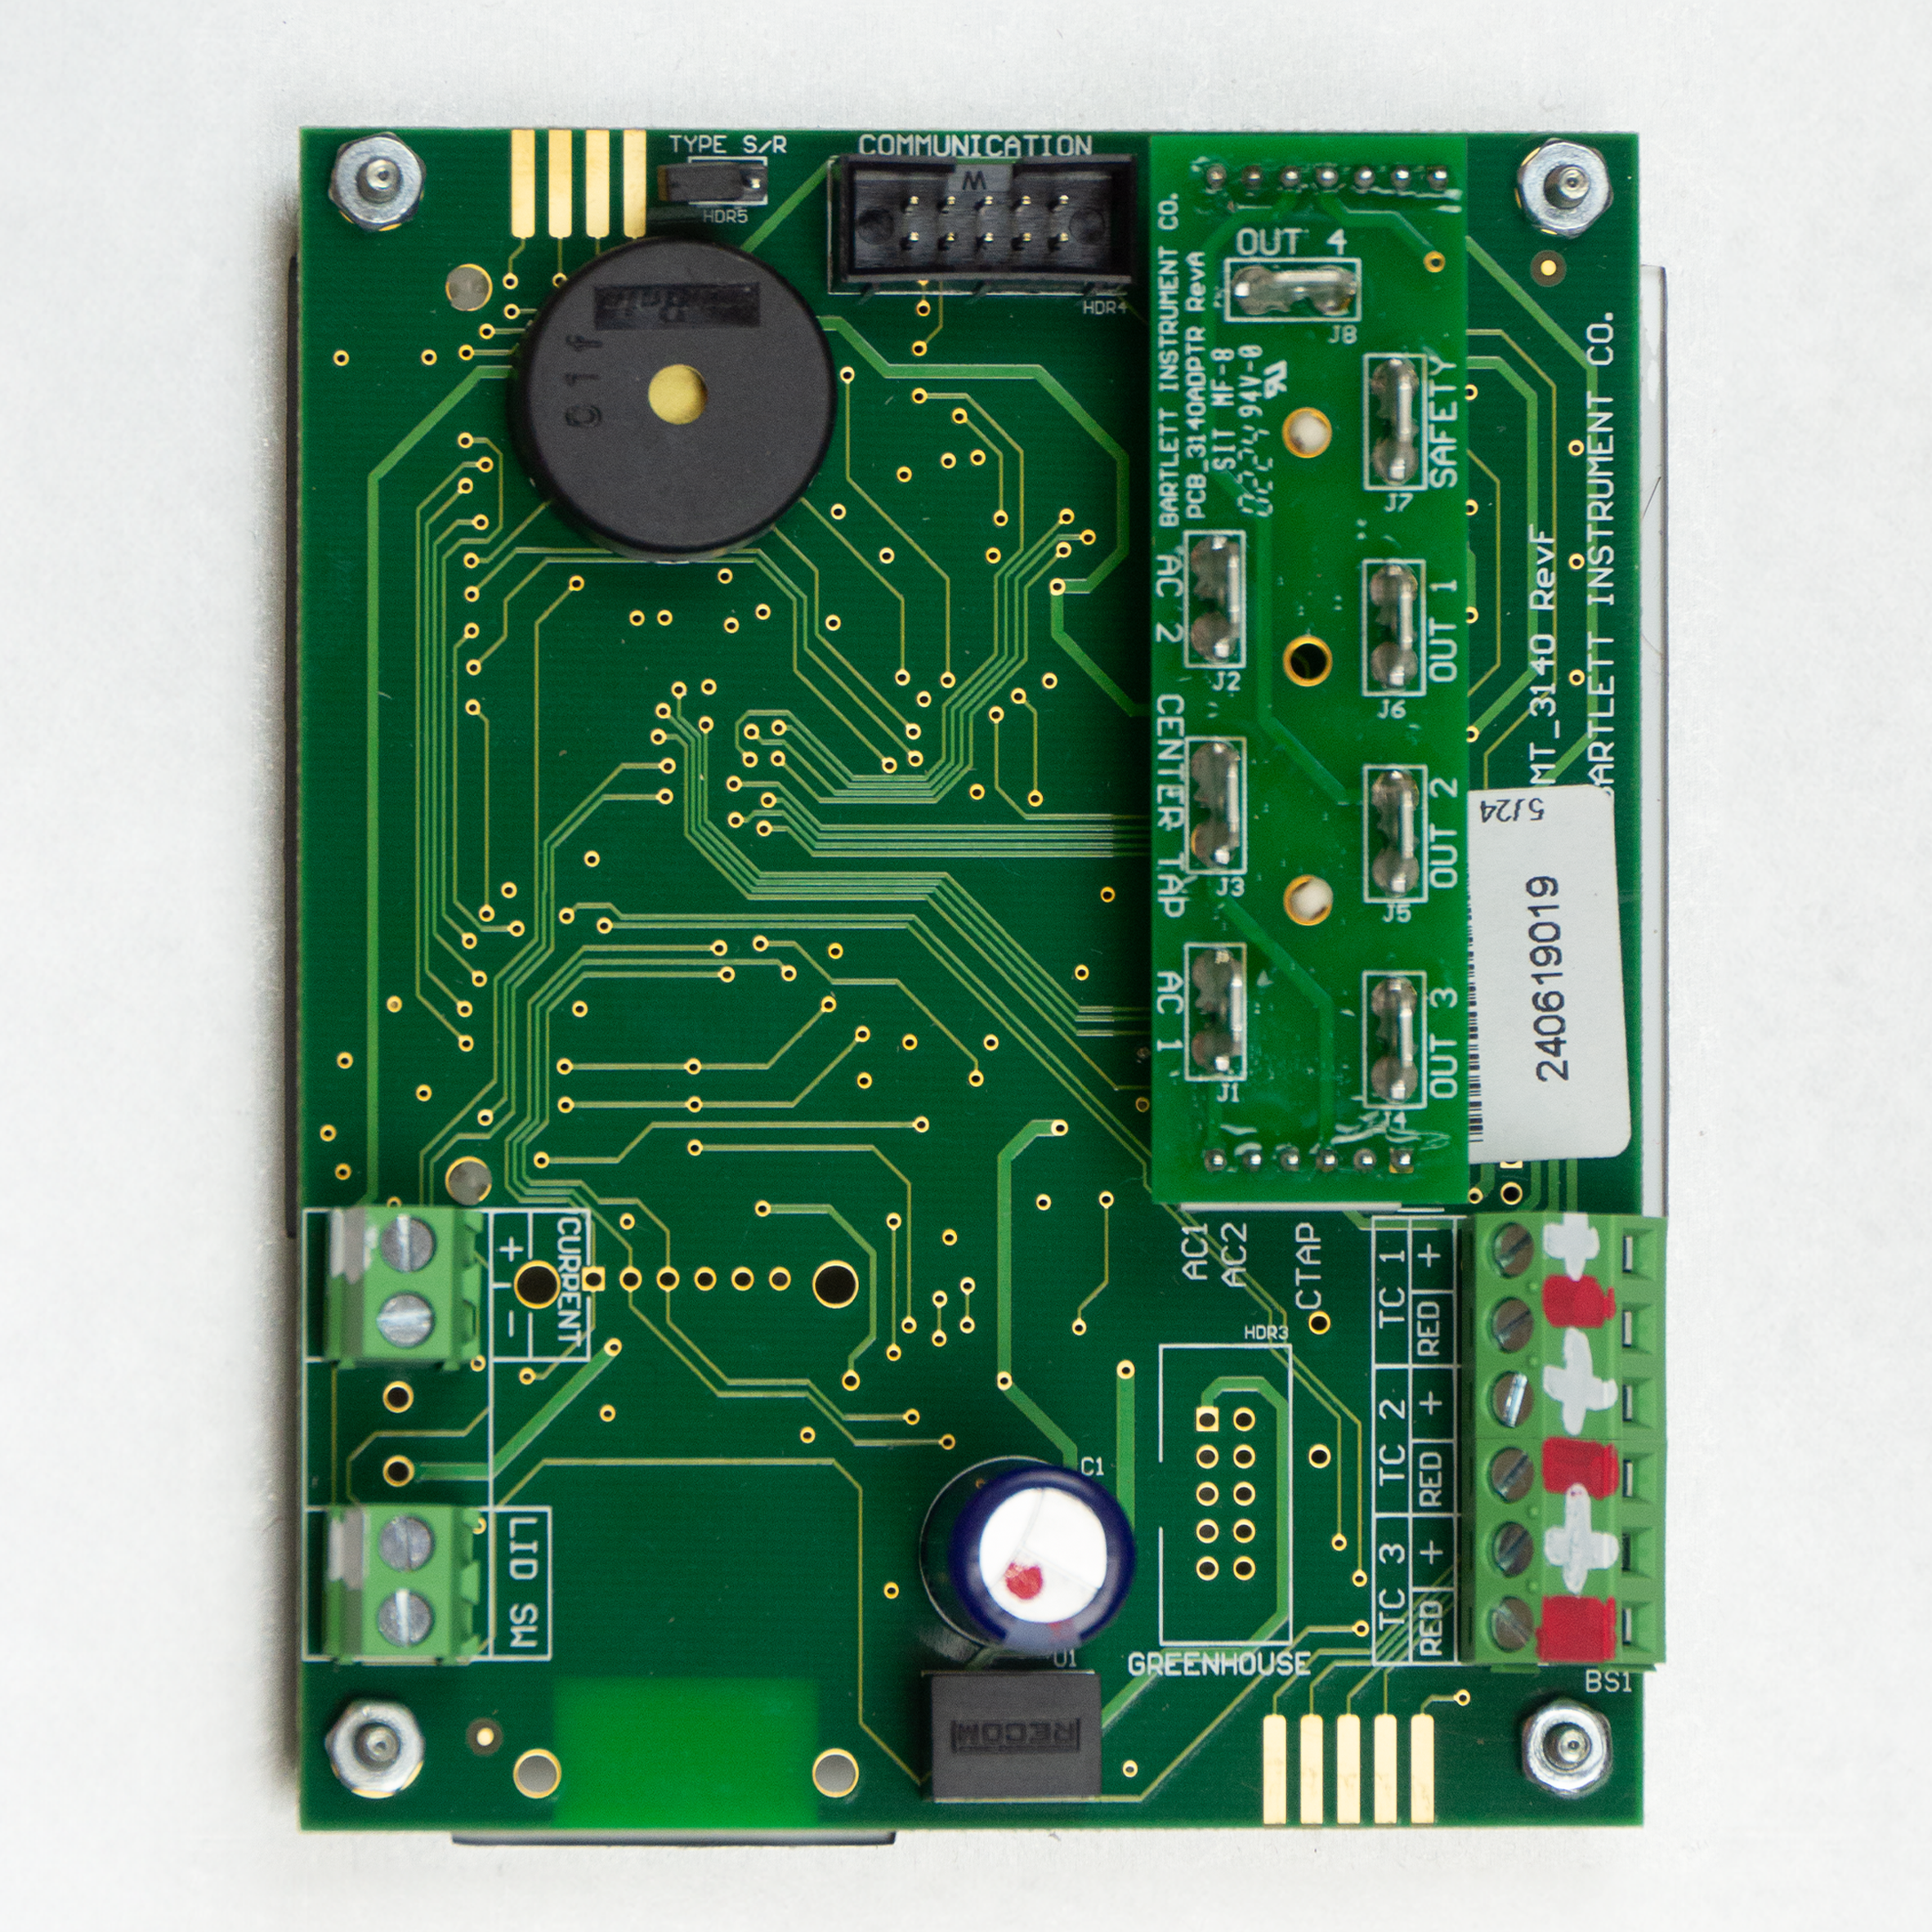
Photograph Wires
Before removing anything, take clear photos of all wire connections and pin names on the board. This will be your reference when reconnecting. -
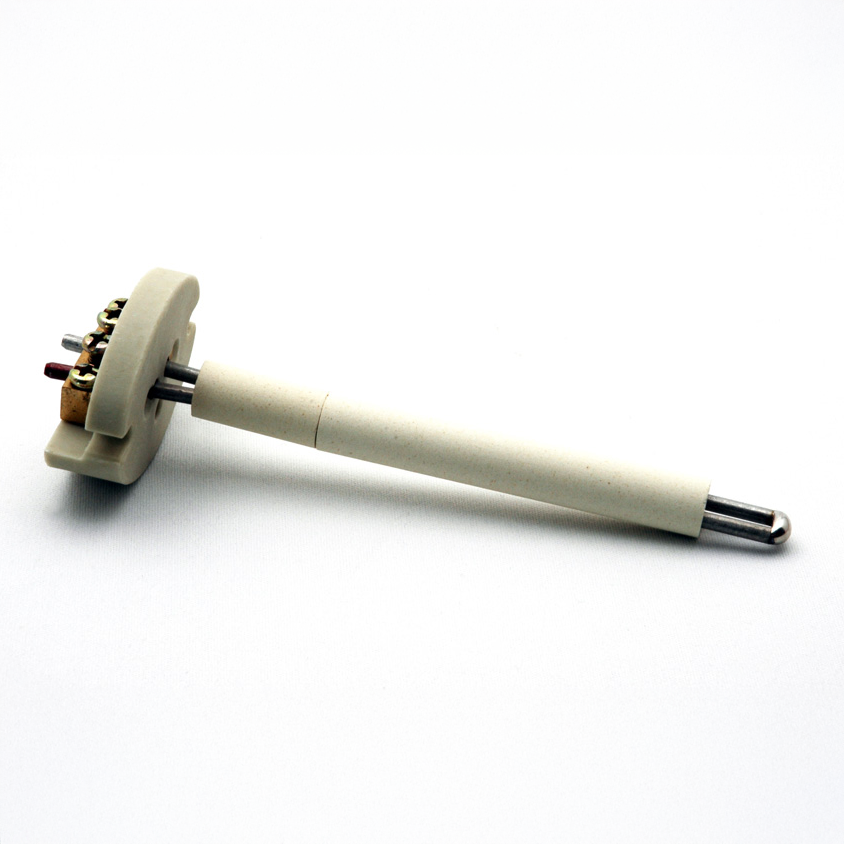
Disconnect the Thermocouple Wires
Unscrew and detach the thermocouple wires. -
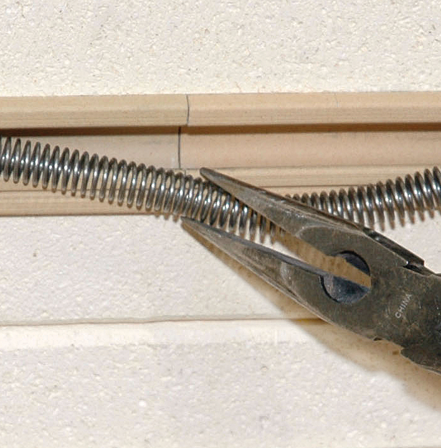
Unplug Spade Connectors
Remove all spade connectors. Needle-nose pliers can help with any that are tight or difficult to remove. -
Remove the Existing Controller
Unscrew the four faceplate screws holding the controller and lift it out. -
Install the New Controller
Position the replacement controller and secure it with the same four faceplate screws. -
Reconnect Wires
Reattach all spade connectors and reconnect the thermocouple wires. Refer to your photos to match the wires with the correct pin name. -
IMPORTANT: Set the Thermocouple Jumper
WARNING: Ensure the jumper is correctly positioned for your thermocouple type (Type K or Type S). The wrong setting can cause severe overfiring and meltdown. See this for more information. -
Close and Re-power
Carefully close the control panel, secure it, and plug your kiln back in. -
Confirm Controller Settings
Once the controller is powered on, verify your kiln's correct thermocouple type, number of zones, and thermocouple offset. See this for more information.
Upgrading a Dynatrol to a Genesis

See https://www.youtube.com/video/86TJikm3vjU
When upgrading a Dynatrol to a Genesis 2.0, most of the steps will be the same as listed above. Although the Genesis uses the same basic connectors, there are two key differences compared to swapping one Dynatrol for another:
-
Connector Layout
The Genesis controller has a different spade connector arrangement. Carefully match each wire to the labeled connectors, and refer to the side-by-side comparison in the accompanying video. -
Thermocouple Leads
On a Dynatrol, the wires wrap around mounting screws. On a Genesis, retention screws tighten directly onto the wires clamping them down, so the leads will need to be trimmed shorter. See the video for a clear demonstration.
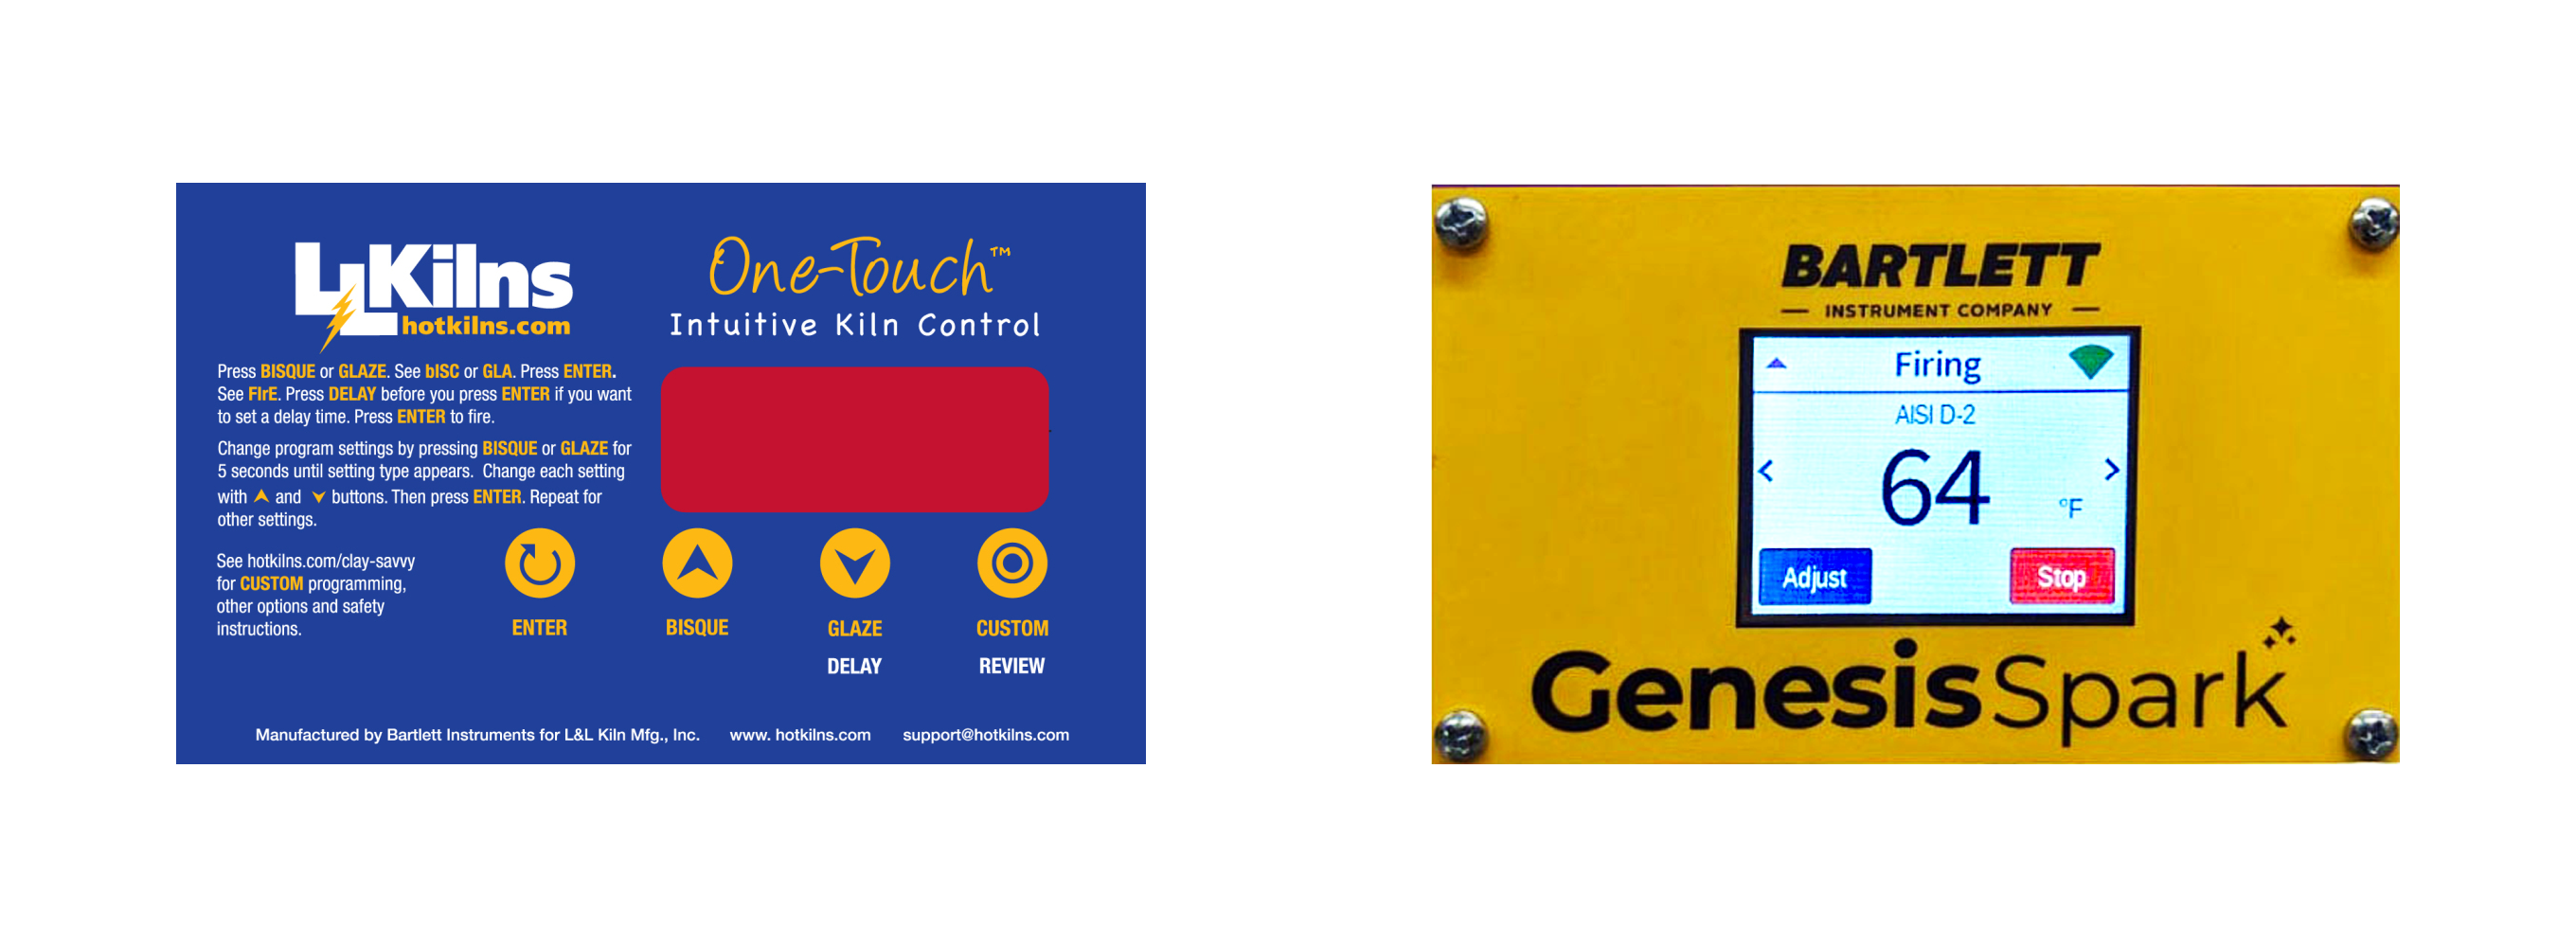
Upgrading a One Touch to a Genesis Spark
Much like how the Dynatrol can be swapped with a Genesis 2.0, the smaller One Touch controller can be swapped with the Genesis Spark
Removing the panel on an Easy-Fire kiln
Also the same for Doll, eQuad-Pro, and School-Master kilns

See https://www.youtube.com/video/xPPO2WqiUGQ?ecver=2