

Changing Thermocouples in a kiln
REV: 2/1/2025
Introduction: What Is a Thermocouple?
A thermocouple (TC) is a temperature sensor inside your kiln that relays heat readings to a controller or pyrometer. It consists of two dissimilar metals which generate a tiny voltage that changes with temperature.
- Type K (Chromel/Alumel): Less expensive but gradually degrades over time, requiring replacement.
- Type S (Platinum/Platinum-Rhodium): This is a premium upgrade, but it won't degrade over time.
See this page for more details on how they work
Polarity & Lead Wires
Correct polarity is essential—mixing up positive (+) and negative (−) leads can cause false readings. See this page for more information.
- Type K (Yellow Sheath): Yellow = positive (+), Red = negative (−).
- Type S (Green Sheath): Black = positive (+), Red = negative (−).
- European Type S TCs sometimes reverse the red and black leads. Just ensure the correct polarity at the controller. If reversed, your controller may show negative temperatures or error codes, but it won’t harm anything—swap the leads.
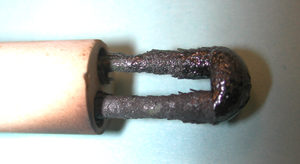
Checking Type K Thermocouple Tip
Type K thermocouples degrade over time and should be visually inspected.
- If your kiln uses open-ended protection tubes, you can inspect the thermocouple from inside the kiln chamber.
- If your kiln uses the older closed protection tubes, you must remove the thermocouple to inspect it.
- Disconnect Power – Unplug the kiln or switch off the breaker.
- Open Panels – Remove the control panel screws, open it, then unscrew and swing open the element box.
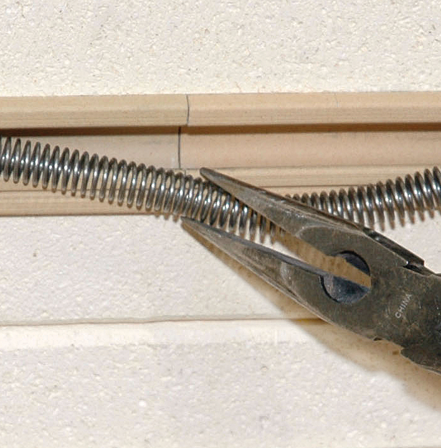
- Remove Thermocouples – Unscrew and pull out the thermocouple to inspect the tip for severe corrosion.

See https://www.youtube.com/video/HRRjPWC_-_Q
Replacing a Thermocouple
- Disconnect Power – Unplug the kiln or switch off the breaker (lock out if in a school, commercial, or industrial environment).
- Open Panels – Remove the control panel screws, open it, then unscrew and swing open the element box.
- Detach Wires – Disconnect thermocouple wires (take photos for reference).
- Remove Old Thermocouples – Unscrew and pull them out; clip/strip wire ends if oxidized.
- Install New Thermocouples – Secure with screws/spacers and reconnect wires.
- Close Everything Up – Reattach the element box, wire terminals, and outer panel.
What is the placement of thermocouples on a 2 or 3 zone kiln?

See https://www.youtube.com/video/m700BW3flYY
Upgrading: From Type K to Type S
- Remove Old Thermocouple – Disconnect wires and unscrew the Type K thermocouple/tube.
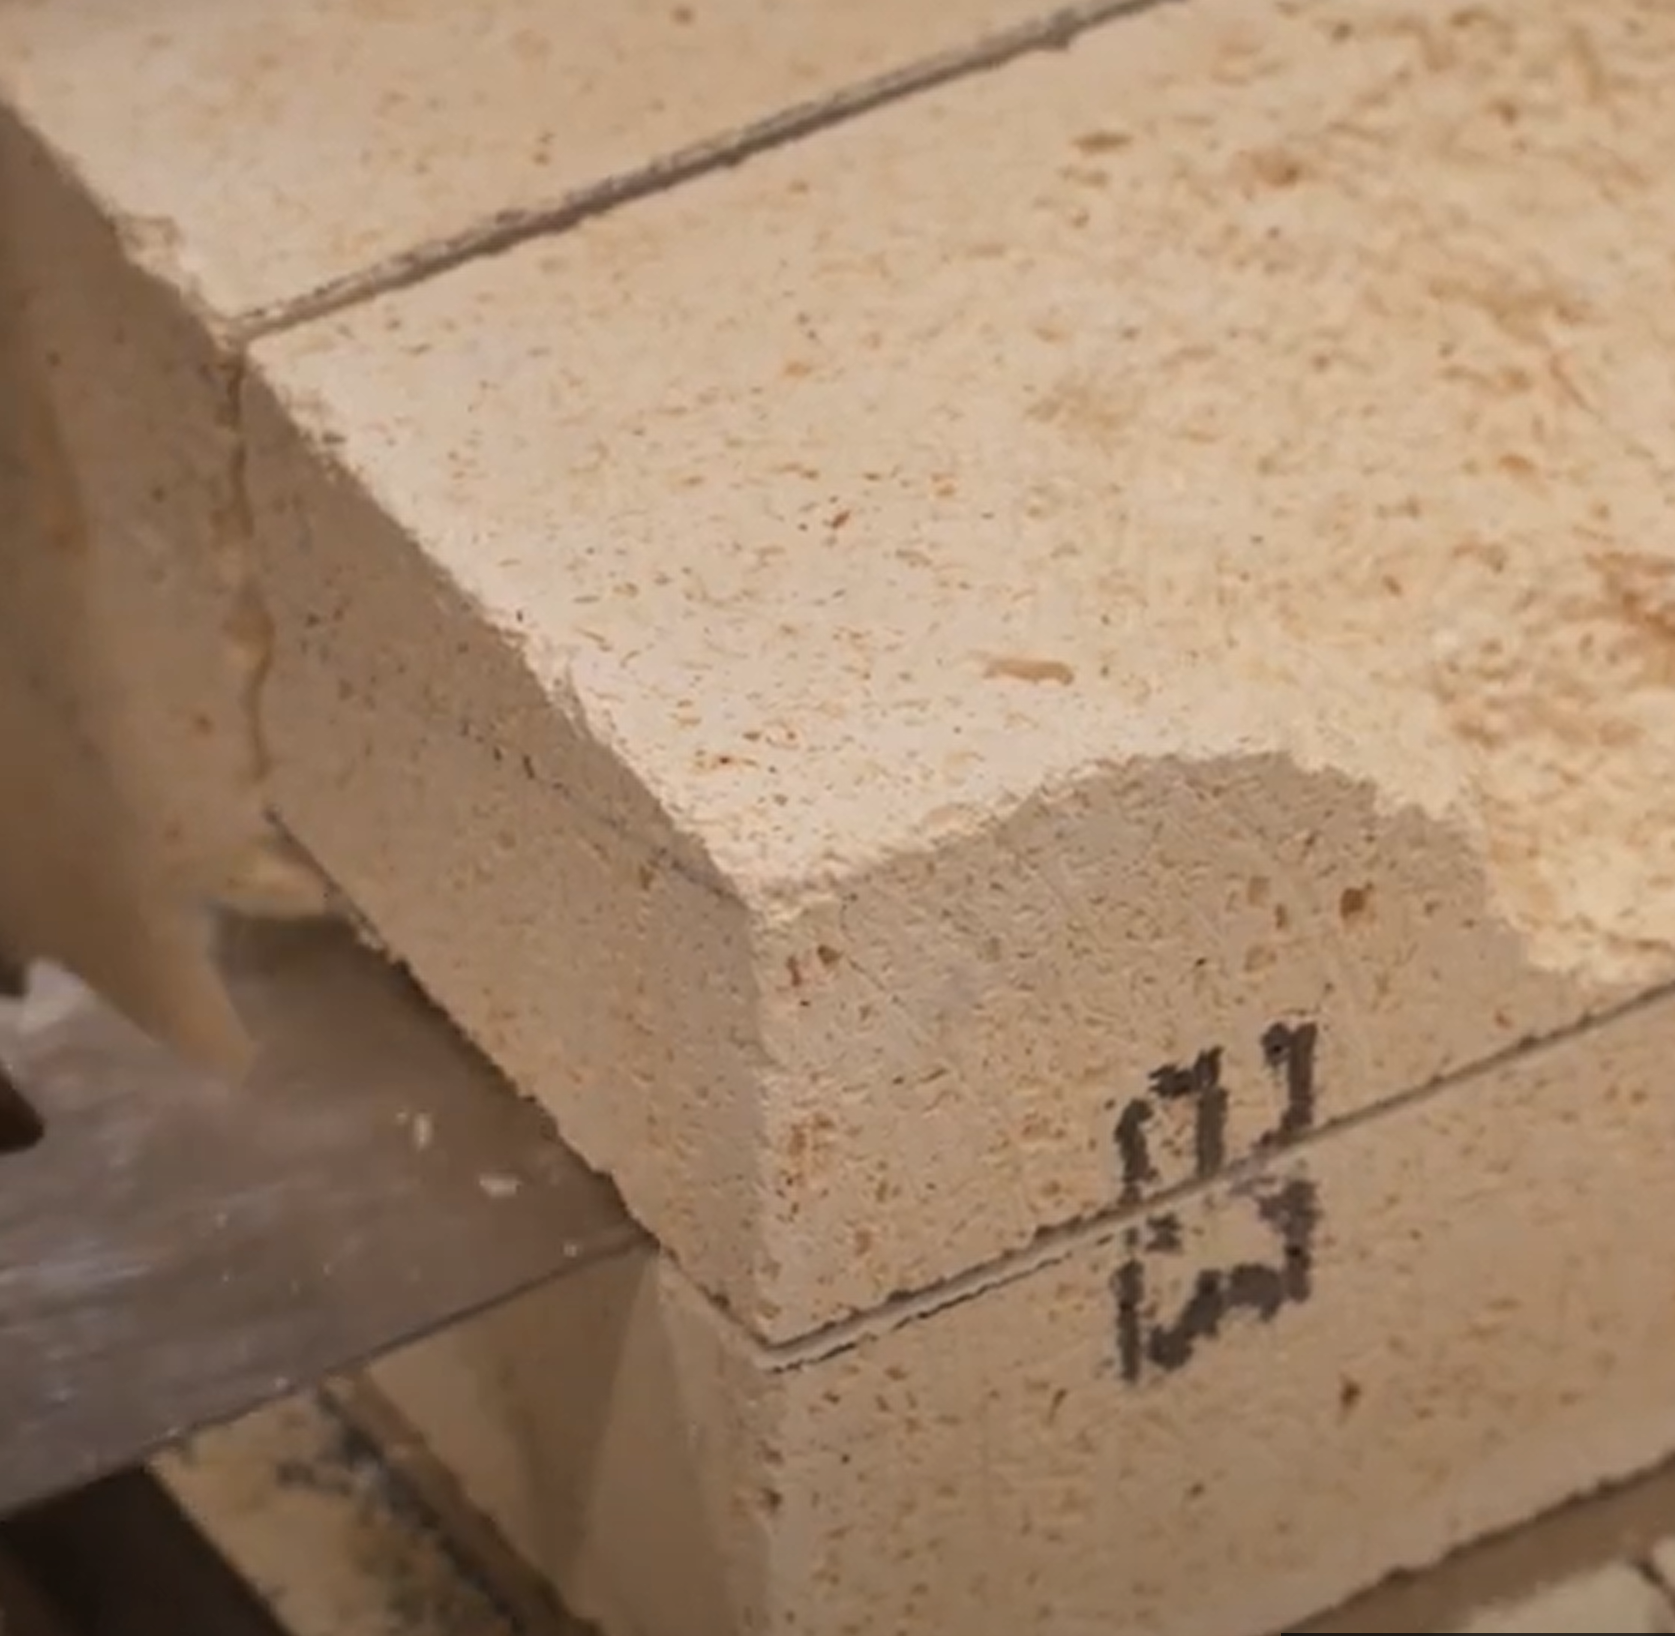
- Fill Hole – Plug the larger hole with a firebrick plug and brick cement; let dry.
- Drill New Hole – Use a 5/16" bit for the Type S thermocouple; insert the new thermocouple.
- Secure Thermocouple – Drill a small pilot hole if needed, then attach with screw and washers.
- Use Correct Wires – Type S wire set: black (positive), red (negative).
- Controller Configuration – Set your kiln controller to Type S settings.
- See this page if upgrading on a DynaTrol
- See this page if upgrading on a Genesis

See https://www.youtube.com/video/FDmUn-rbH_M
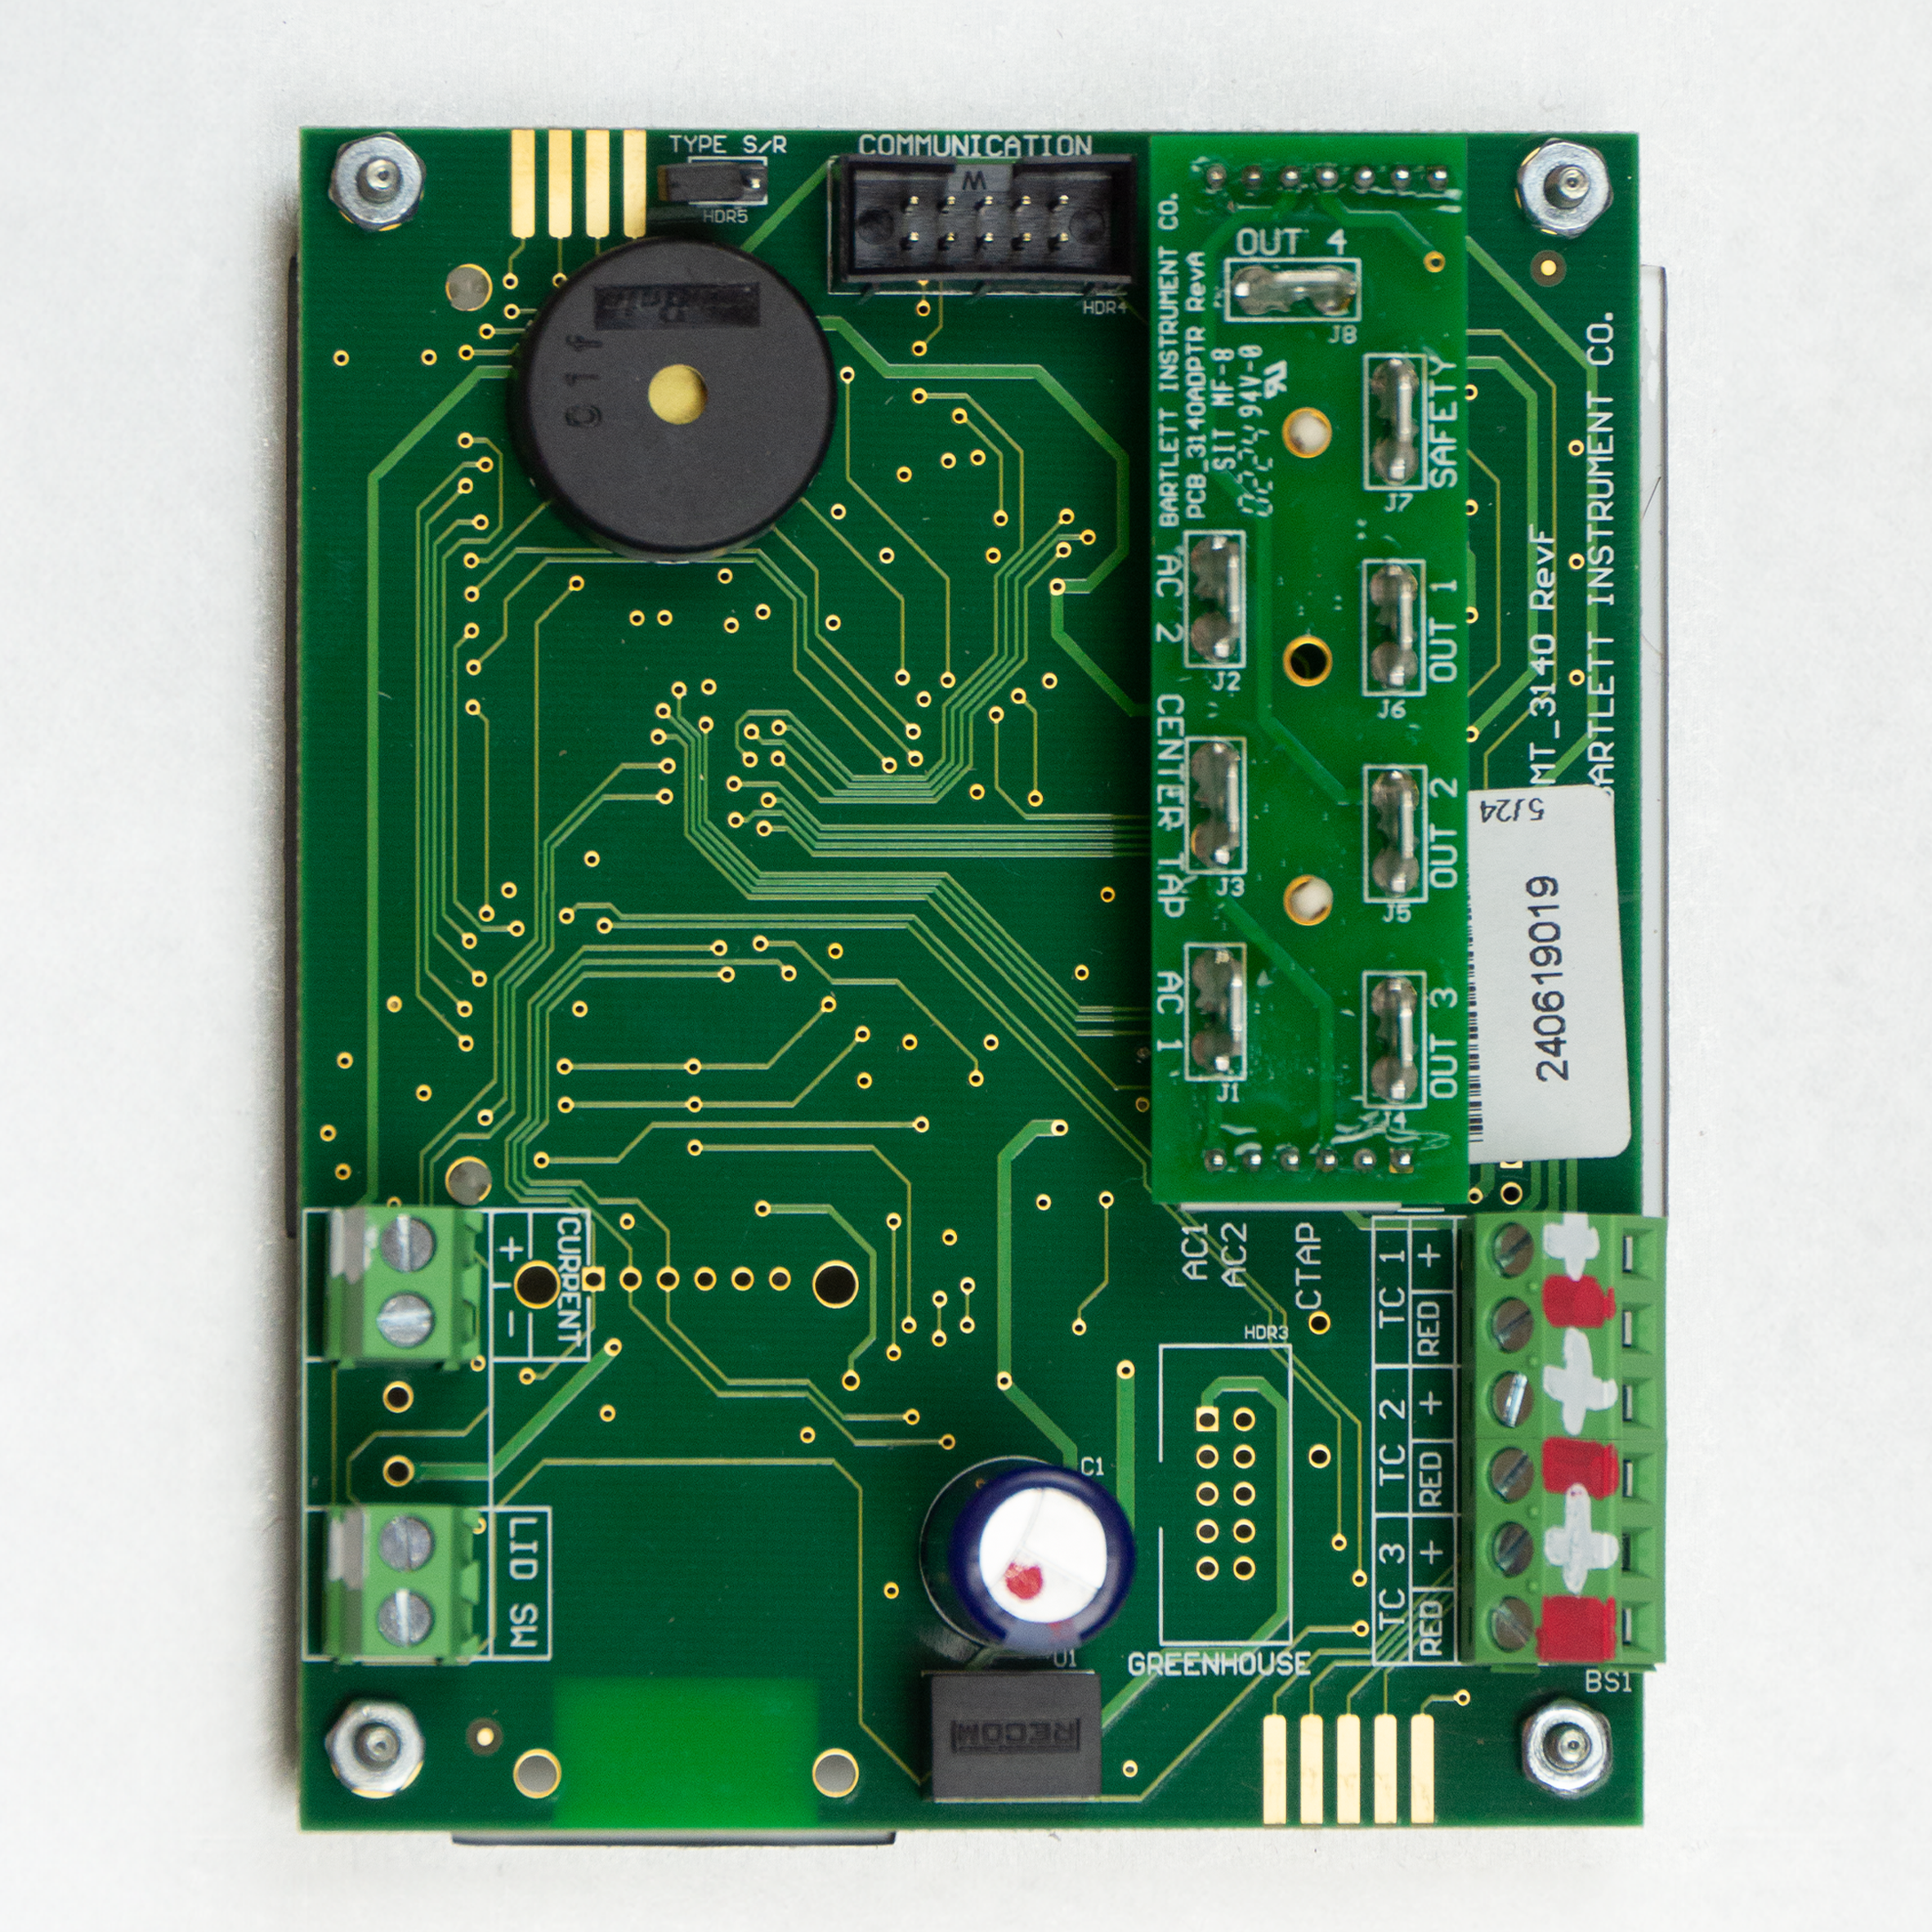
Controller Configuration
WARNING: Ensure the jumper is correctly positioned for your thermocouple type (Type K or Type S). The wrong setting can cause severe overfiring and meltdown. Place the jumper on one prong for Type K, or both prongs for Type S. See this for more information.
DynaTrol
- Press Other
- Input the code 443 and press Enter
- Press Other to cycle through the options until you reach TYPE
- Press Enter
- Press any number key to cycle between K-TH and S-TH
- Press Enter
Genesis
- Press Menu
- Select 7 - Factory Config
- Enter the code 443 and press Save
- Select 1 - TC Type
- Select the desired Thermocouple type
- Press Save

See https://www.youtube.com/video/uU4QlWWve2k
Placement of thermocouple tip
For ideal firing results, the thermocouples in each zone should be close regarding how far they protrude into the kiln.
- Set the thermocouples 3/8 to 1/2" in from the ends of the tubes. Get them as close as you can. They don't have to be exactly perfect.
- Unplug or disconnect at the circuit breaker or disconnect switch.
- Open the control box to access the thermocouple blocks, then loosen the two screws that hold the TC to the block, move the TC in or out as needed, then tighten up the screws.
- You might have to tap either end with the screwdriver to get them to move. Usually, they'll have enough adjustability that you won't need to mess with the washers.
Type S Thermocouples
The Best Thermocouple
- The standard thermocouple for DynaTrol or Genesis control is Type K, commonly an 8-gauge exposed Type K thermocouple used on various kiln models.
- For constant high-fire applications, a Type S platinum thermocouple with an alumina sheath is the best, standard on JH Series kilns and recommended for extreme conditions.
Technical Information
- Type S thermocouples have legs of platinum and rhodium, usable from 32°F to 2700°F (0°C to 1480°C).
- They last long at kiln temperatures up to 2400°F if not mechanically damaged.
- Lead wires for Type S are not interchangeable with Type K.
- DynaTrol controls made before Jan 1, 2006, and One-Touch controls cannot be retrofitted for Type S.
- DynaTrol 700 controls (post Jan 1, 2006) can be converted with a lead wire change.
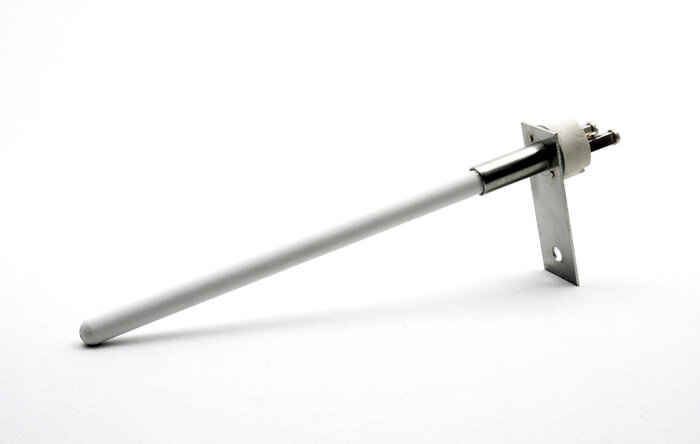
Description:
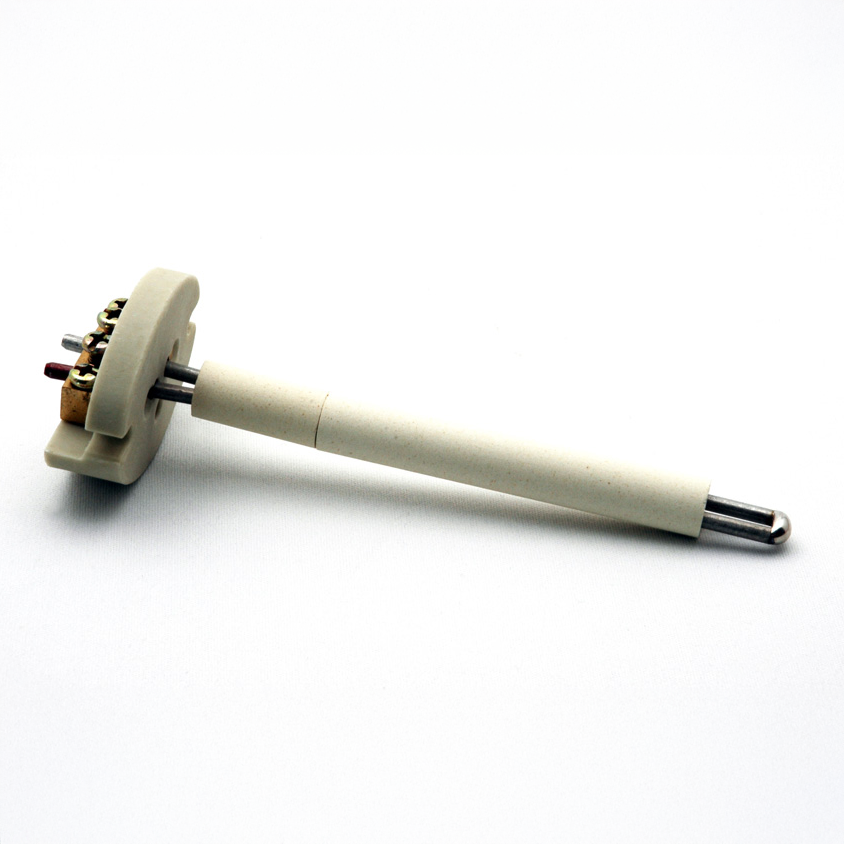
- Type S thermocouples have a 5/16” OD alumina sheath and are ungrounded.
- Two lengths are available:
- 120 mm (4.75”) for Easy-Fire, Jupiter, eQuad-Pro, JH Series, DaVinci, and Doll kilns.
- 160 mm (6.3”) for Easy-Load front-loading kilns.
- Polarity:
- Black Wire = PLUS (+)
- Red Wire = MINUS (-)
Ordering:
Part Number: T-G-SXXX/00
- Type-S Thermocouple - 120 mm (Standard Length).
- Type S Platinum Thermocouple with Alumina Protection Tube and Terminal Block.
- 120 mm (4-3/4”) Long x 1/4” Diameter.
- Suitable for kilns with 2-1/2” or 3” brick insulation.
- Not for use on front-loading kilns or custom kilns with more than 3” insulation.
- hotkilns.com/type-s-thermocouple-standard
Part Number: T-G-SXXX/06
- Type-S Thermocouple - 160 mm (Medium Length).
- Type S Platinum Thermocouple with Alumina Protection Tube and Terminal Block.
- 160 mm (6-5/16”) Long x 1/4” Diameter.
- Used on Easy-Load kilns with 5” wall thickness.
- hotkilns.com/type-s-thermocouple-long
- Type S thermocouples can be ordered with any kiln having a DynaTrol or Genesis Control.
Retrofitting Cautions:
- Check the configuration of any replacement control to avoid melting your kiln.
- Replacement controls typically have the standard configuration for Type K thermocouples with 3-zone control.
- Ensure the control configuration matches your thermocouple type.
- Incorrect configuration (Type S thermocouples with Type K control) can cause severe over firing to the point of melting the elements, element channels and brick.
- Type K thermocouple extension wire is yellow or brown; Type S extension wire is green (in the USA).
- For more information on thermocouple wires and hookup, visit hotkilns.com/tc-polarity.