M-G-PULB/00
$62.00
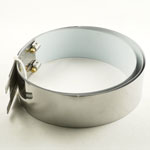
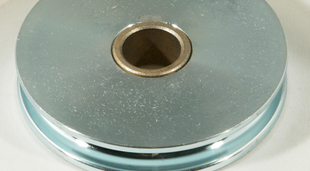
DaVinci Bell-Lift System Pulley - Unit is the pulley wheel that the cable used to hoist the Kiln Bell runs along
|
|
|---|
SHOP KILN PARTSPottery Kiln Misc-Hardware
M-G-PULB/00
$62.00
DaVinci Bell-Lift System Pulley - Unit is the pulley wheel that the cable used to hoist the Kiln Bell runs along 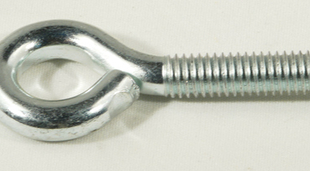
M-G-EYEB/00
$14.00
DaVinci Counterbalance System Eyebolt - Unit is used on the sides of all DaVinci Lids as an anchor to which the Safety Chains are attached 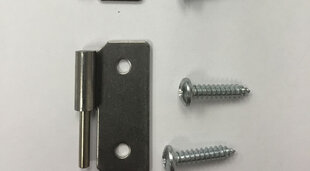
M-G-ECBX/HG
$17.00
These are the metal hinges that get attached to the kiln case and mate with the hinge parts that are welded to the element cover boxes. There are two hinge parts and four mounting screws. 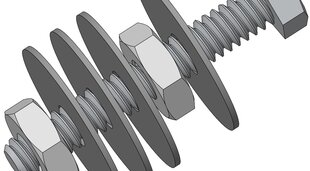
M-G-TSET/00
$7.50
Hardware Set for one Element Connection on a Ceramic Element Terminal Block. Set includes:
Note: You may not need all the fender washers depending on your situation. NOTE: This part set is available for 50% discount when ordered with elements. Note: These assemblies used to include lock washers, but they are no longer necessary. 
A-J-HARD/PM
$10.65
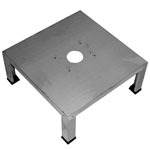
Hardware for Attaching Stand Legs with PEM Nuts - Includes eight 1/4" Long #20 (1/4-20) Bolts. 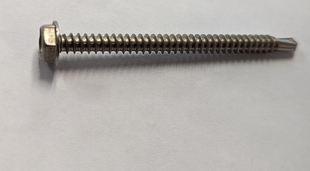
M-A-SMEL/10
$0.40
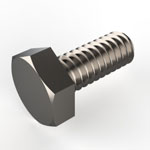
Hex Head #10 2-1/2 Self-Tapping Screw for mounting EL Terminal Blocks, Stainless 400 Series 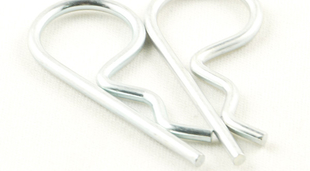
S-G-COTT/00
$3.30
Cotter Pins for All Hinge Bars - Unit includes a set of two Pins 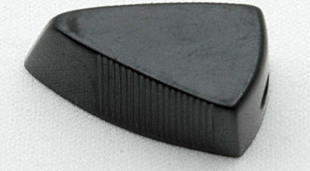
L-G-KNOB/00
$12.50
Knob for the INF Infinite Zone Switch 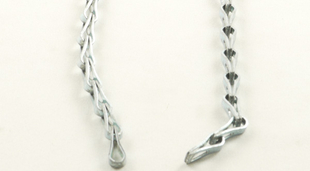
M-G-CNDR/00
$5.20
#8 Safety Chain - Unit is sold by the foot 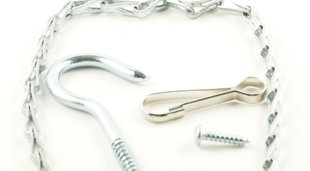
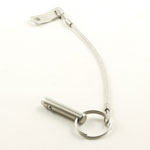
M-G-SAFE/CN
$56.00
Complete Safety Chain Assembly - Assembly includes the Safety Chain, Snap Clip, Screw Hook, and any Hardware 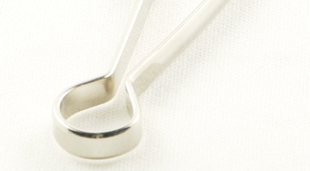
M-G-SNAP/00
$5.20
Snap Clip for the Safety Chain System - Unit should be attached to the end of the Safety Chain to hook onto the Screw Hook 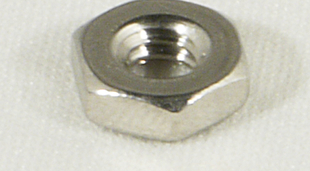
L-G-SNUT/00
$1.10
#10-24 Zinc-Plated Hex Nut - Unit is used for mounting the Vent Bypass Box, Contactor Plate in the Control Panel, and for the Element Terminal Bolts |
©2026 L&L Kiln Mfg Inc
https://hotkilns.com/pottery-kiln-parts/metal/misc-hardware