


The Ceramic Process
REV: 5/15/2025
Purpose of Firing
- Transforming Clay into Ceramic: Firing causes clay particles to fuse (vitrify), turning fragile greenware into hard, durable ceramic.
- Developing a Glaze Surface: Glazes melt into a glass-like coating that can add color, texture, functionality, and often food-safety to the ceramic.
Types of Ceramic Firing
Most ceramic work involves at least two firings—bisque (or biscuit) and glaze. Some techniques need a third overglaze firing for special finishes (e.g., metallic lusters, China paints). Some people have also developed single-firing methods that achieve bisque and glazing in a single firing, which is not typical.
Bisque (Biscuit) Firing
Objectives
- Burns out organic materials and residual moisture.
- Sintering makes the ware sturdier for glazing.
- Converts bone-dry clay into porous but hardened bisqueware.
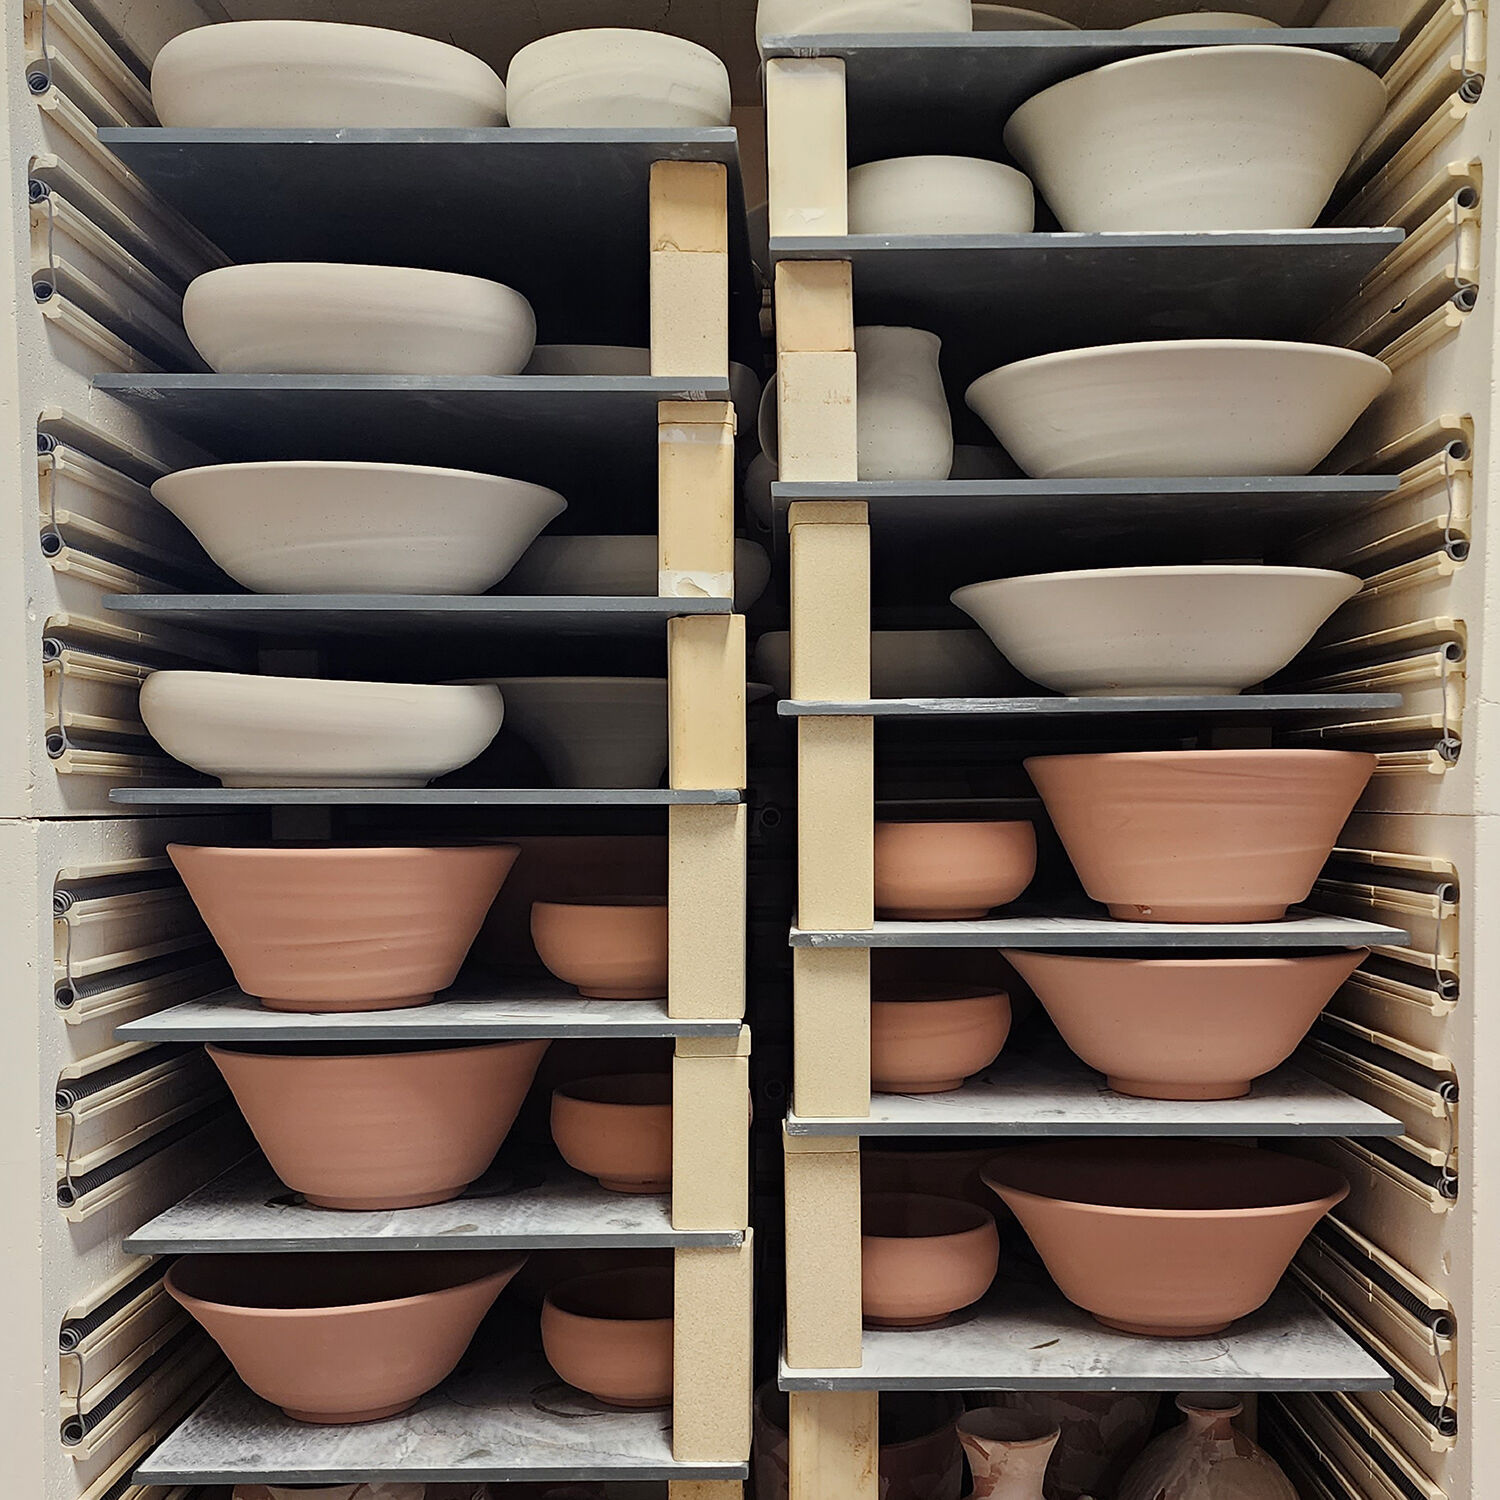
Loading & Programs
- Bone-Dry Ware: Ensure pieces are dehydrated; consider overnight preheat for thick/heavy loads to avoid cracking or explosions.
- Piece Placement: Greenware can touch. Place lids on matching pieces to prevent distortion , and place the tallest items near the center.
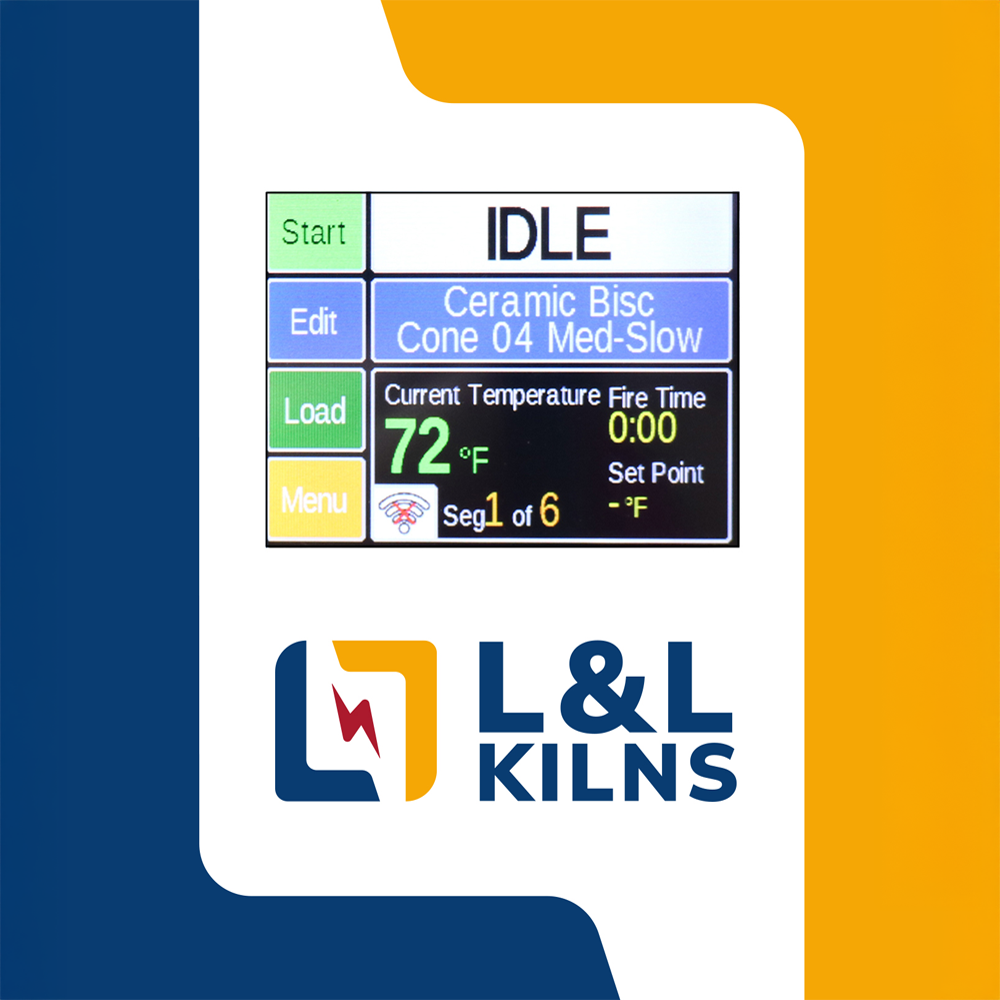
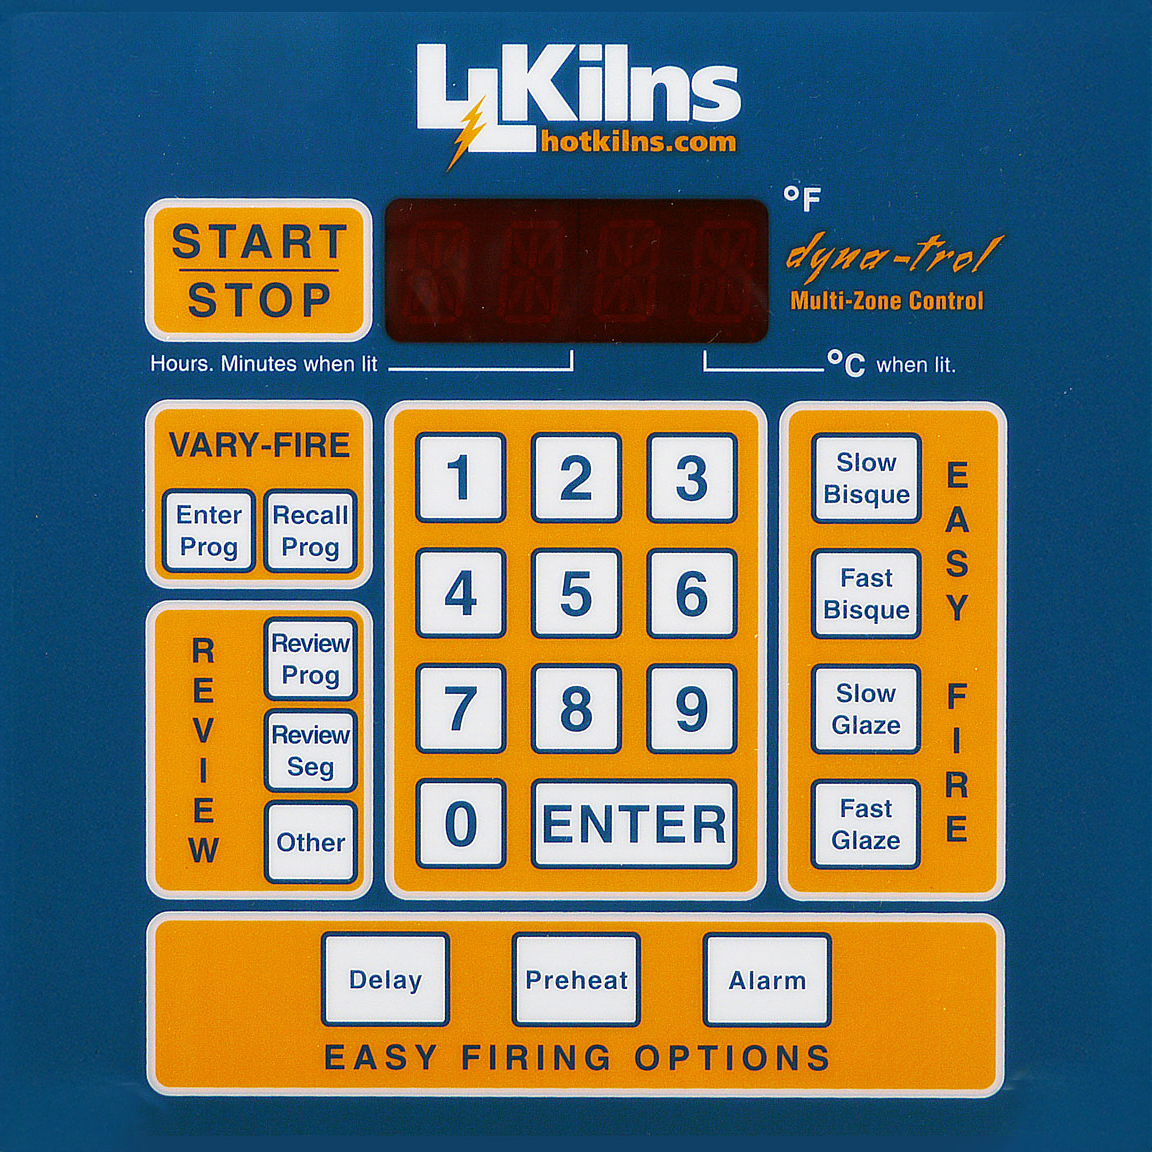
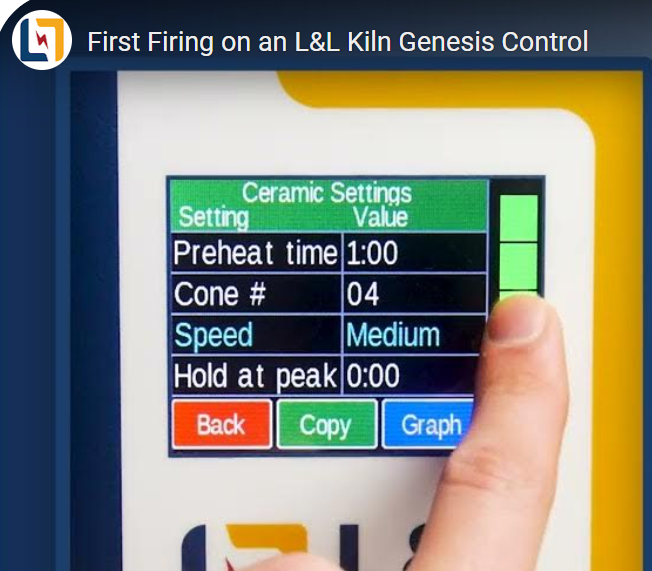
- Preset Programs: Our Genesis and DynaTrol controllers have preset FAST BISQUE and SLOW BISQUE programs (The Genesis also has a MEDIUM speed). If pieces are large or damp, use “SLOW BISQUE” with a preheat (2–3 hours or longer); “FAST BISQUE” for lighter loads.
- Custom Programs: If you are more experienced, you can create a custom schedule. We recommend using the segments in the preset programs as a guide.
Typical Temperature Range
- Often cone 06 to cone 04 (about 900–1000°C / 1652–1832°F), though specifics vary by clay body and personal preference.
Glaze Firing
Objectives
- Fuses the glaze coating into a smooth, glass-like surface.
- Further vitrifies the clay body, enhancing strength and water resistance.
Glaze Application
- Dip, pour, spray, or brush glaze onto the bisque piece.
- Allow the glaze to fully dry before firing.
Loading & Programs
- Spacing: Glazed surfaces cannot touch each other or the kiln walls; leave about ½ inches between pieces for expansion.
- Glaze Programs: Our Genesis and DynaTrol controllers have preset “FAST GLAZE” and “SLOW GLAZE” programs. Select according to the glaze manufacturer's recommendations and the desired glaze results.
Typical Temperature Ranges
- Earthenware (low-fire): Usually between cone 06 and cone 02 (approximately 999–1060°C / 1830–1940°F).
- Stoneware/Porcelain (mid- to high-fire): Typically cone 5 to cone 10 (about 1180–1300°C / 2156–2372°F).
Overglaze Firing
Objectives
- Adheres decorative lusters, metallic overglazes, or China paints to an already fired glaze.
Application
- apply the overglaze according to the manufacturer's instructions.
Loading
- Ensure each piece’s overglaze decoration is fully dry to prevent smudging.
- Avoid stacking or direct contact between pieces; overglaze can stick if touching.
Typical Temperature Range
- Often from Cone 018 to Cone 016 (approximately 750–850°C / 1382–1562°F), but this can vary based on specific overglaze products.
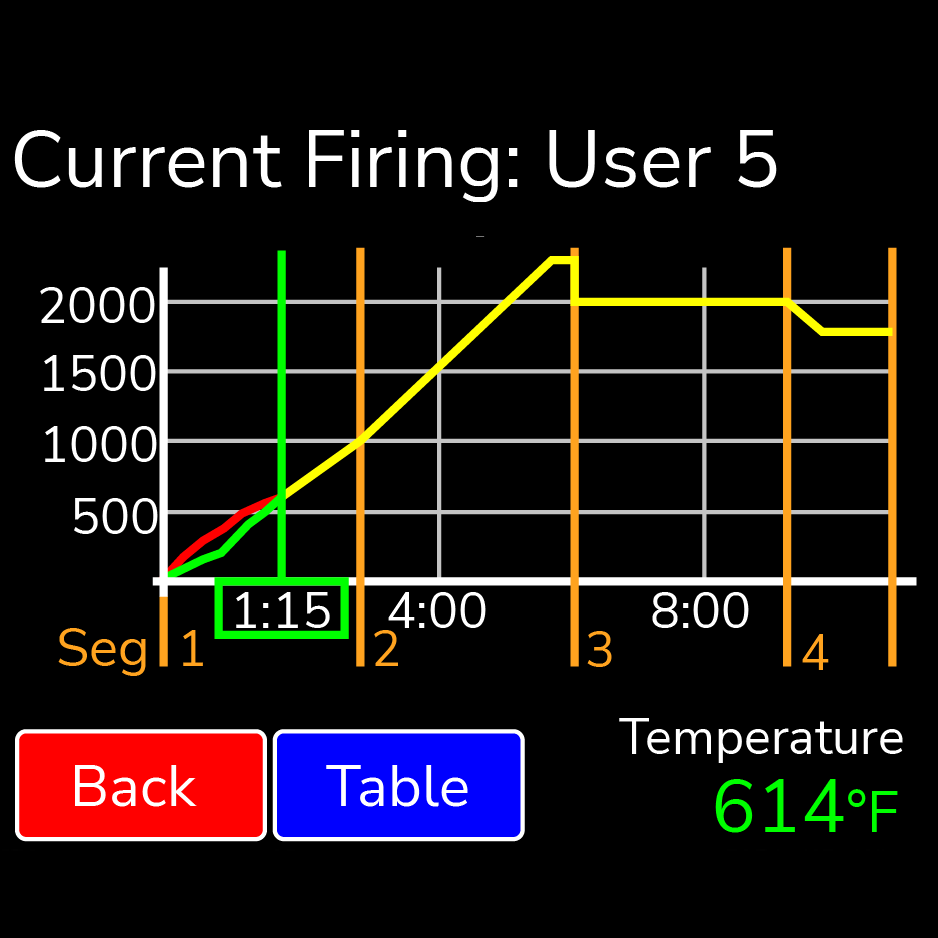
Firing Stages
Ceramic firing can be broken down into distinct stages. Being aware of them helps you fire more confidently and troubleshoot issues as they arise.
Complete Drying
- Even seemingly dry ware contains residual moisture.
- A slow initial heat rise (often with lid propped or vent open) prevents steam expansion that can cause explosions.
- Use a Preheat cycle, especially for thick-walled pieces.
“Ceramic Change”
- As temperature climbs to red heat, chemically bound water in clay crystals is released.
- Slow firing and proper venting help remove water vapor effectively.
Quartz Inversion
- Around 1060°F (570°C), quartz particles expand about 2%; they contract again upon cooling.
- Carefully manage heating and cooling to avoid cracks (dunting), especially if your clay or glaze is sensitive to rapid temperature changes.
Burnout
- Organic materials burn away at red heat and above.
- Sufficient venting is crucial; under-fired bisque can release gases during the glaze firing and cause bloating or pinholes.
Sintering
- Right around red heat, clay particles begin forming initial chemical bonds.
- Clay starts “lumping” together instead of remaining powdery.
Decomposition
- Higher temperatures cause fluxes and clay minerals to break down and reorganize chemically.
- Gases like sulfur and carbon dioxide are released and must exit before vitrification.
Vitrification
- As fluxes interact with silica and other components, the clay body approaches a point of “glassification.”
- Strengthening occurs just before the clay might slump or melt.
Glaze Set, Cool & Freeze
- Glaze fully melts, interacts with the clay body, and then slowly solidifies as the kiln cools.
- Cooling too quickly can cause crazing or thermal shock.
- Properly matched clay and glaze, along with slow, controlled cooling, prevents defects.
Firing Tips
Speed of Firing
- Avoid Fast Firing
- Even if the kiln can heat up quickly, follow the recommended cycles for your specific clay and glazes.
- Firing too fast can cause defects like pinholes, cracking, and insufficient burnout of organic materials.
- Firing at Medium or Slow increases consistency across firings.
Soaking (Holding)
- Purpose
- “Soaking” refers to holding the kiln at a specific temperature for a set time.
- Helps even out temperatures inside and outside the ware and can smooth glaze surfaces.
- Drawbacks
- Soaking at high temperatures accelerates element and thermocouple wear.
- Adjust your target temperature or cone offset to avoid over-firing if soaking for more than 5–10 minutes at peak temperature.
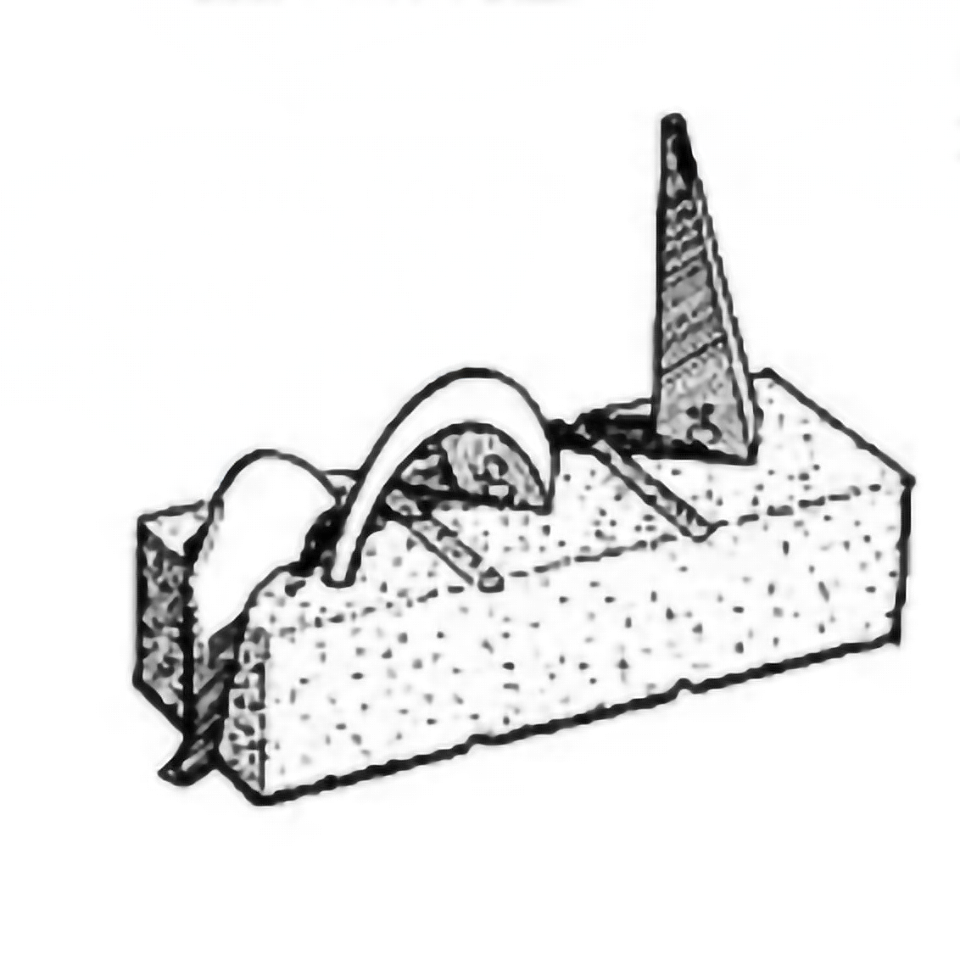
- Witness Cones
- Use witness cones to track heat-work accurately.
- If the cone bends at your desired level, you can turn the kiln off manually.
Firing Logs
- Keep Records
- Note firing times, load sizes, final temperatures, and results.
- A firing log helps you troubleshoot issues and consistently reproduce good results.
Applying Kiln Wash
- Where & How
- Apply kiln wash to the kiln floor and the topside of shelves only.
- Coat it to about the thickness of a postcard.
- Best Practice
- Apply three thin coats, firing between each coat if possible (or as close to that schedule as makes sense).
- Fire at least two cones 018 to ensure kiln wash adheres well.
Venting
- Powered Vent Systems
- If you have an automatic Vent-Sure (or similar) downdraft system, turn it on and let it run throughout the firing.
- Typically, this replaces opening the kiln lid or removing peephole plugs.
- Manual Venting
- If you do not have a powered vent:
- Keep peepholes open during early firing for moisture and gas escape.
- Close bottom peepholes after the kiln reaches red heat.
- Leave the top peephole open for the entire firing to allow gases to escape.
- If you do not have a powered vent:
- Extra Drying Precautions
- For thick or heavy greenware, use the Preheat feature.
- If moisture is still a concern, you can prop the lid for the first hour of preheat; just be cautious to prevent lid damage.