
When ordering a new channel, provide the kiln's model number and the length of the element channel. See the Parts List for this information.
Note that if the holder has melted badly, you may need to either replace the brick holding it or at least patch the brick with our Brick Repair Kit.
Method #1:
- This method leaves the kiln intact.
- Break up the channel into pieces, remove it, and then modify the new channel to snap into the groove.
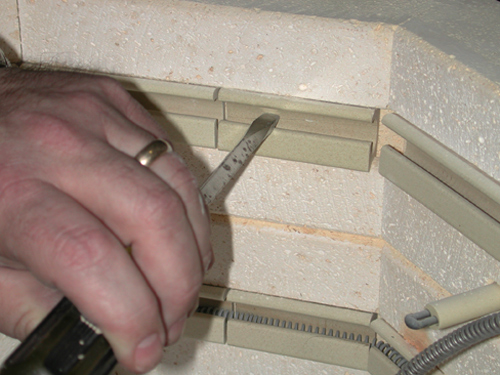
- Carefully crack the channel that needs to be removed using a chisel or large screwdriver and a hammer. Take your time with this; the channel can gradually be broken into pieces.
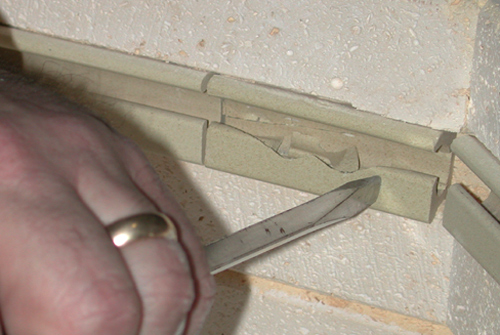
The channel is shown with small pieces broken off of it.
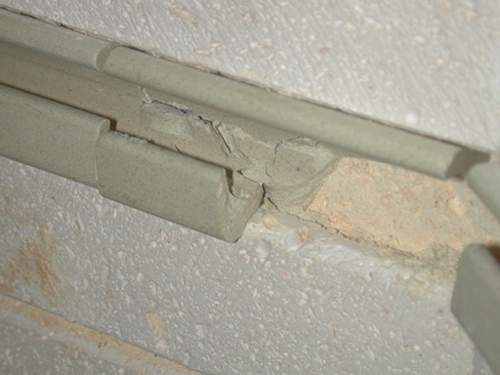
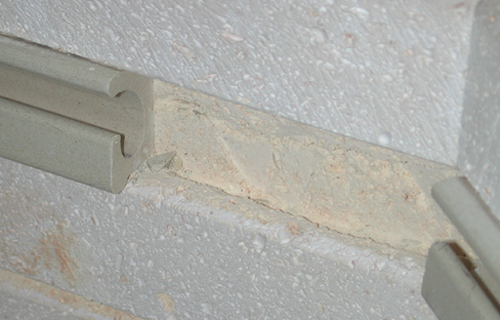
The groove is shown with the entire channel removed.
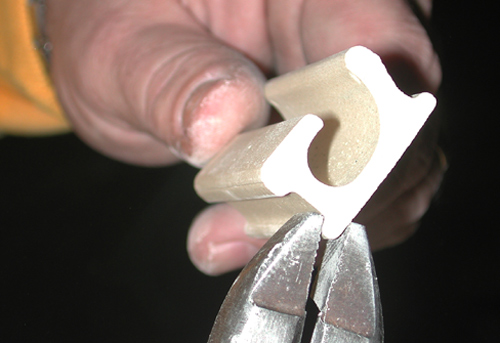
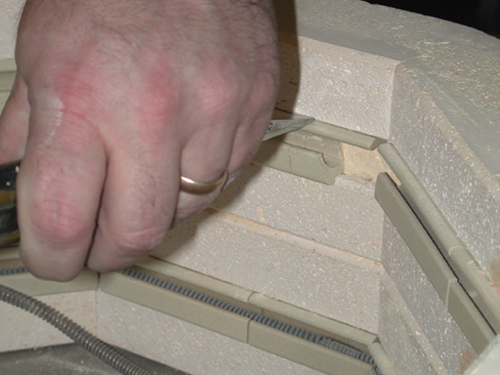
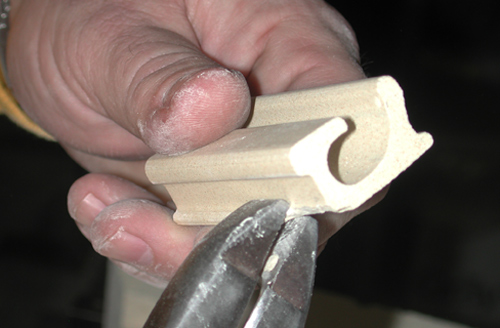
Using lineman’s pliers, snap off the bottom edge of the channel. Ensure that the bottom of the element channel is positioned closest to the edge being removed.
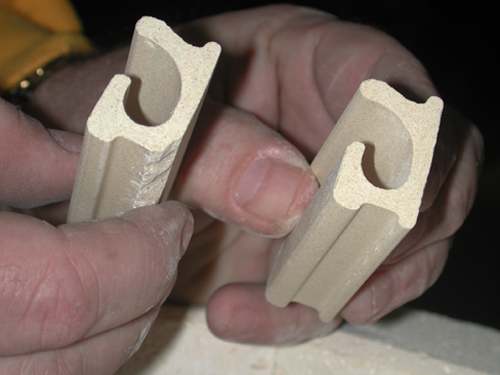
A normal channel compared to one with the edge removed.
The new channel can now be snapped into the groove in the firebrick. It will hold in place without the need for cement.

Positioning the channel back into place in the firebrick.
Method #2:
This method requires you to disassemble the kiln sections.
- Remove the section with the faulty channel from the kiln and place it on a flat surface, such as a flat floor or table.
- Carefully remove the elements from the element holders of the brick section involved and allow them to hang loose. Take great care not to hang loose. Take great care not to break the element, as they are very brittle after firing.
- Loosen the adjustable clamps that hold the stainless steel wrapping. Loosen them just enough to allow the brick to slide out with slight hand pressure, ensuring the other bricks remain in place.
- Pull up the brick with the bad element holder just enough to allow the removal of the defective element channel and replace it with a new one. Slide the old brick(s) out and insert the new brick(s). Ensure the element channels align with the other channels on either side. Note there is a top and a bottom in the element holder, so be sure to get the orientation correct.
- Retighten the clamps on the wrap. Alternately tighten the bottom and top clamp so that you don't cock the stainless casing.
CAUTION WITH STEP 3: If you don't have the section on a flat surface, then the bricks will all come out of proper alignment.